Doctor/NP/PA Registration & Staff Invitations
Tap Sign Up, then enter your name, email, phone number, and select your role (Doctor, NP, or PA).
Why this matters
Your role defines your access. Providers can start immediately, while staff accounts are linked to a clinic — ensuring the right people see the right patients and workflows.

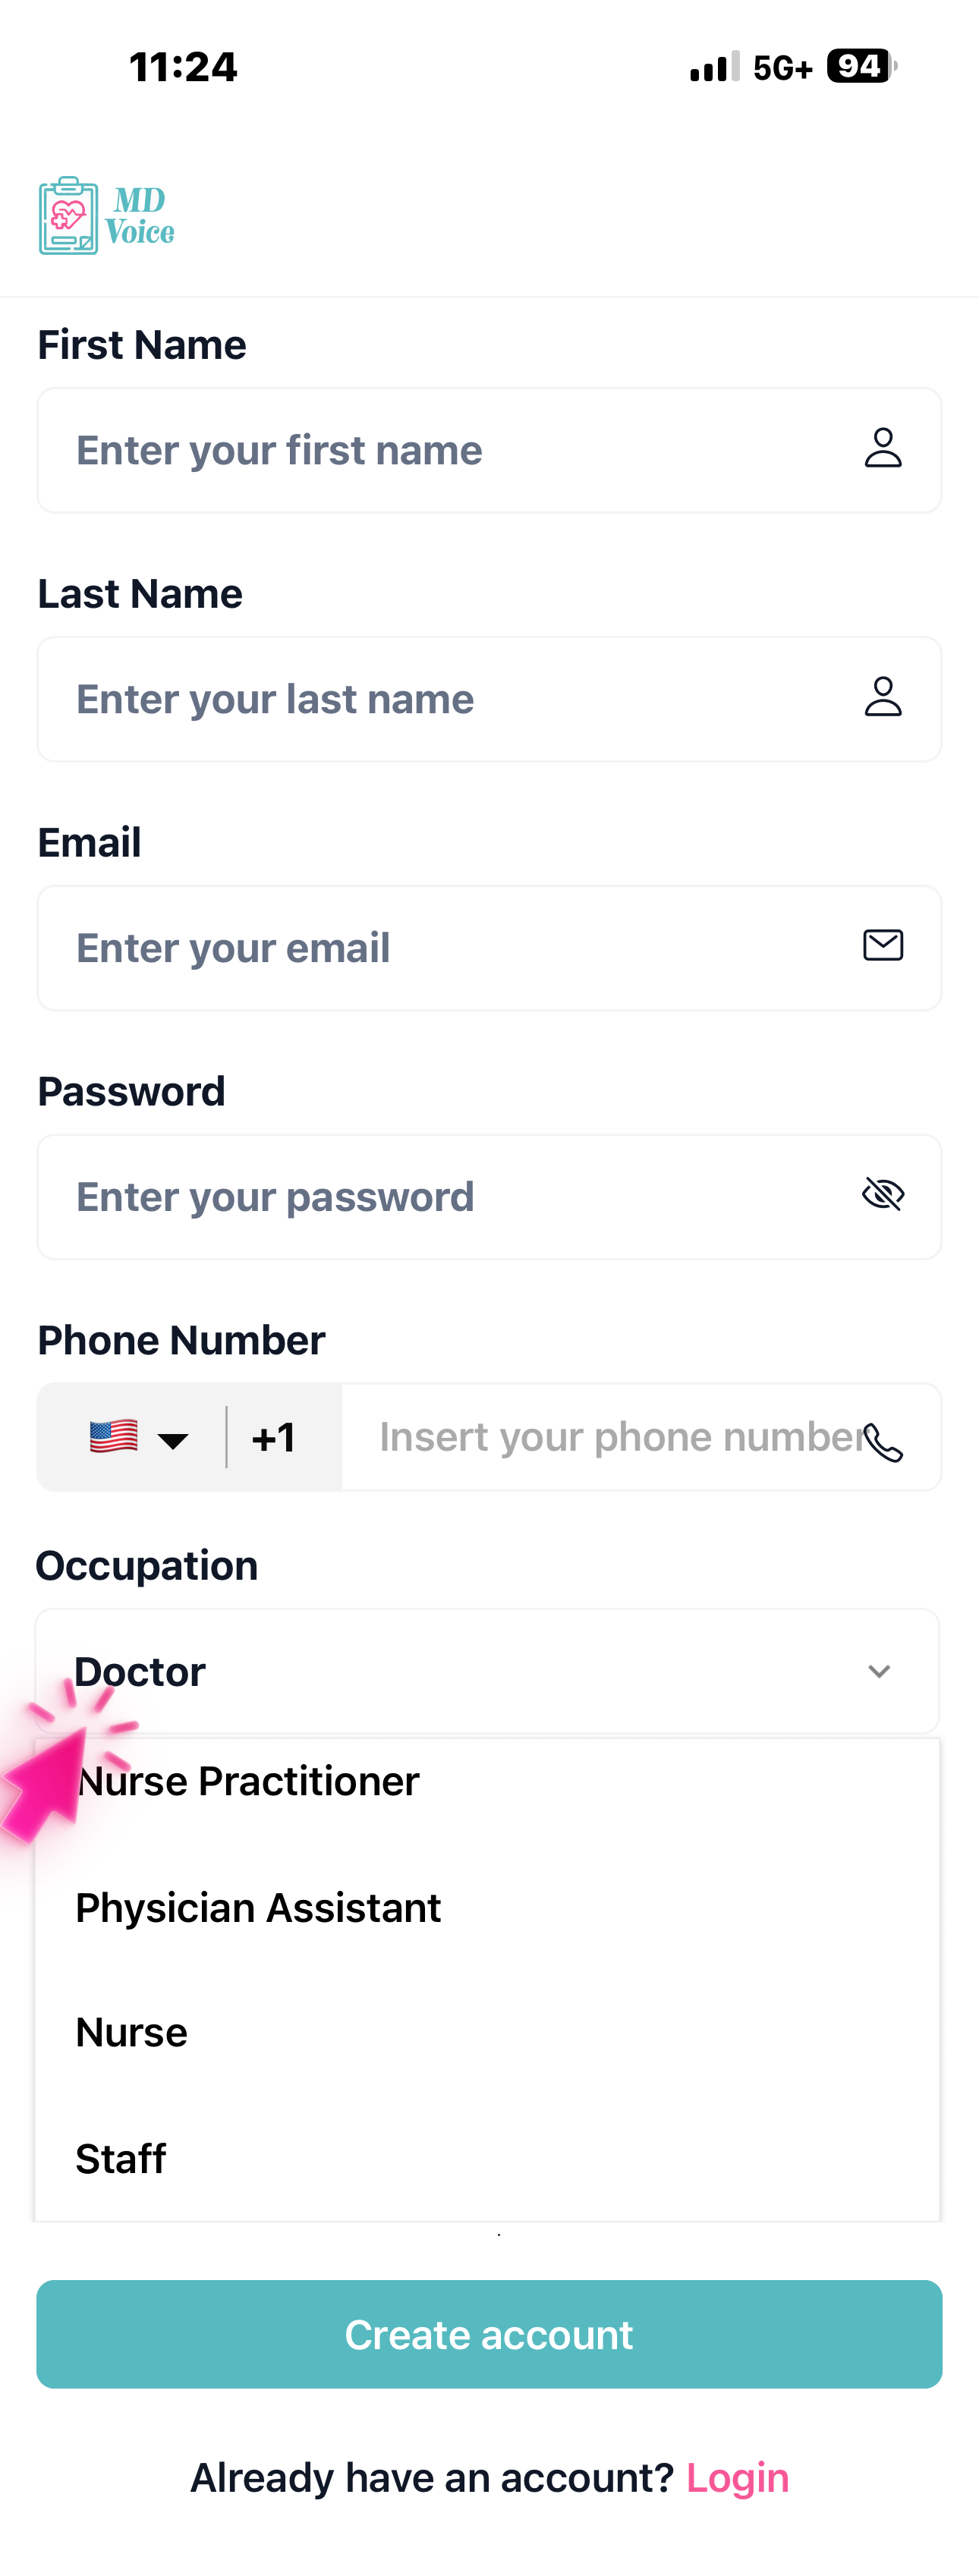
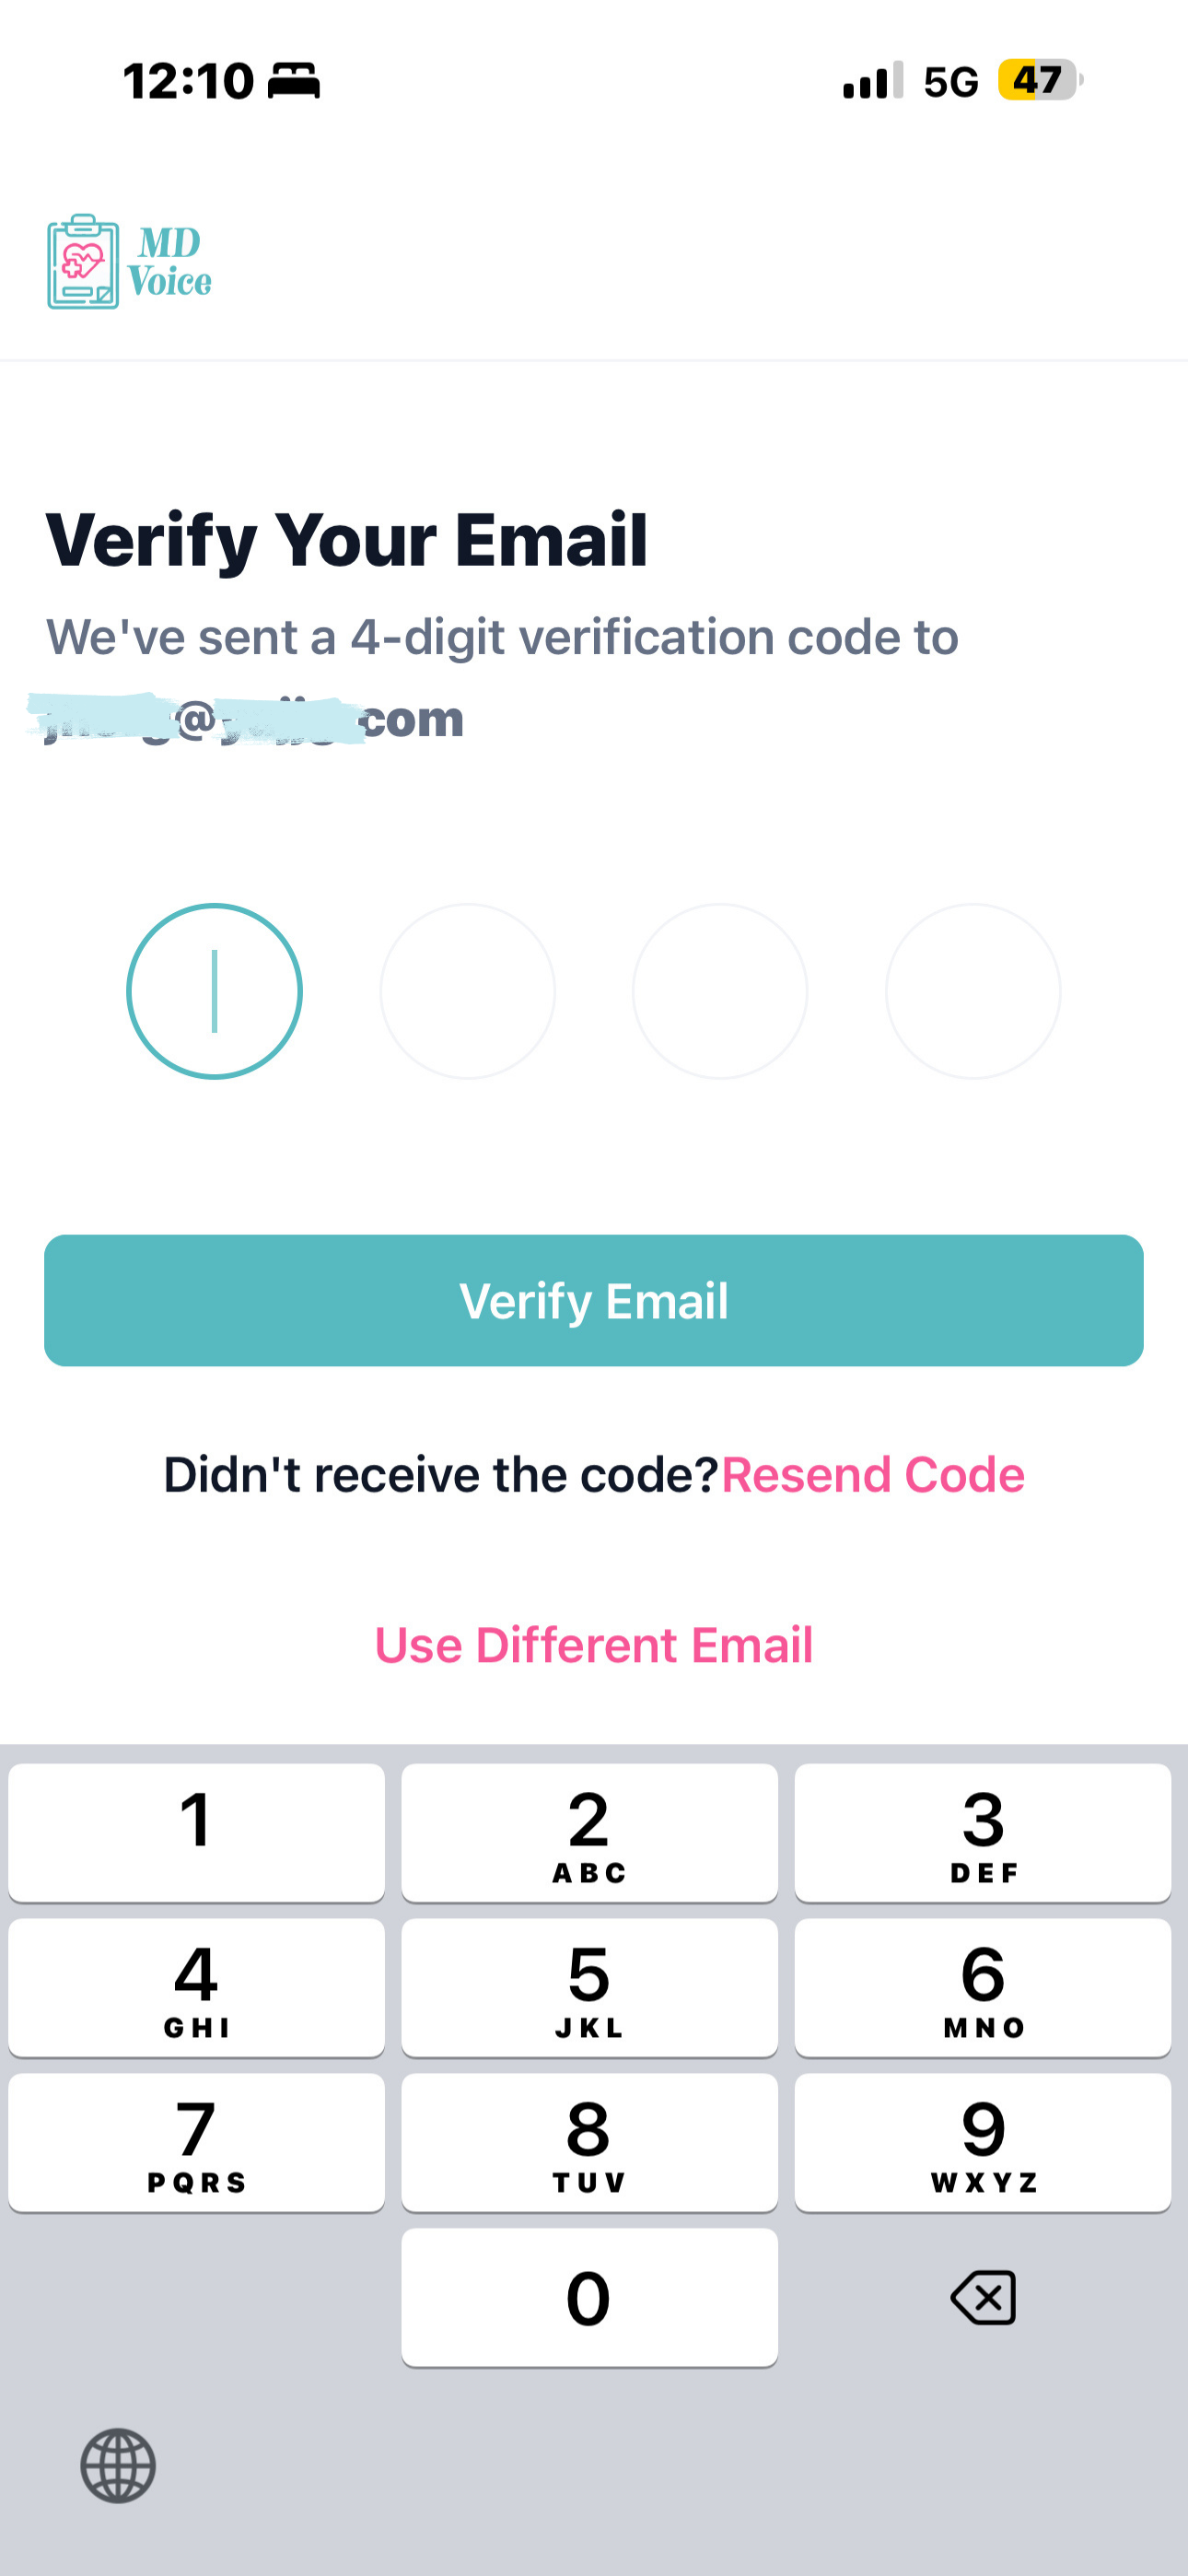
Click Create Account, then enter the verification code sent to your email.
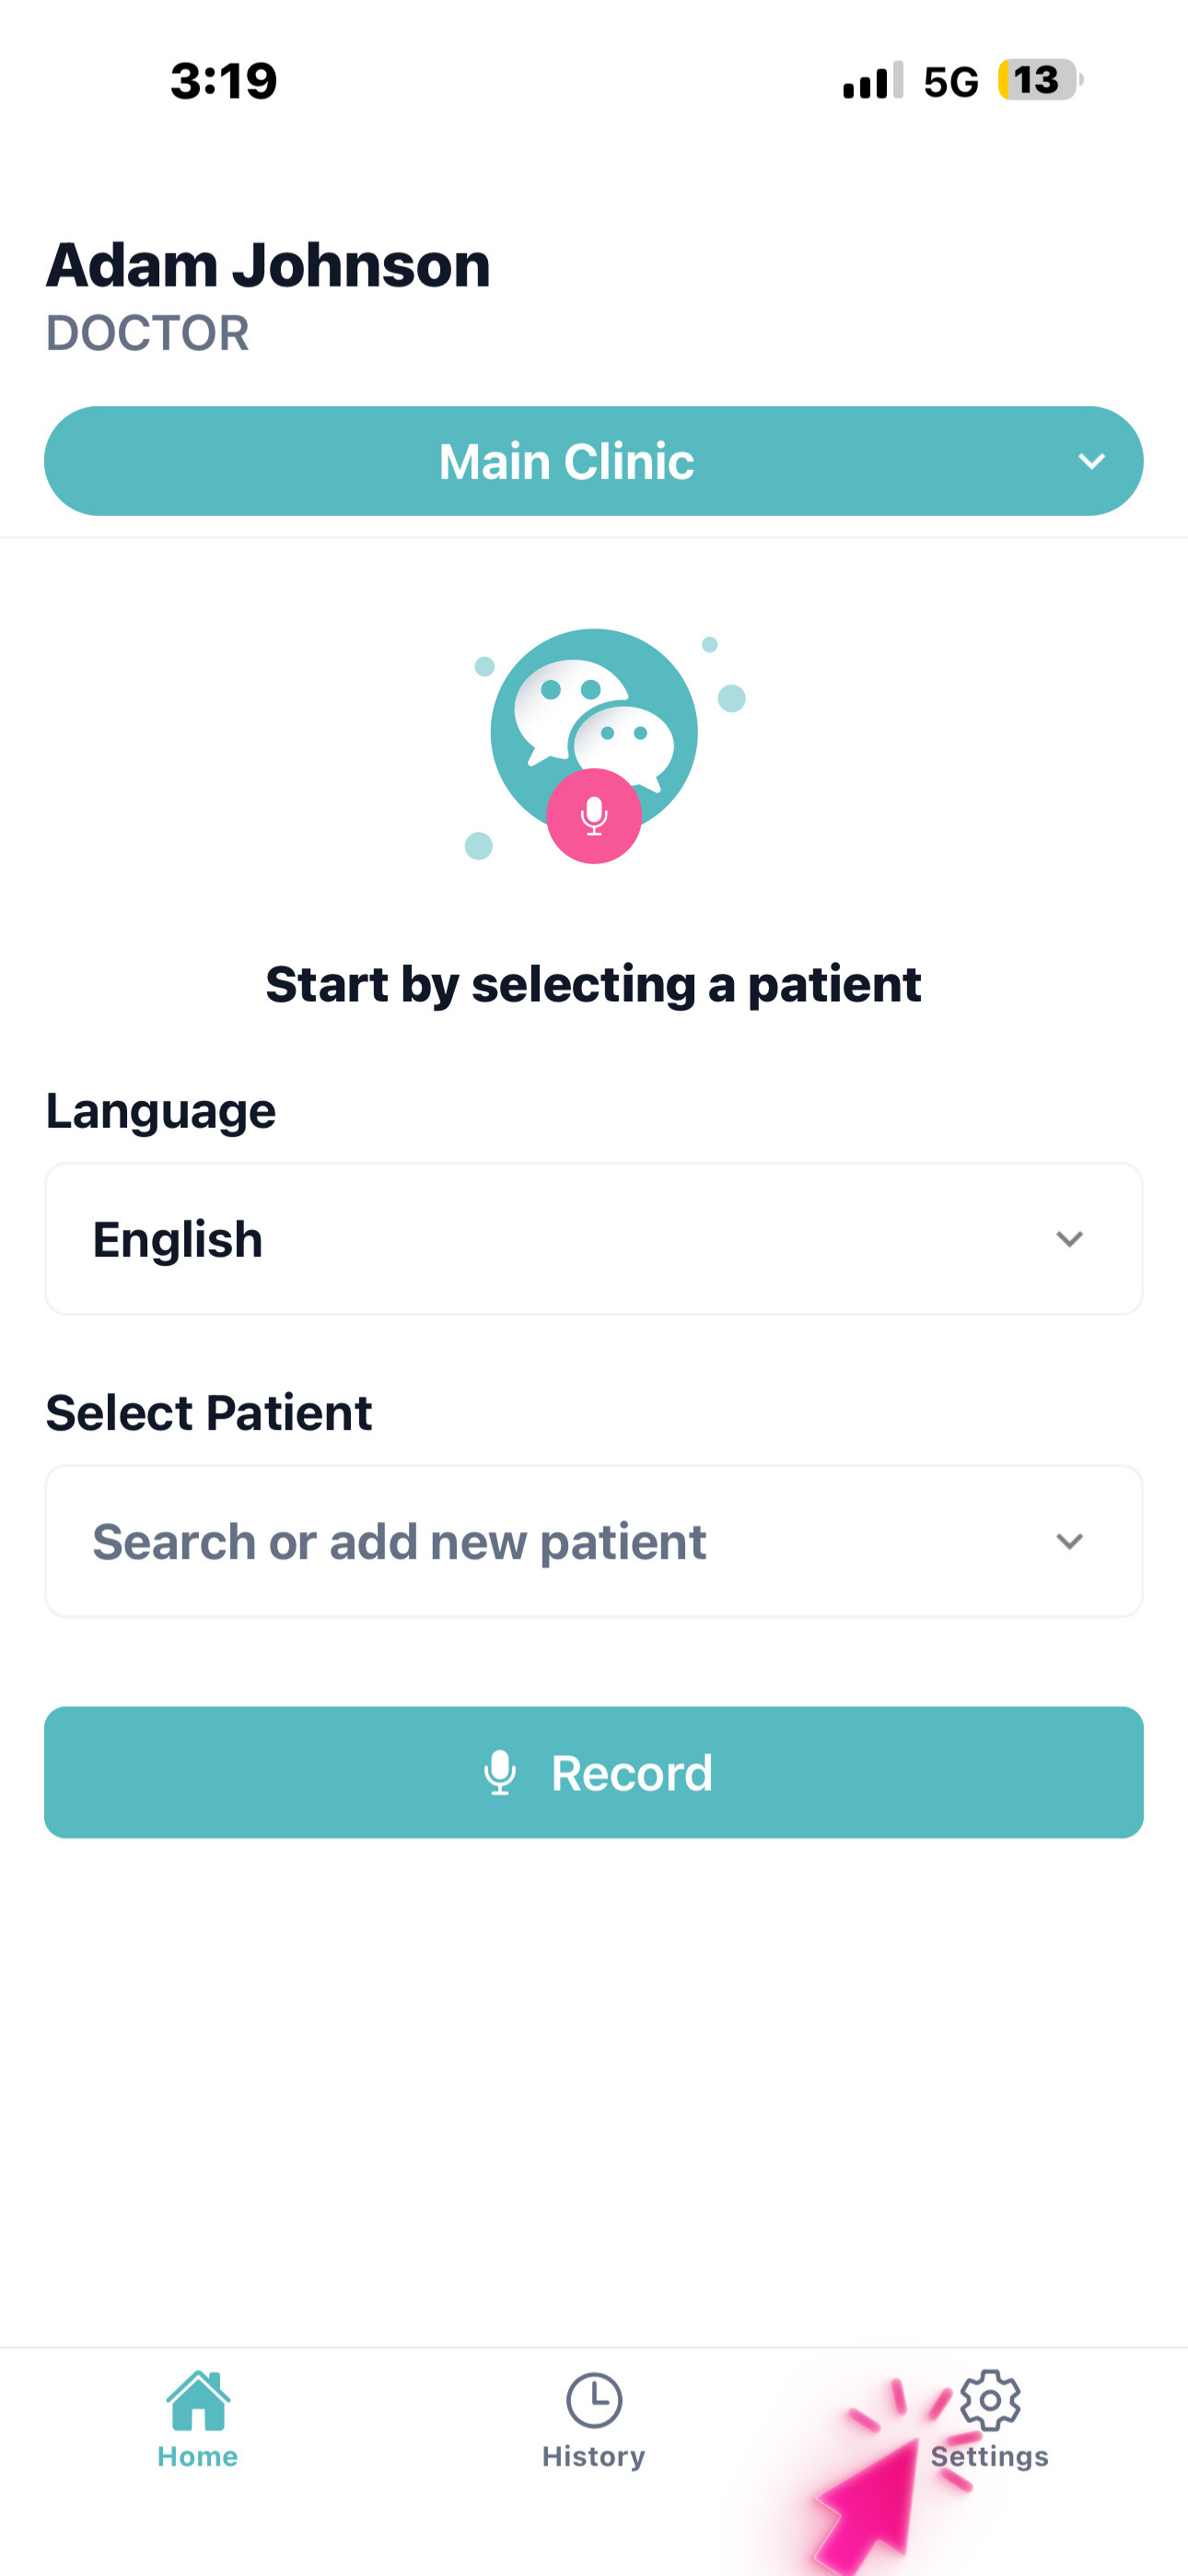
Once logged in, a clinic is created under your name — you can rename it anytime from Settings → Clinic Info.
Why this matters
You can create and manage multiple clinics, each with its own schedule, staff, and workflow.
This keeps your work organized and ensures you always see the correct patients for the correct location — especially if you work across different clinics or EMRs.
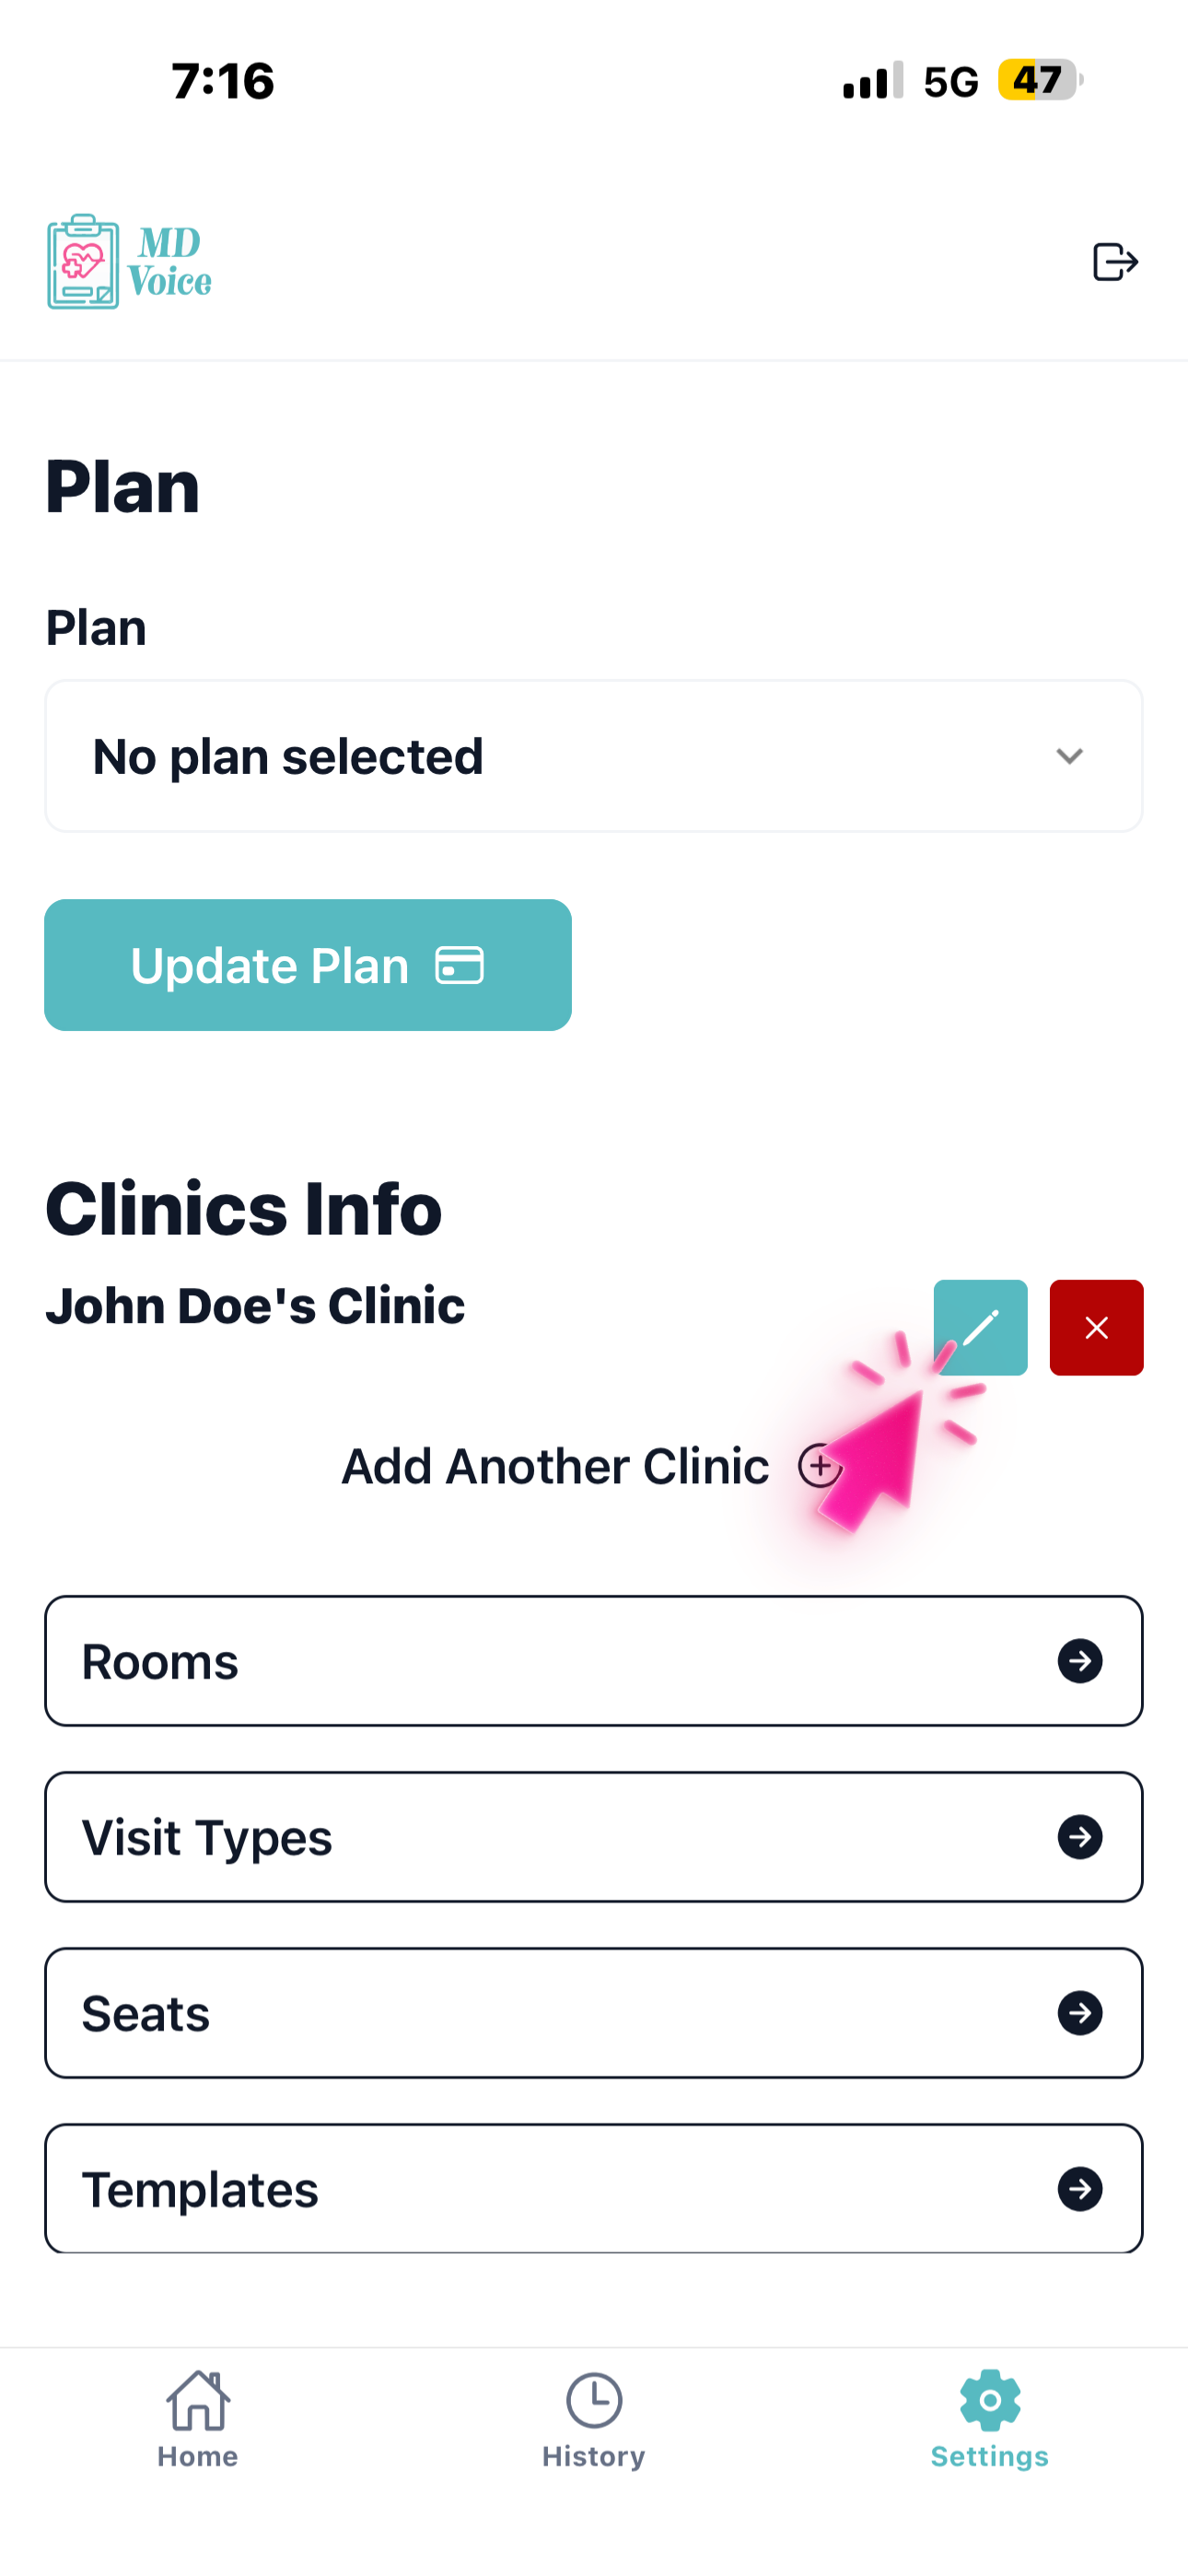
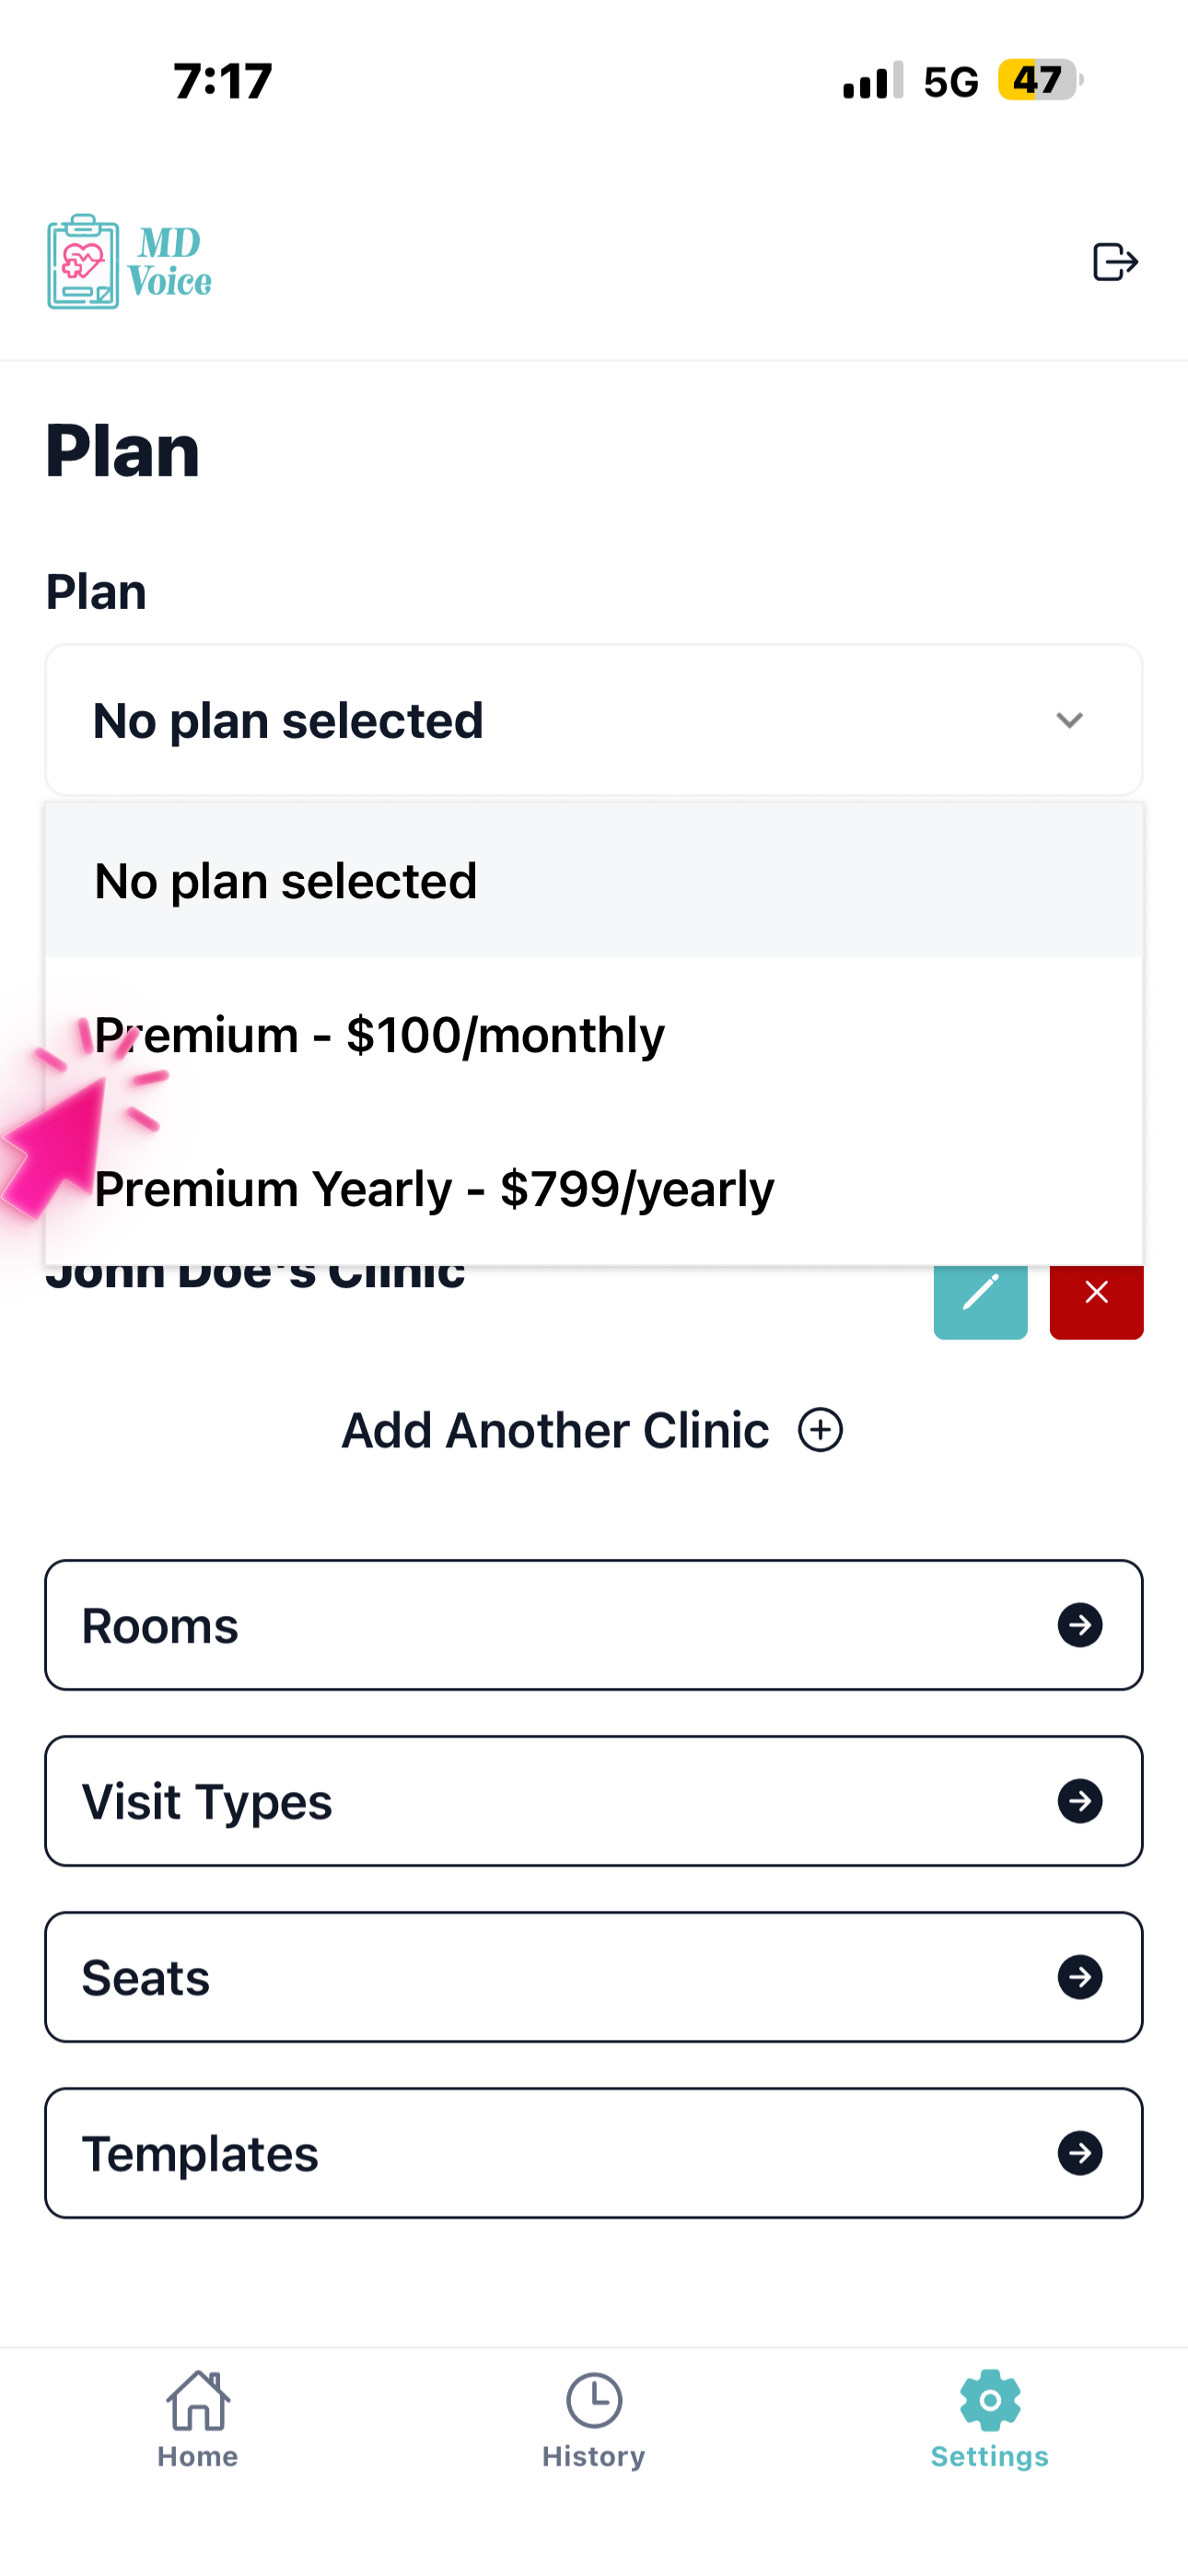
In Settings, choose your subscription plan — monthly or yearly (with a $400 discount).
Why this matters
Your plan determines how many staff members can support you.
Adding staff isn't just access — it's how you delegate data collection, so your notes are more complete while you spend less time on documentation.
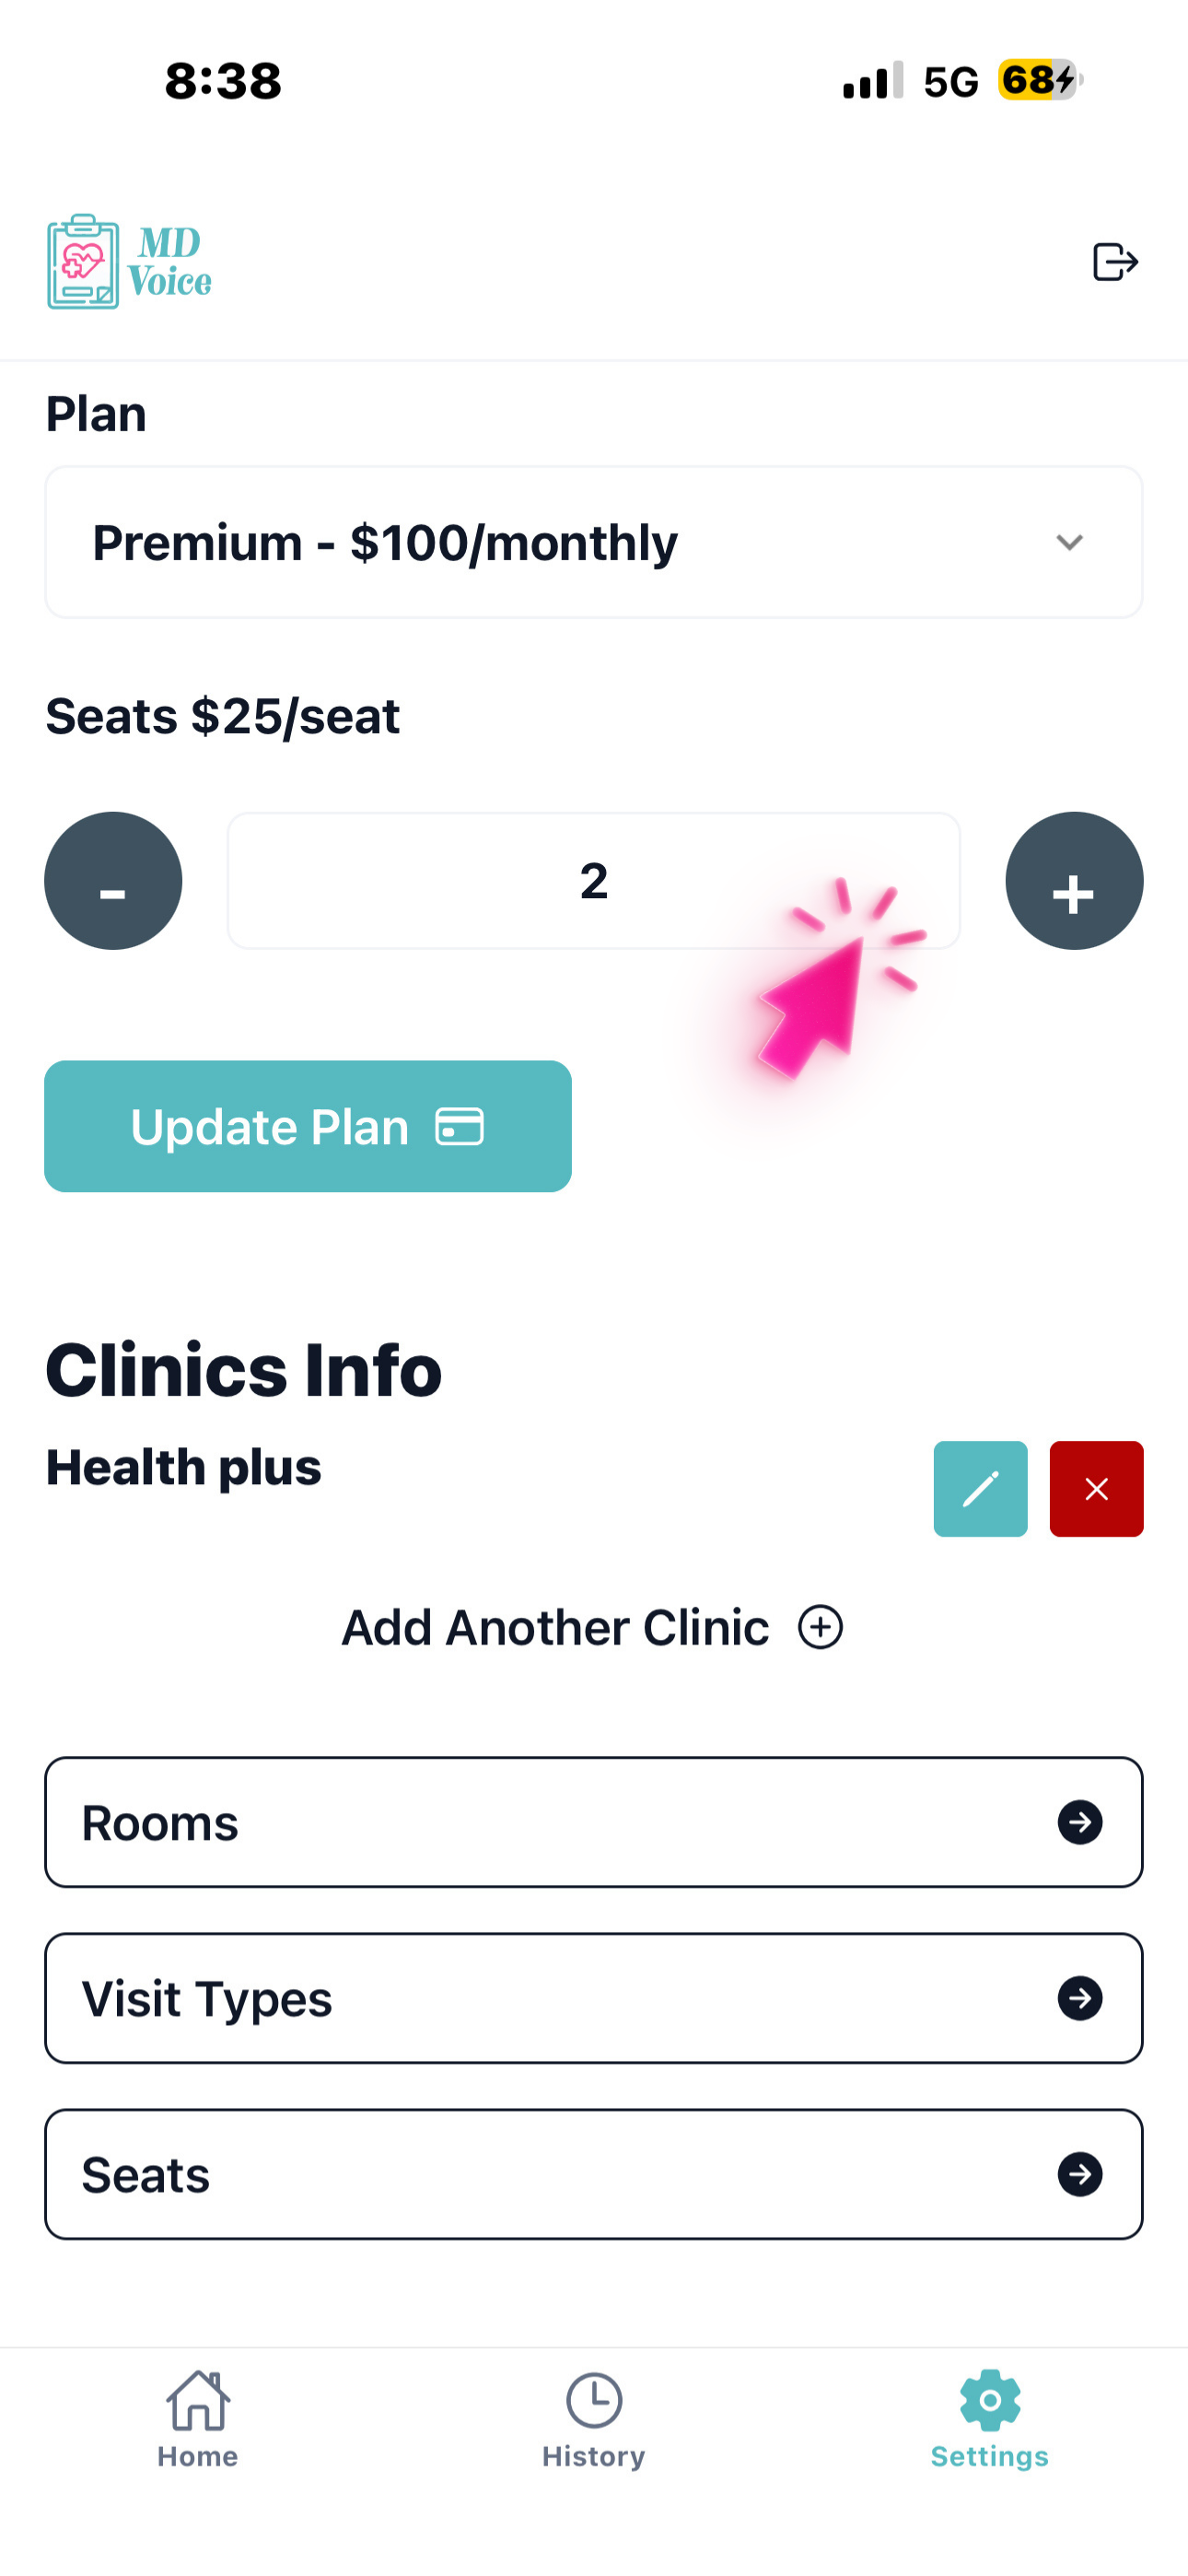
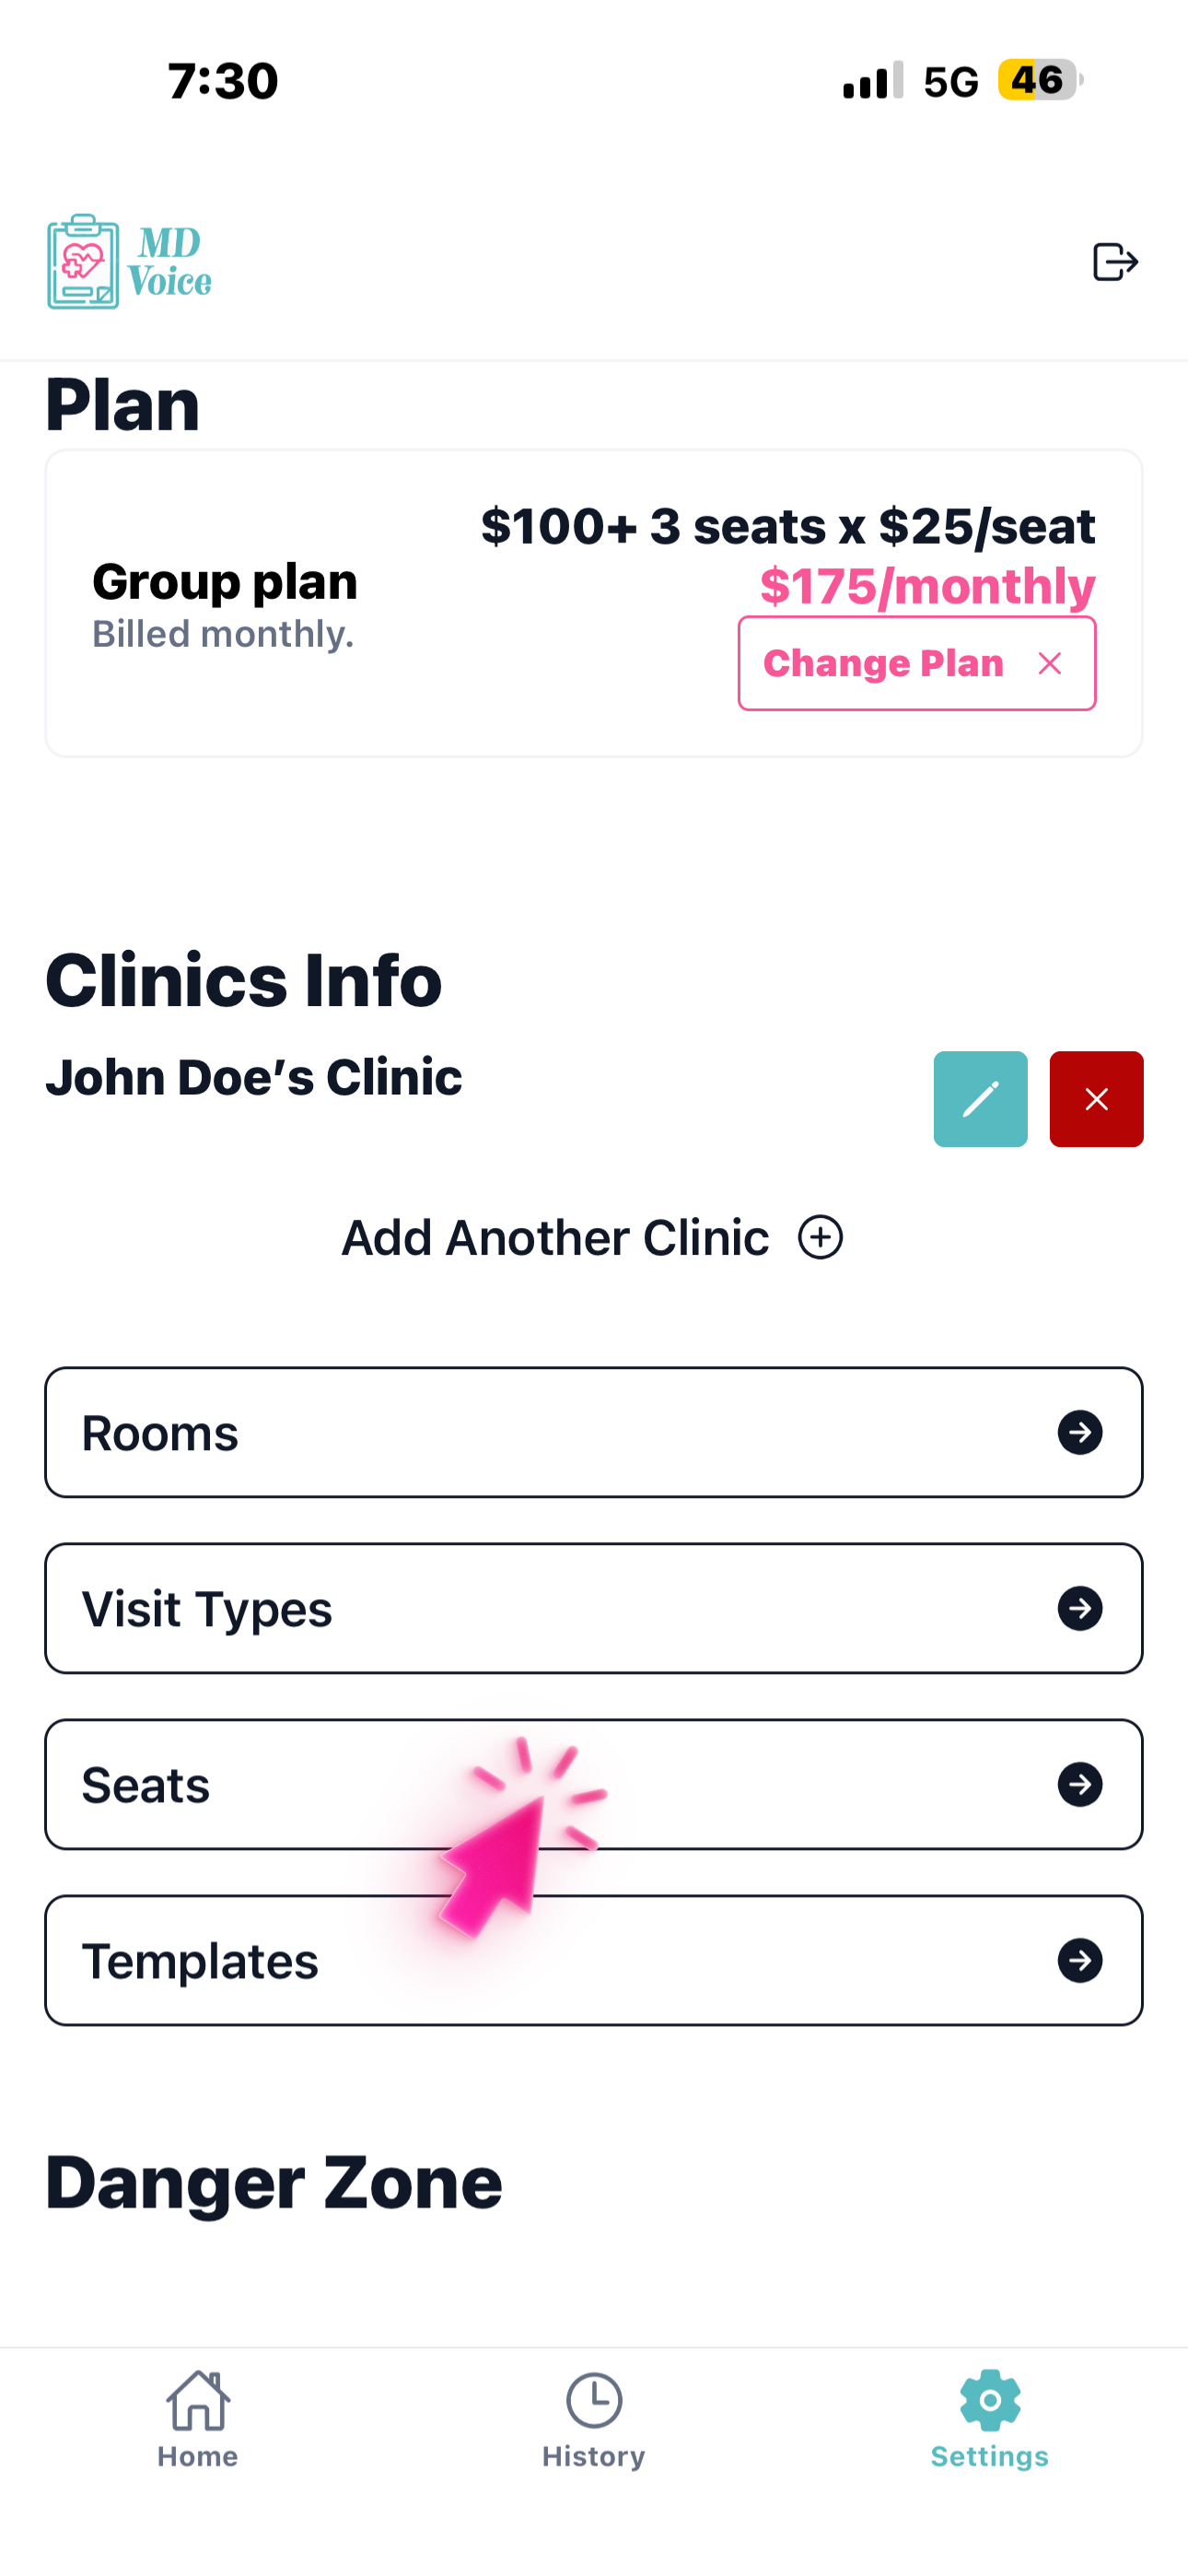
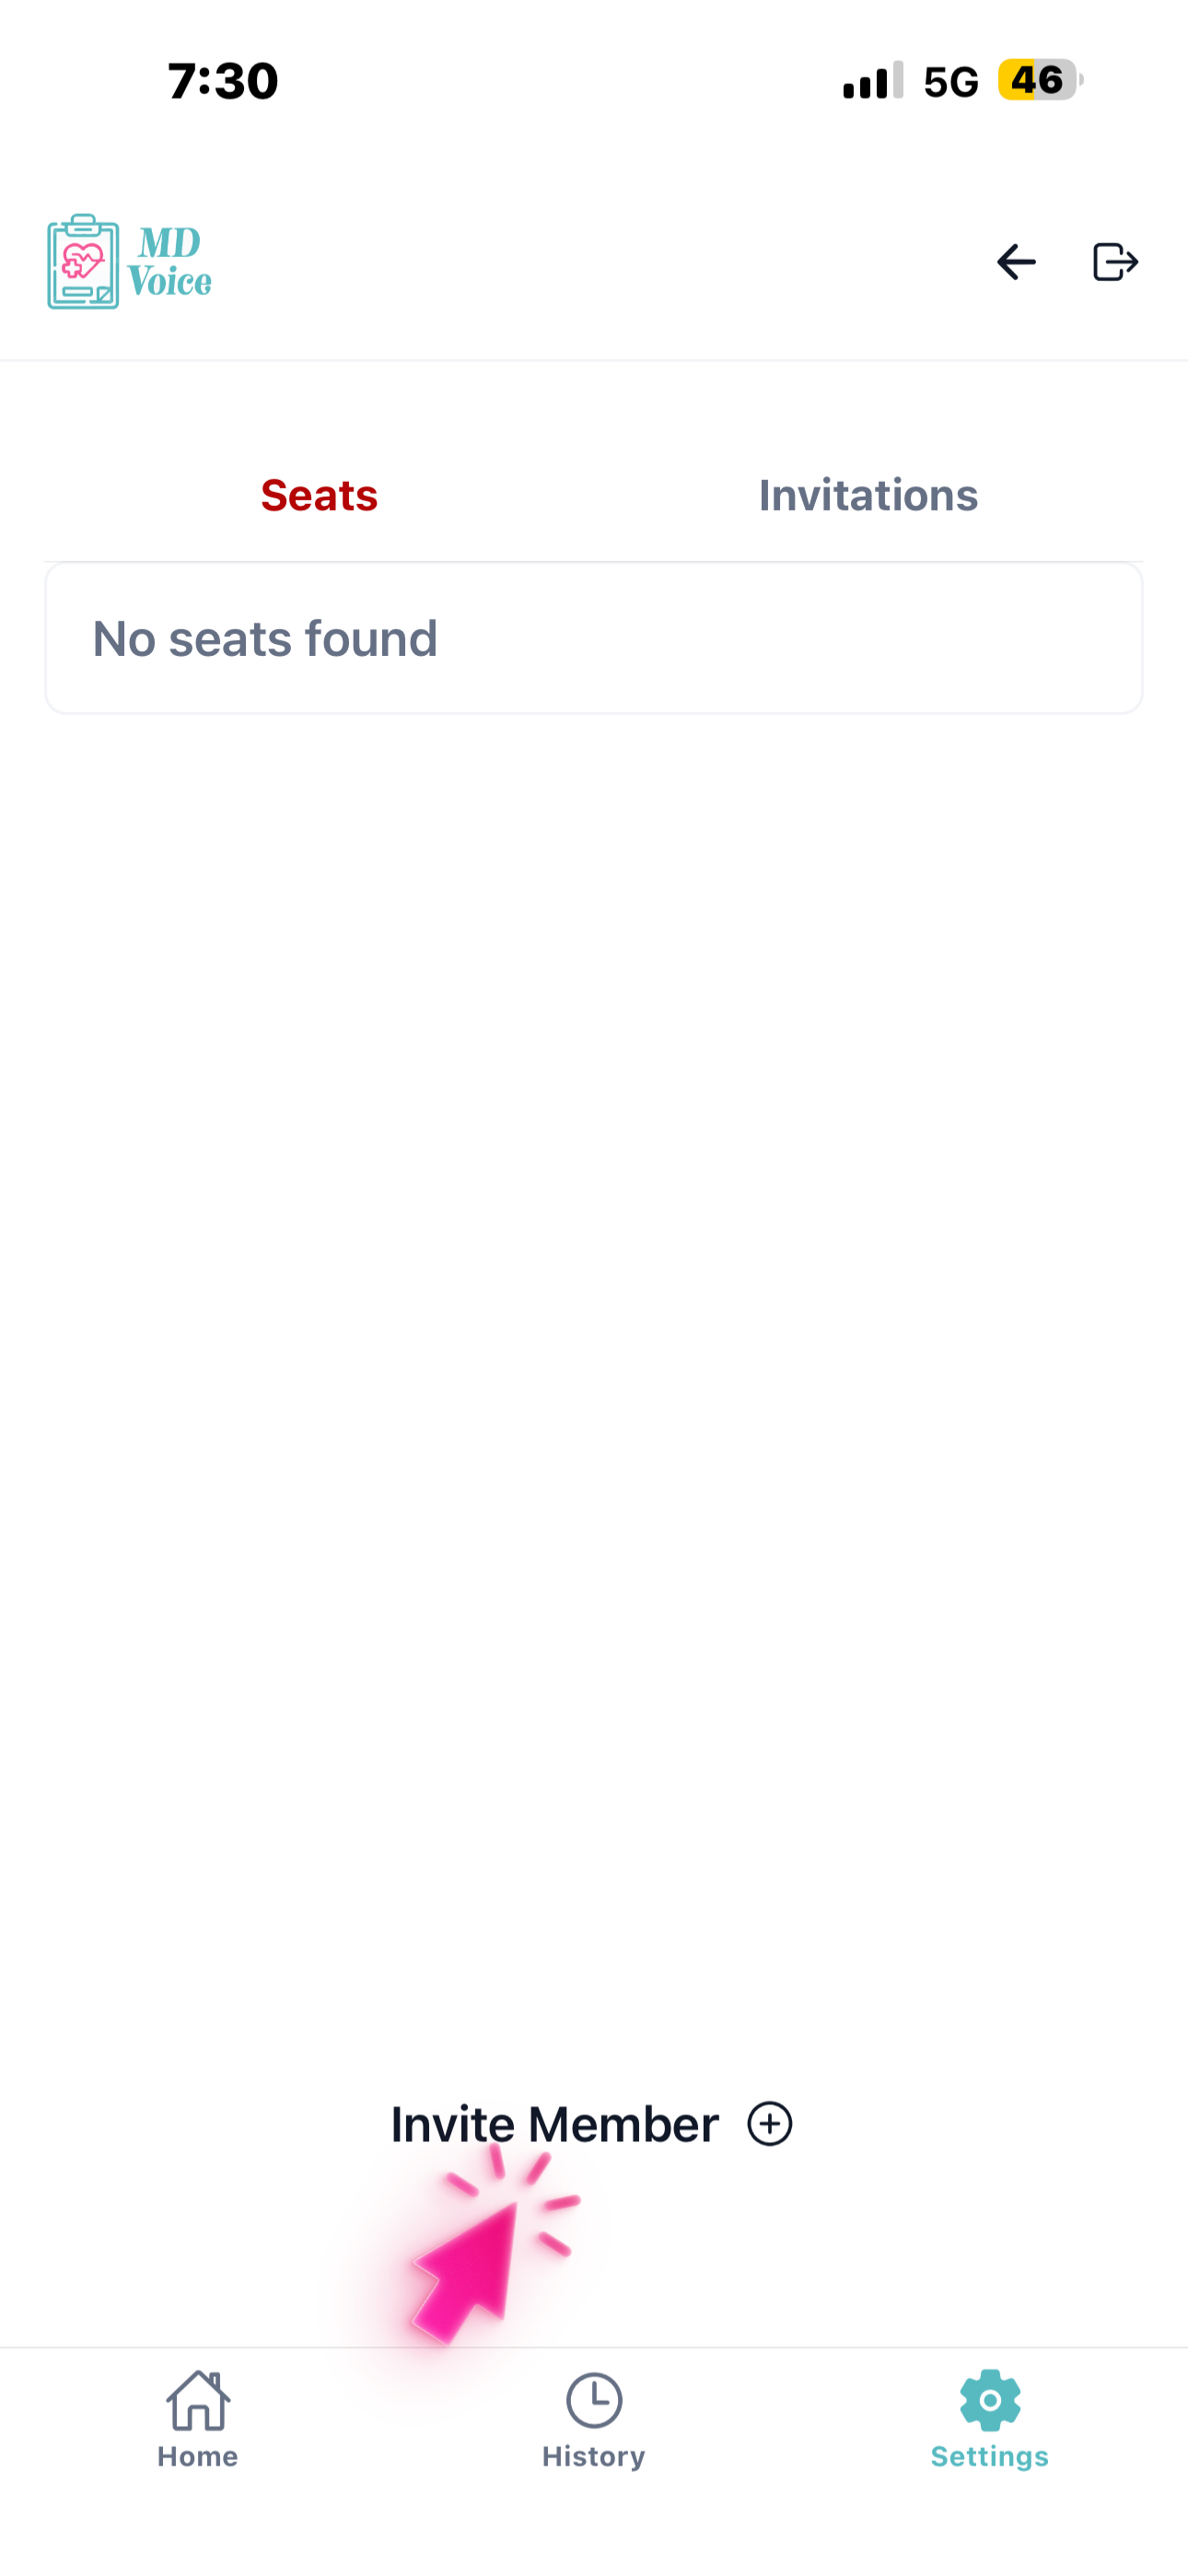
To add staff members, go to the Seats section in Settings.
Why this matters
Each seat represents a team member who can assist you.
Your staff can collect patient information before you see the patient, helping you start each visit with a clear, structured summary instead of starting from scratch.
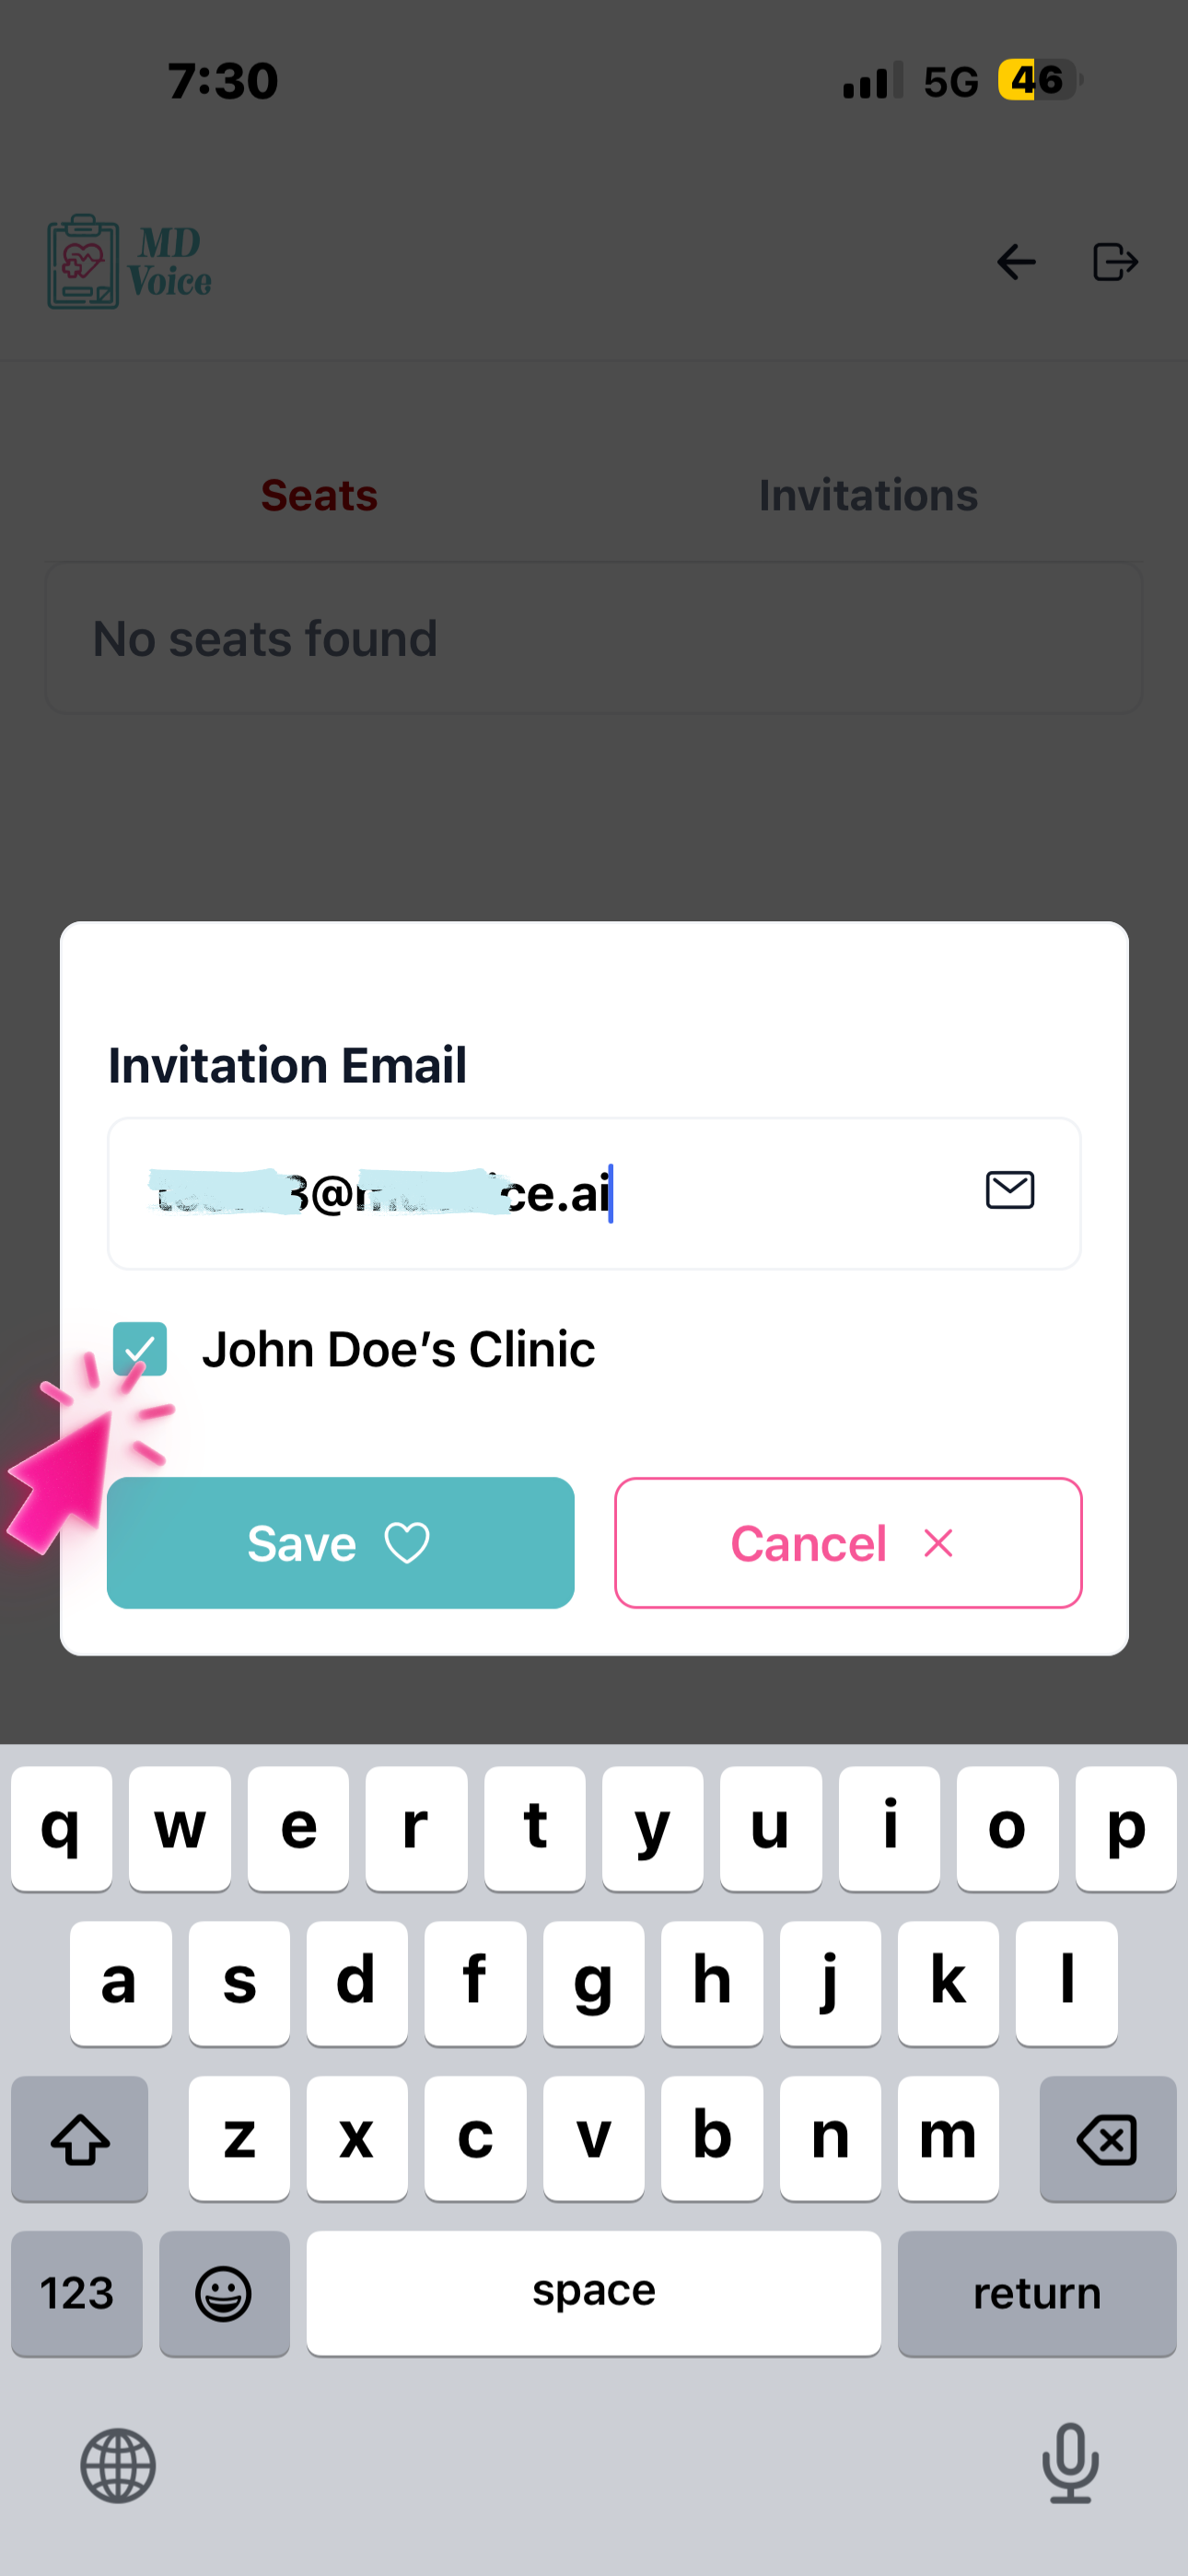
Tap Invite Member to add a new team member.
Enter their email, select which clinic they should access, and click Save.
Why this matters
You can assign staff to specific clinics only, so each team member sees only what's relevant to them.
This keeps your workflow organized, reduces confusion, and ensures smooth coordination across your team.