Staff Registration & Patient Summary Generation
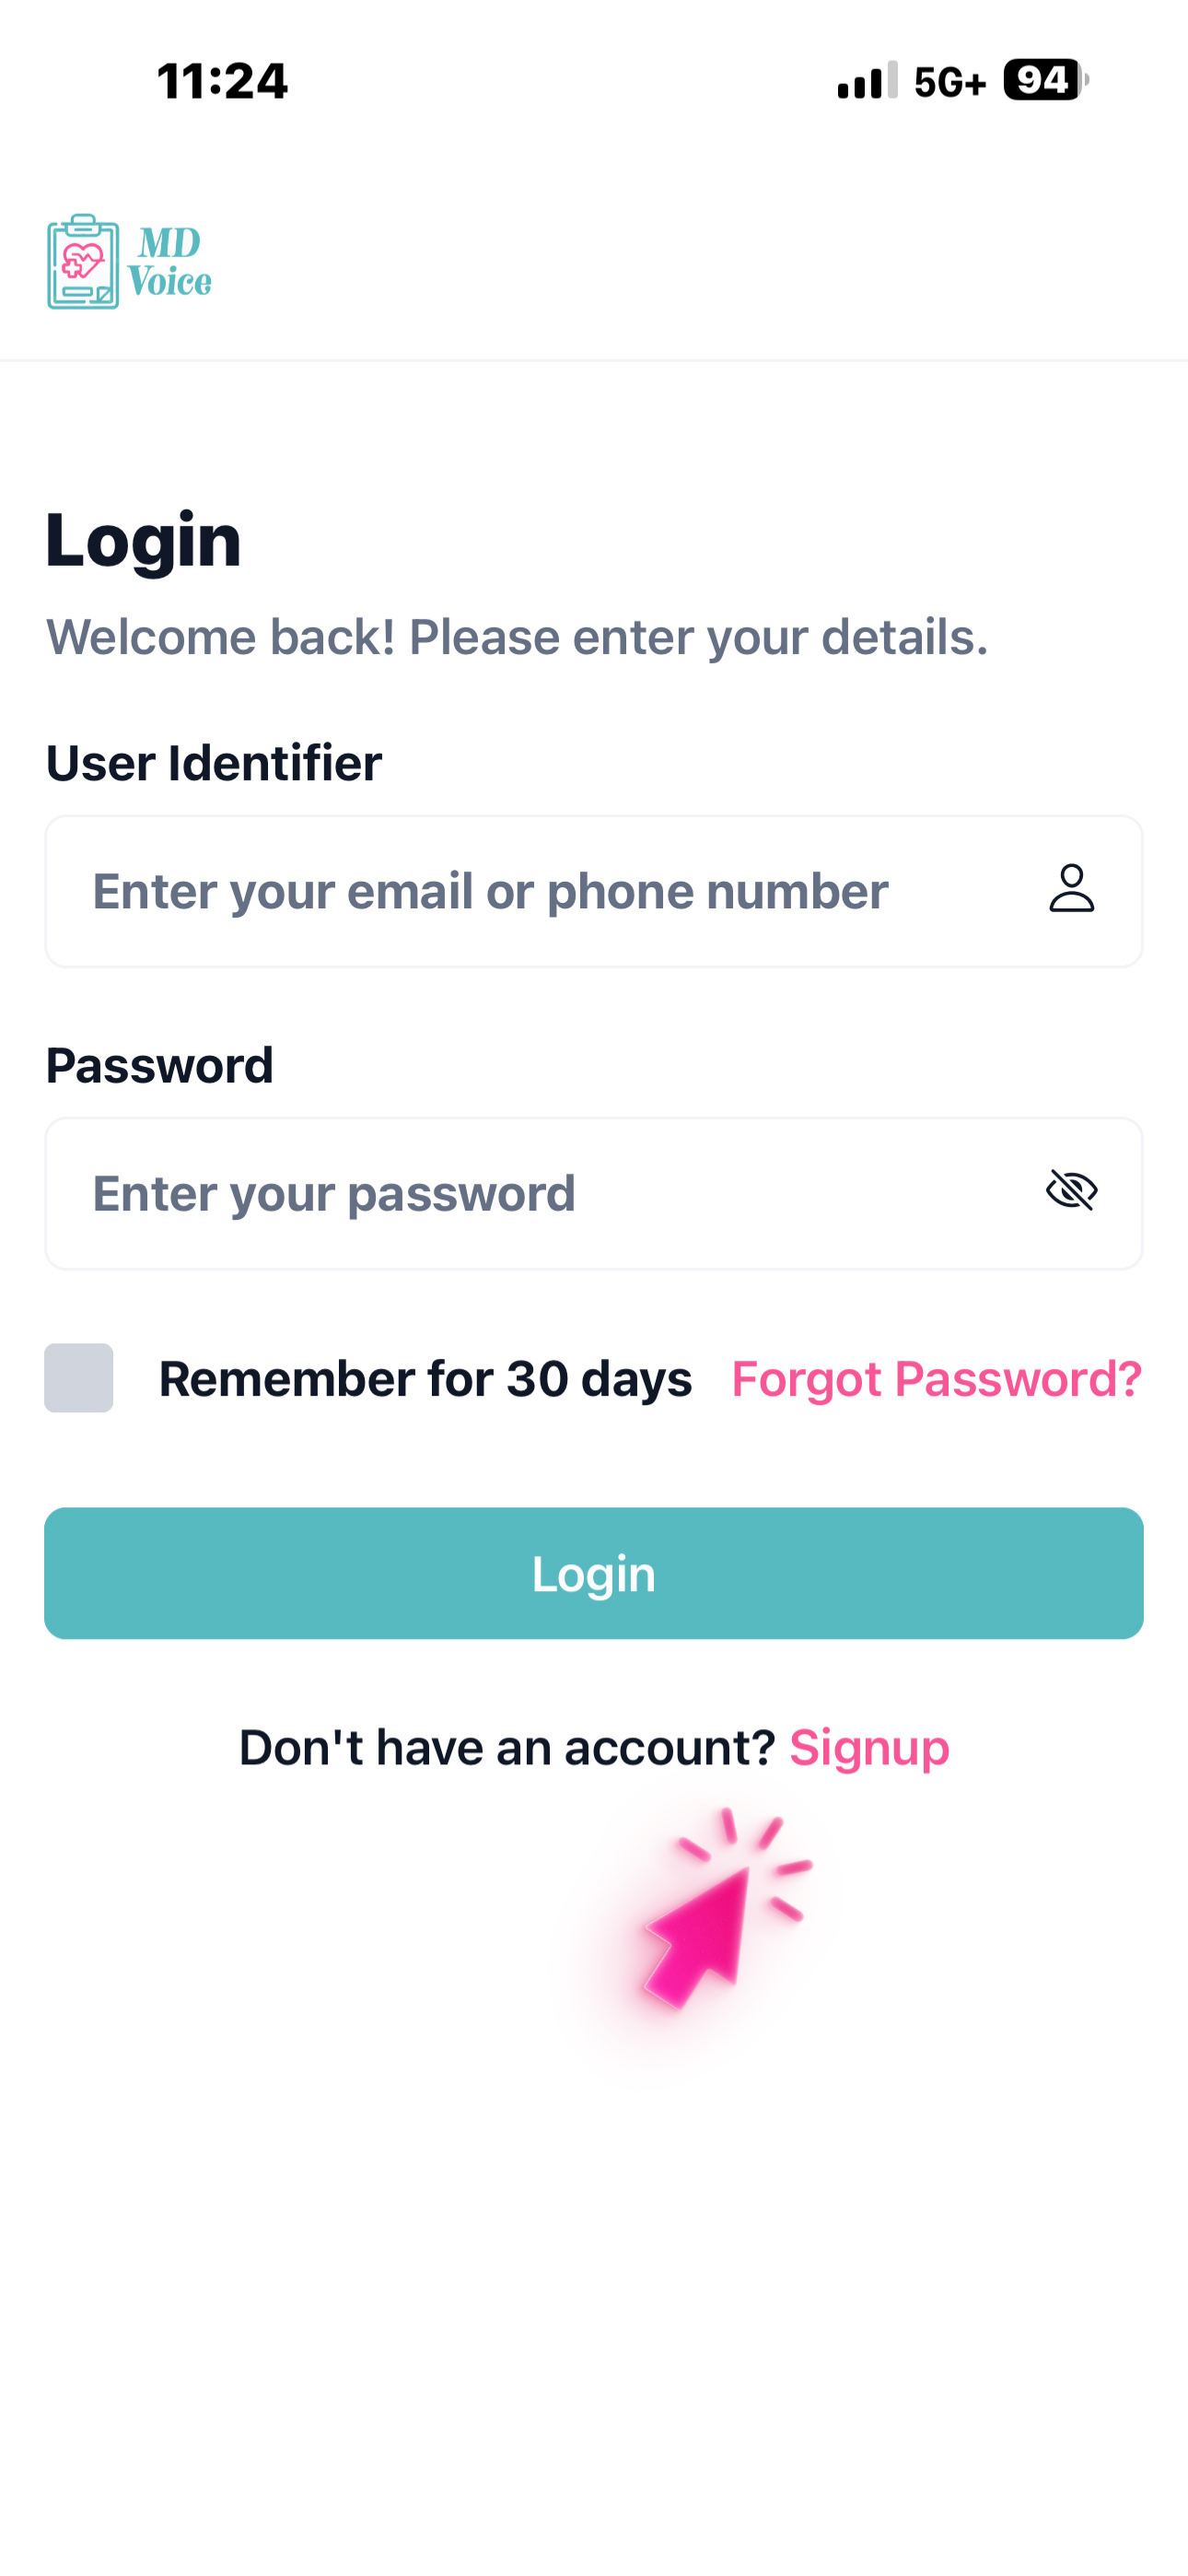
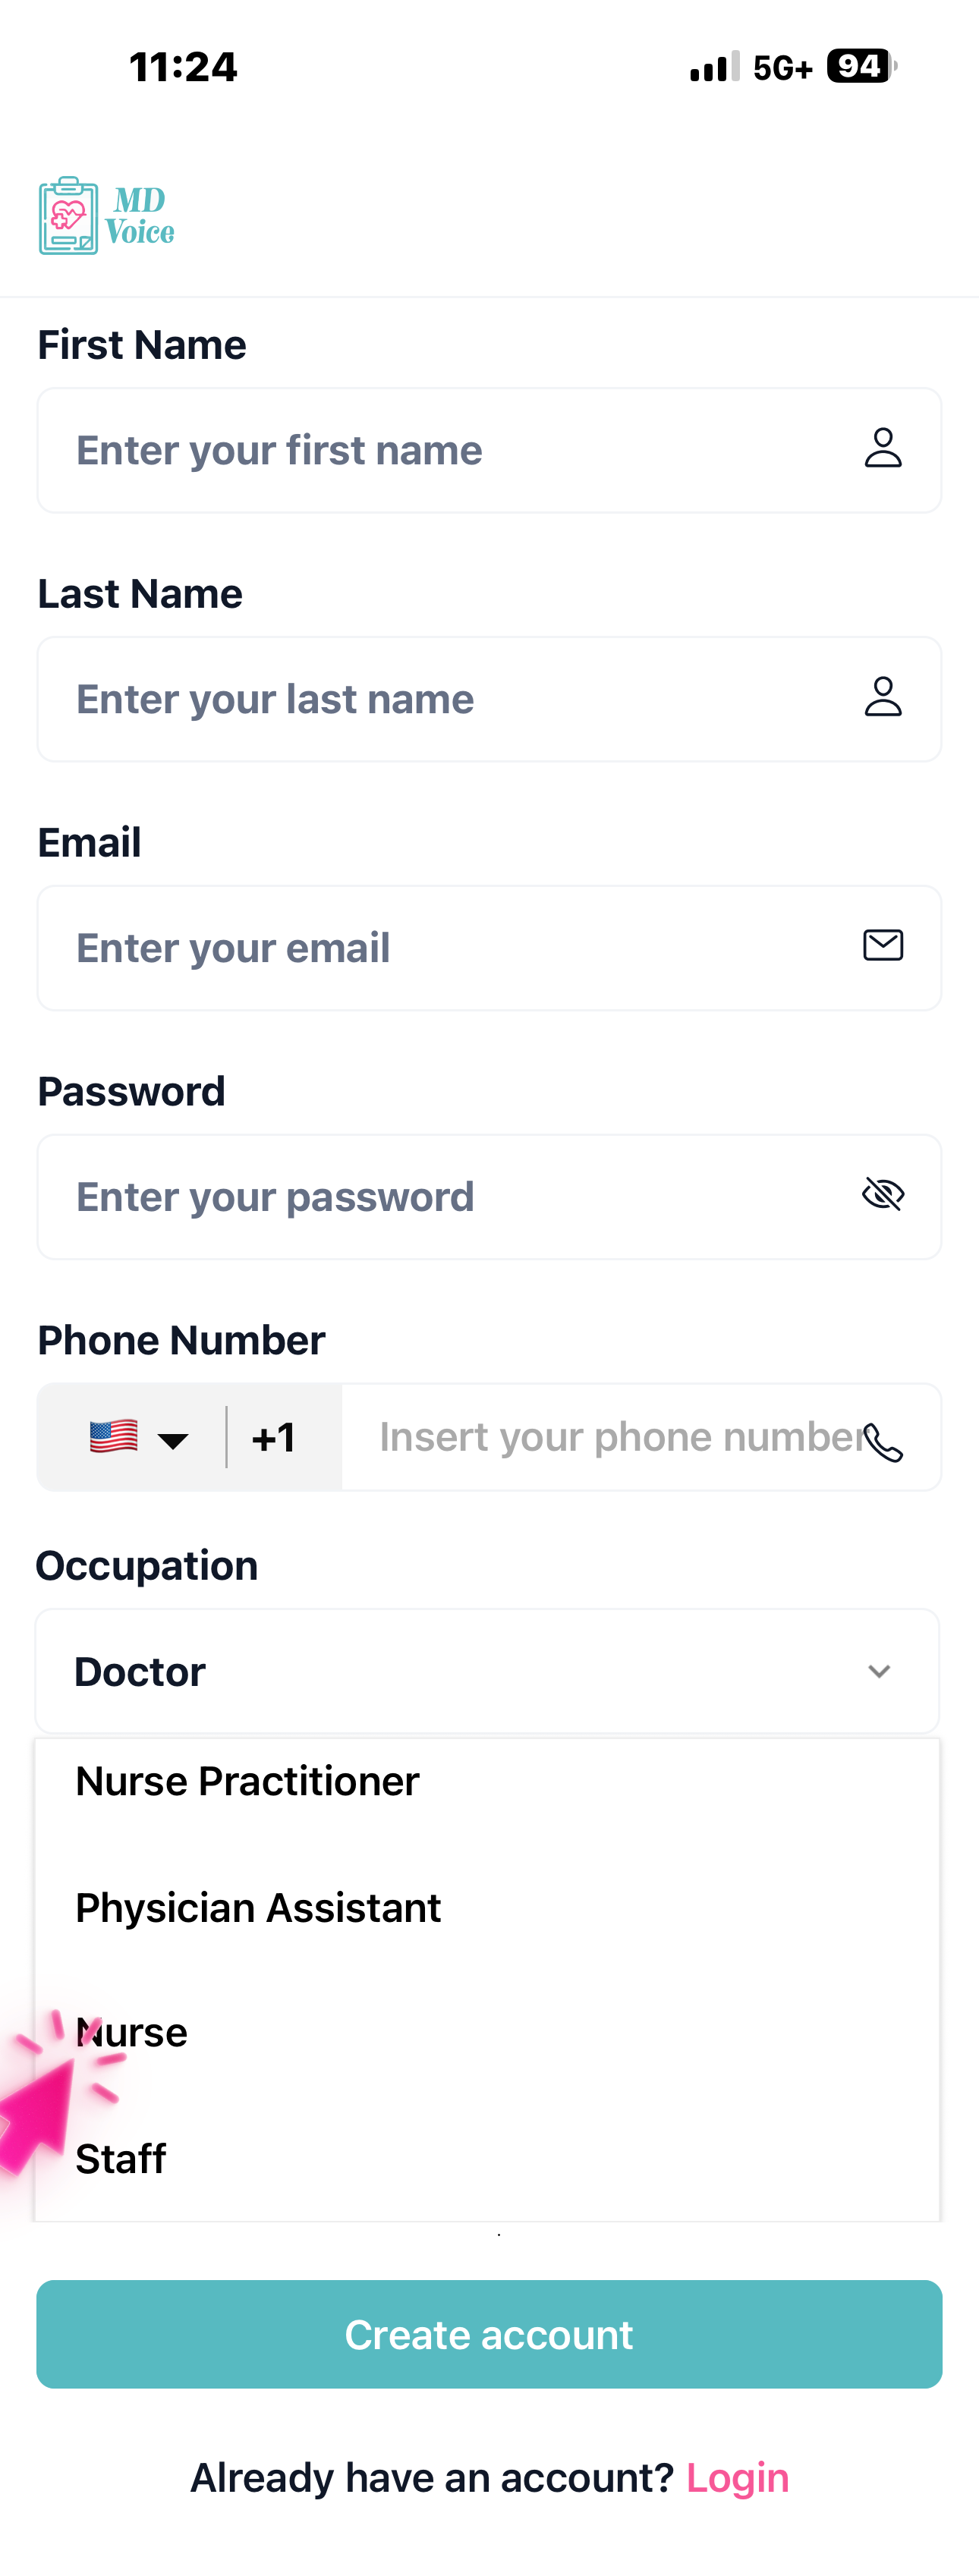
Tap 'Sign Up,' enter your name, email, and phone number, select Nurse or Staff as your role, then tap 'Create Account.'
Make sure to select the correct role — Nurse or Staff. These roles require a clinic invitation from a Doctor, NP, or PA before you can access patient data and start recording.
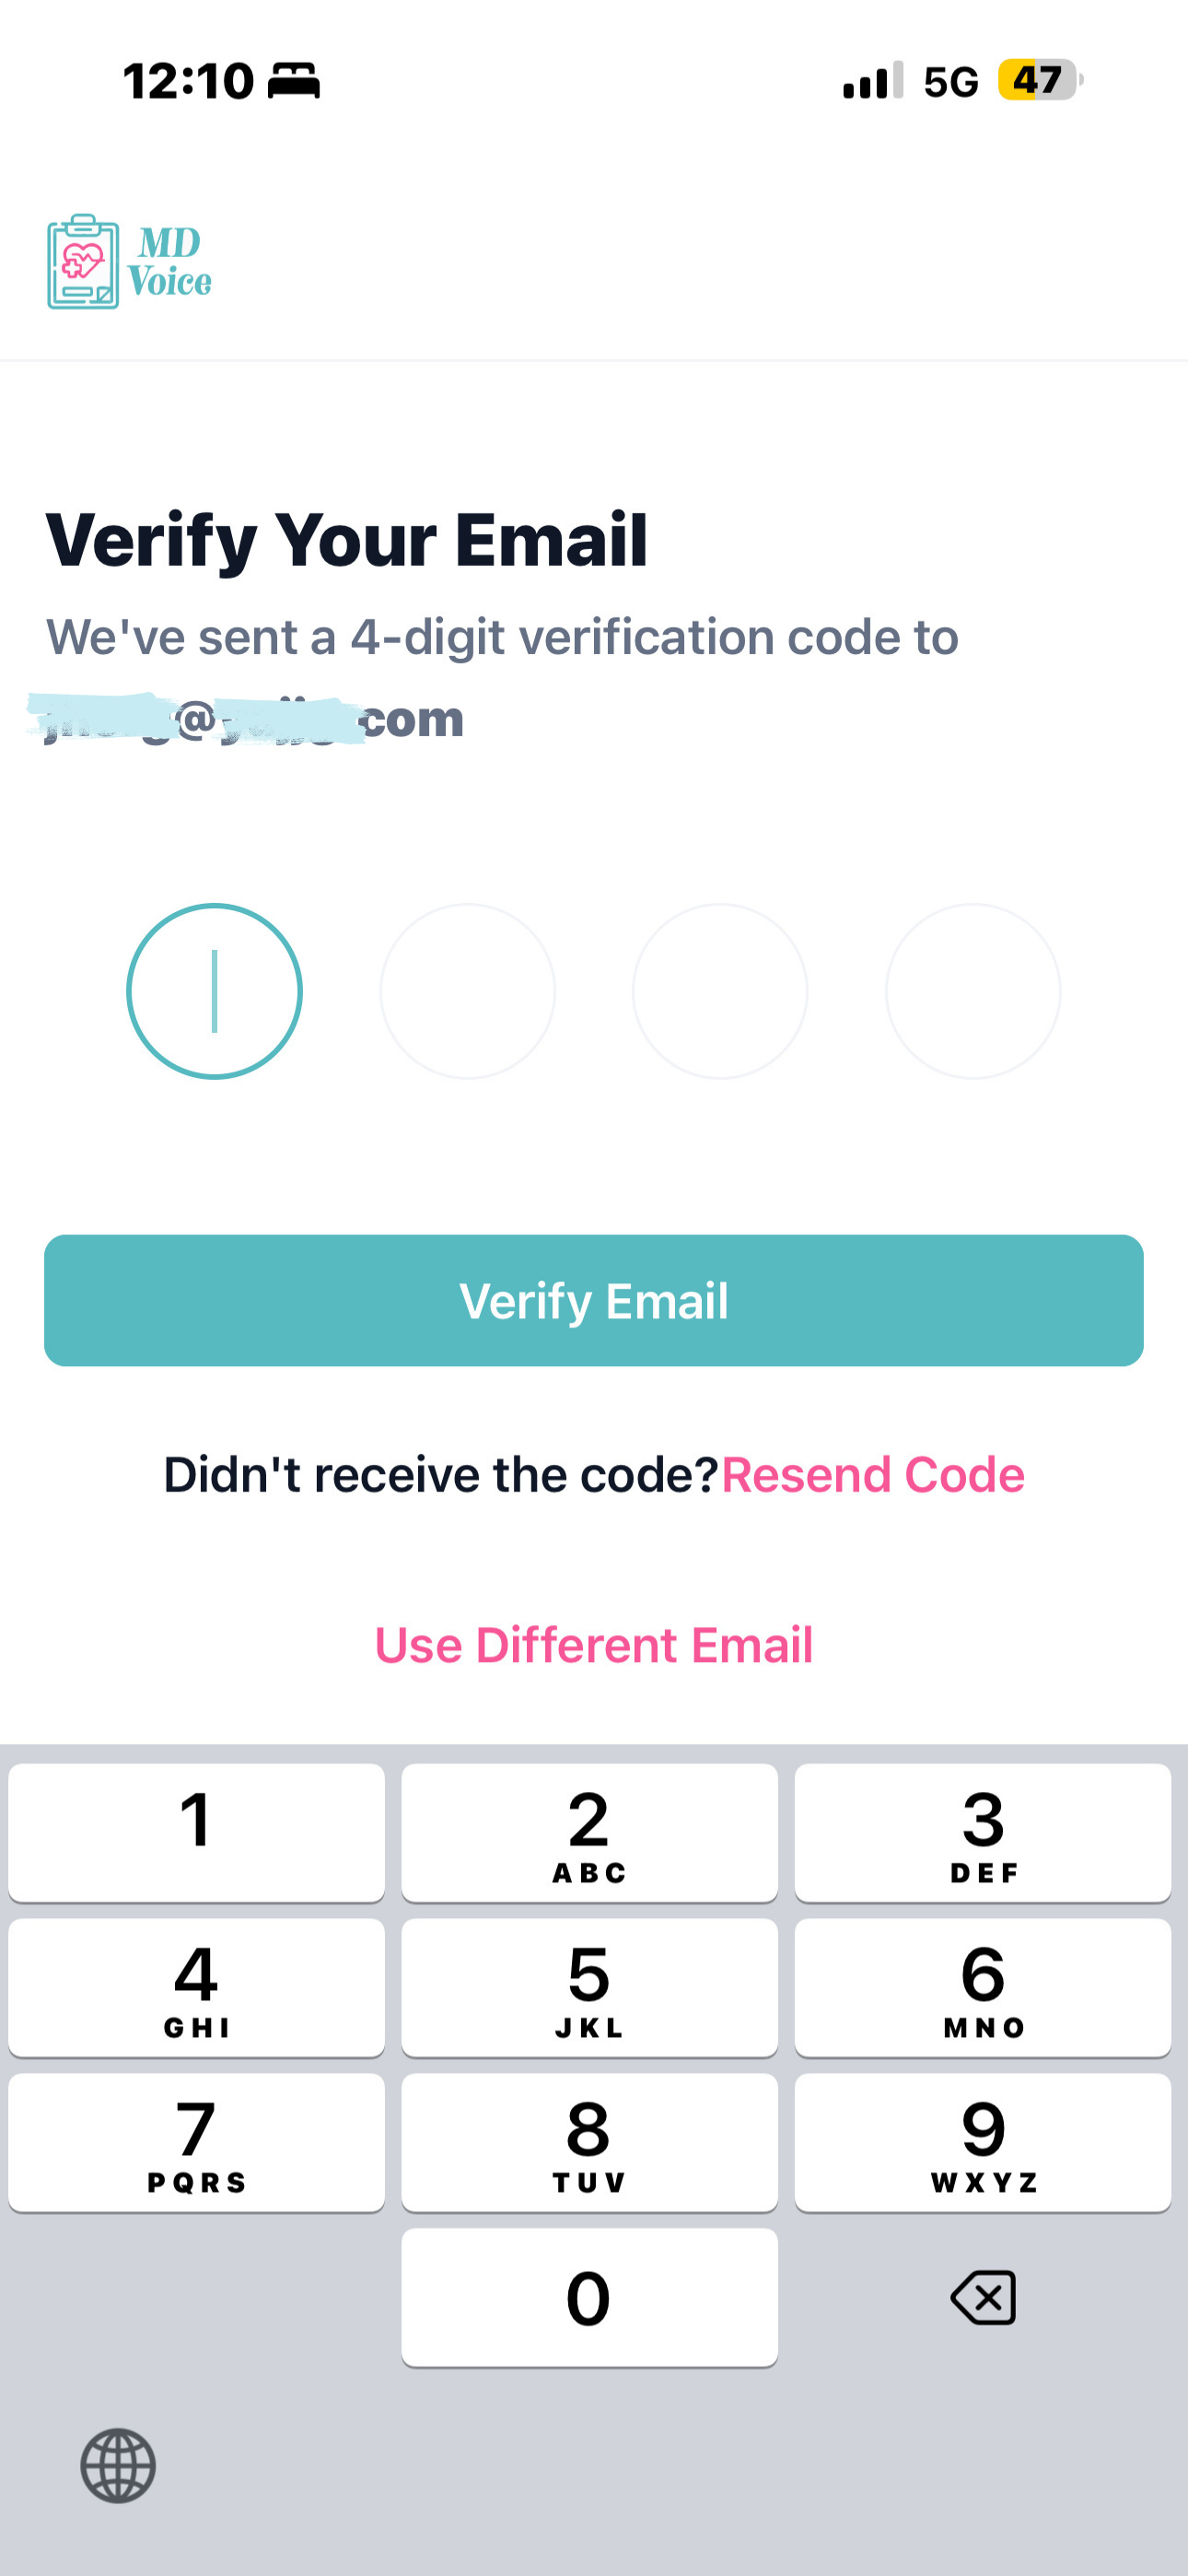
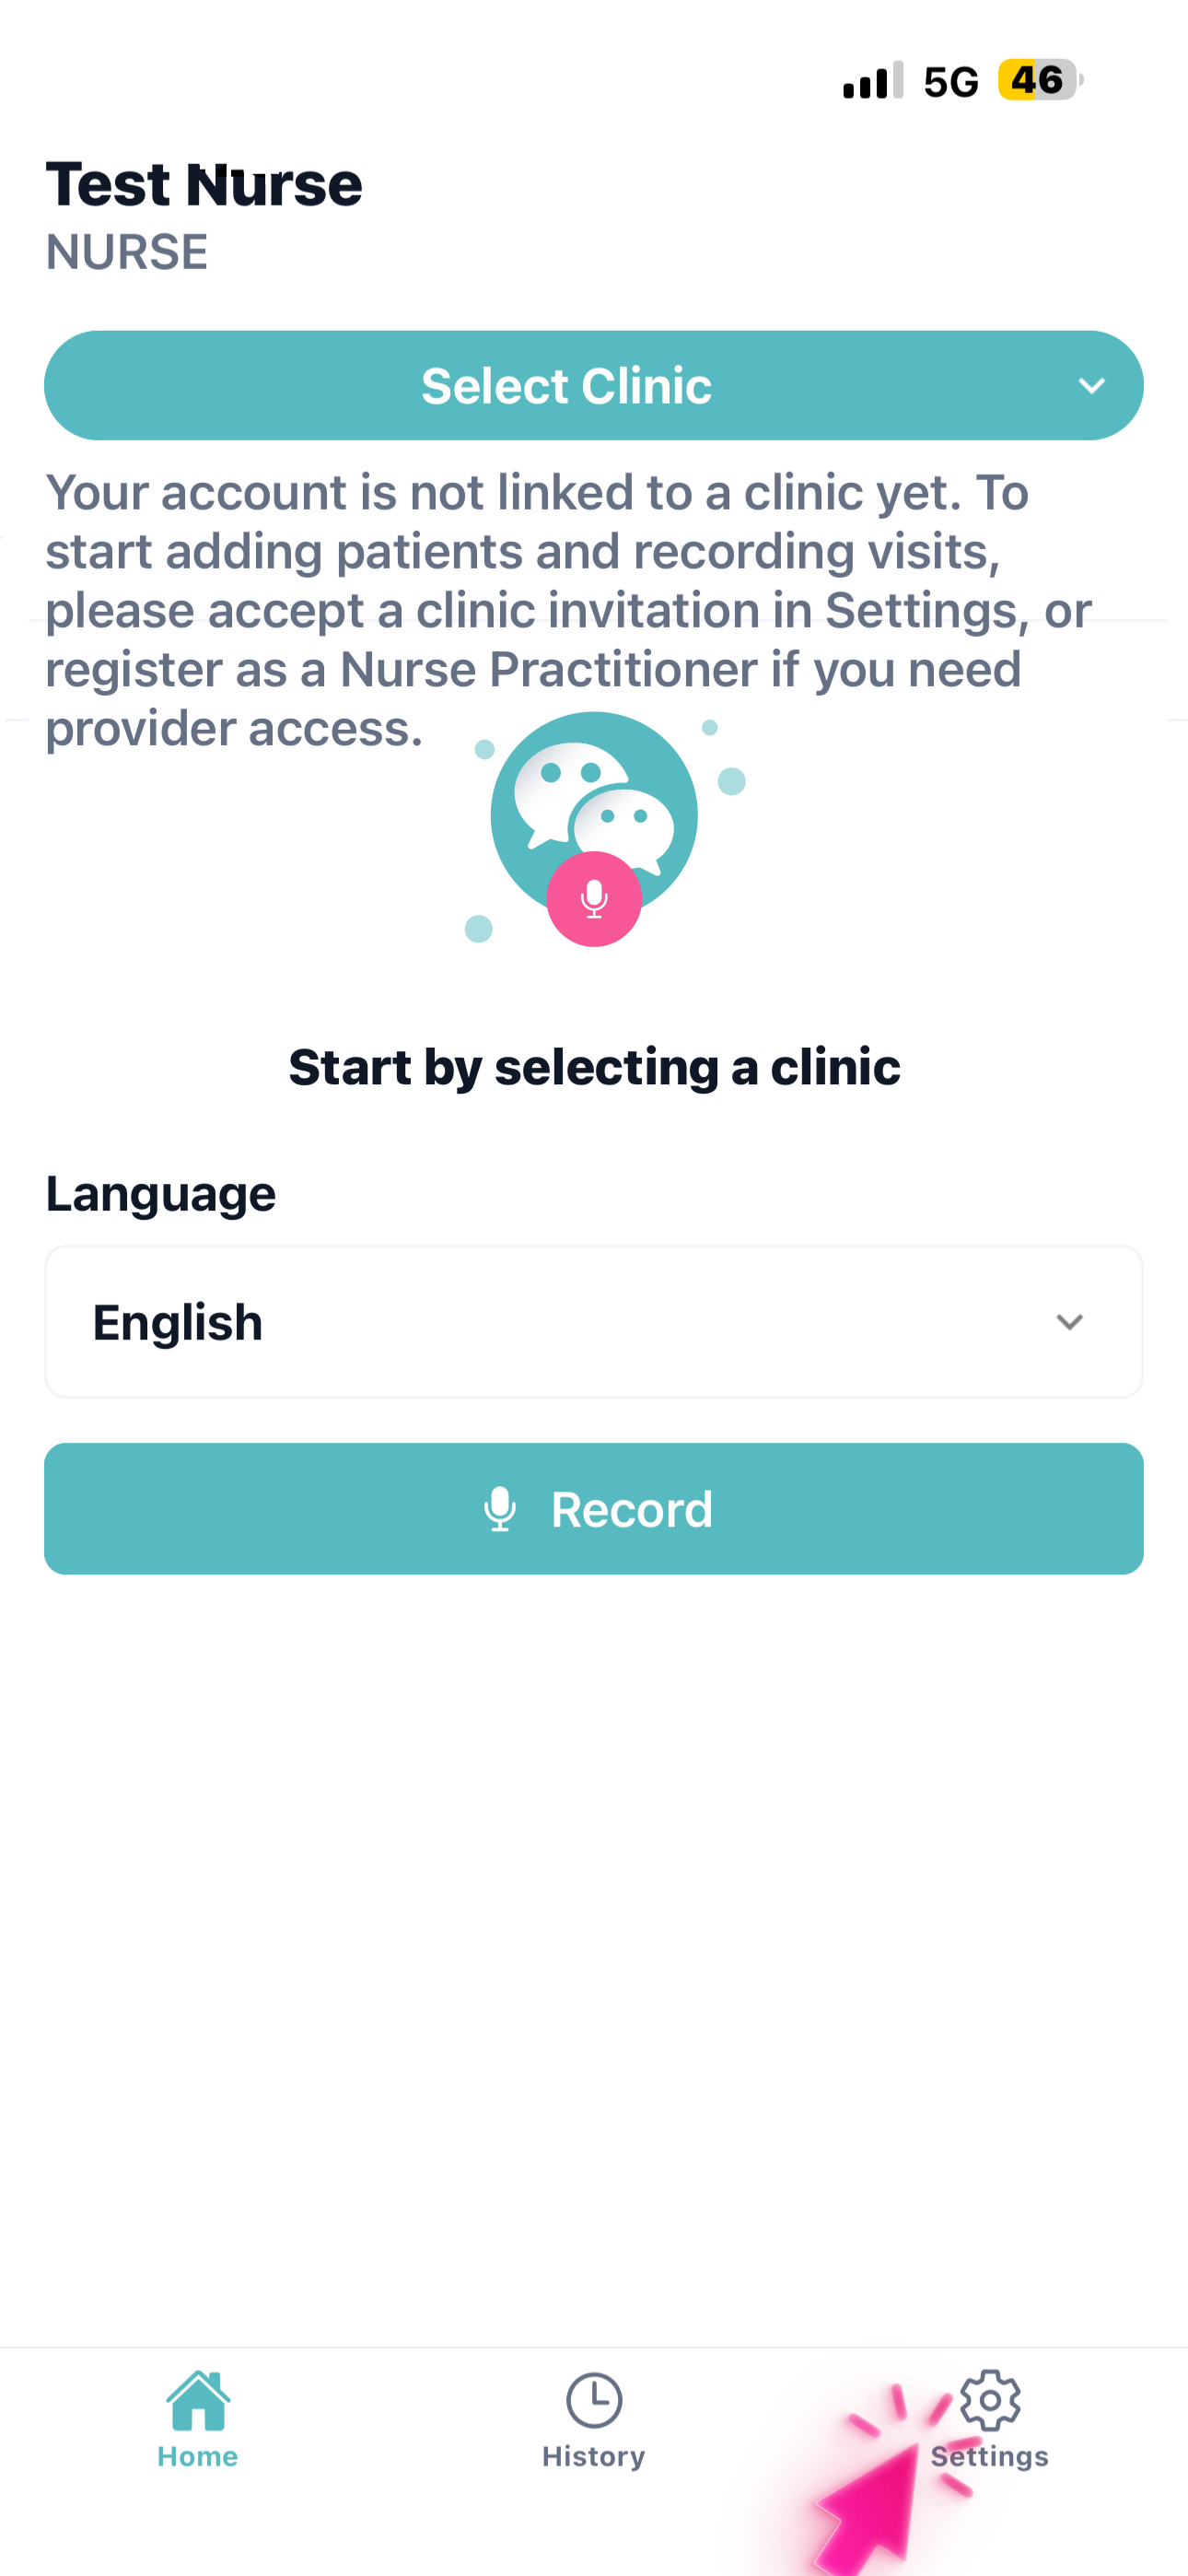
Enter the verification code from your email. On first login, you'll see a message that your account is not linked to a clinic — go to Settings to continue.
Check your inbox (and spam folder) for the verification code. Once logged in, the home screen will prompt you to accept a clinic invitation before you can access any patient data or recording features.
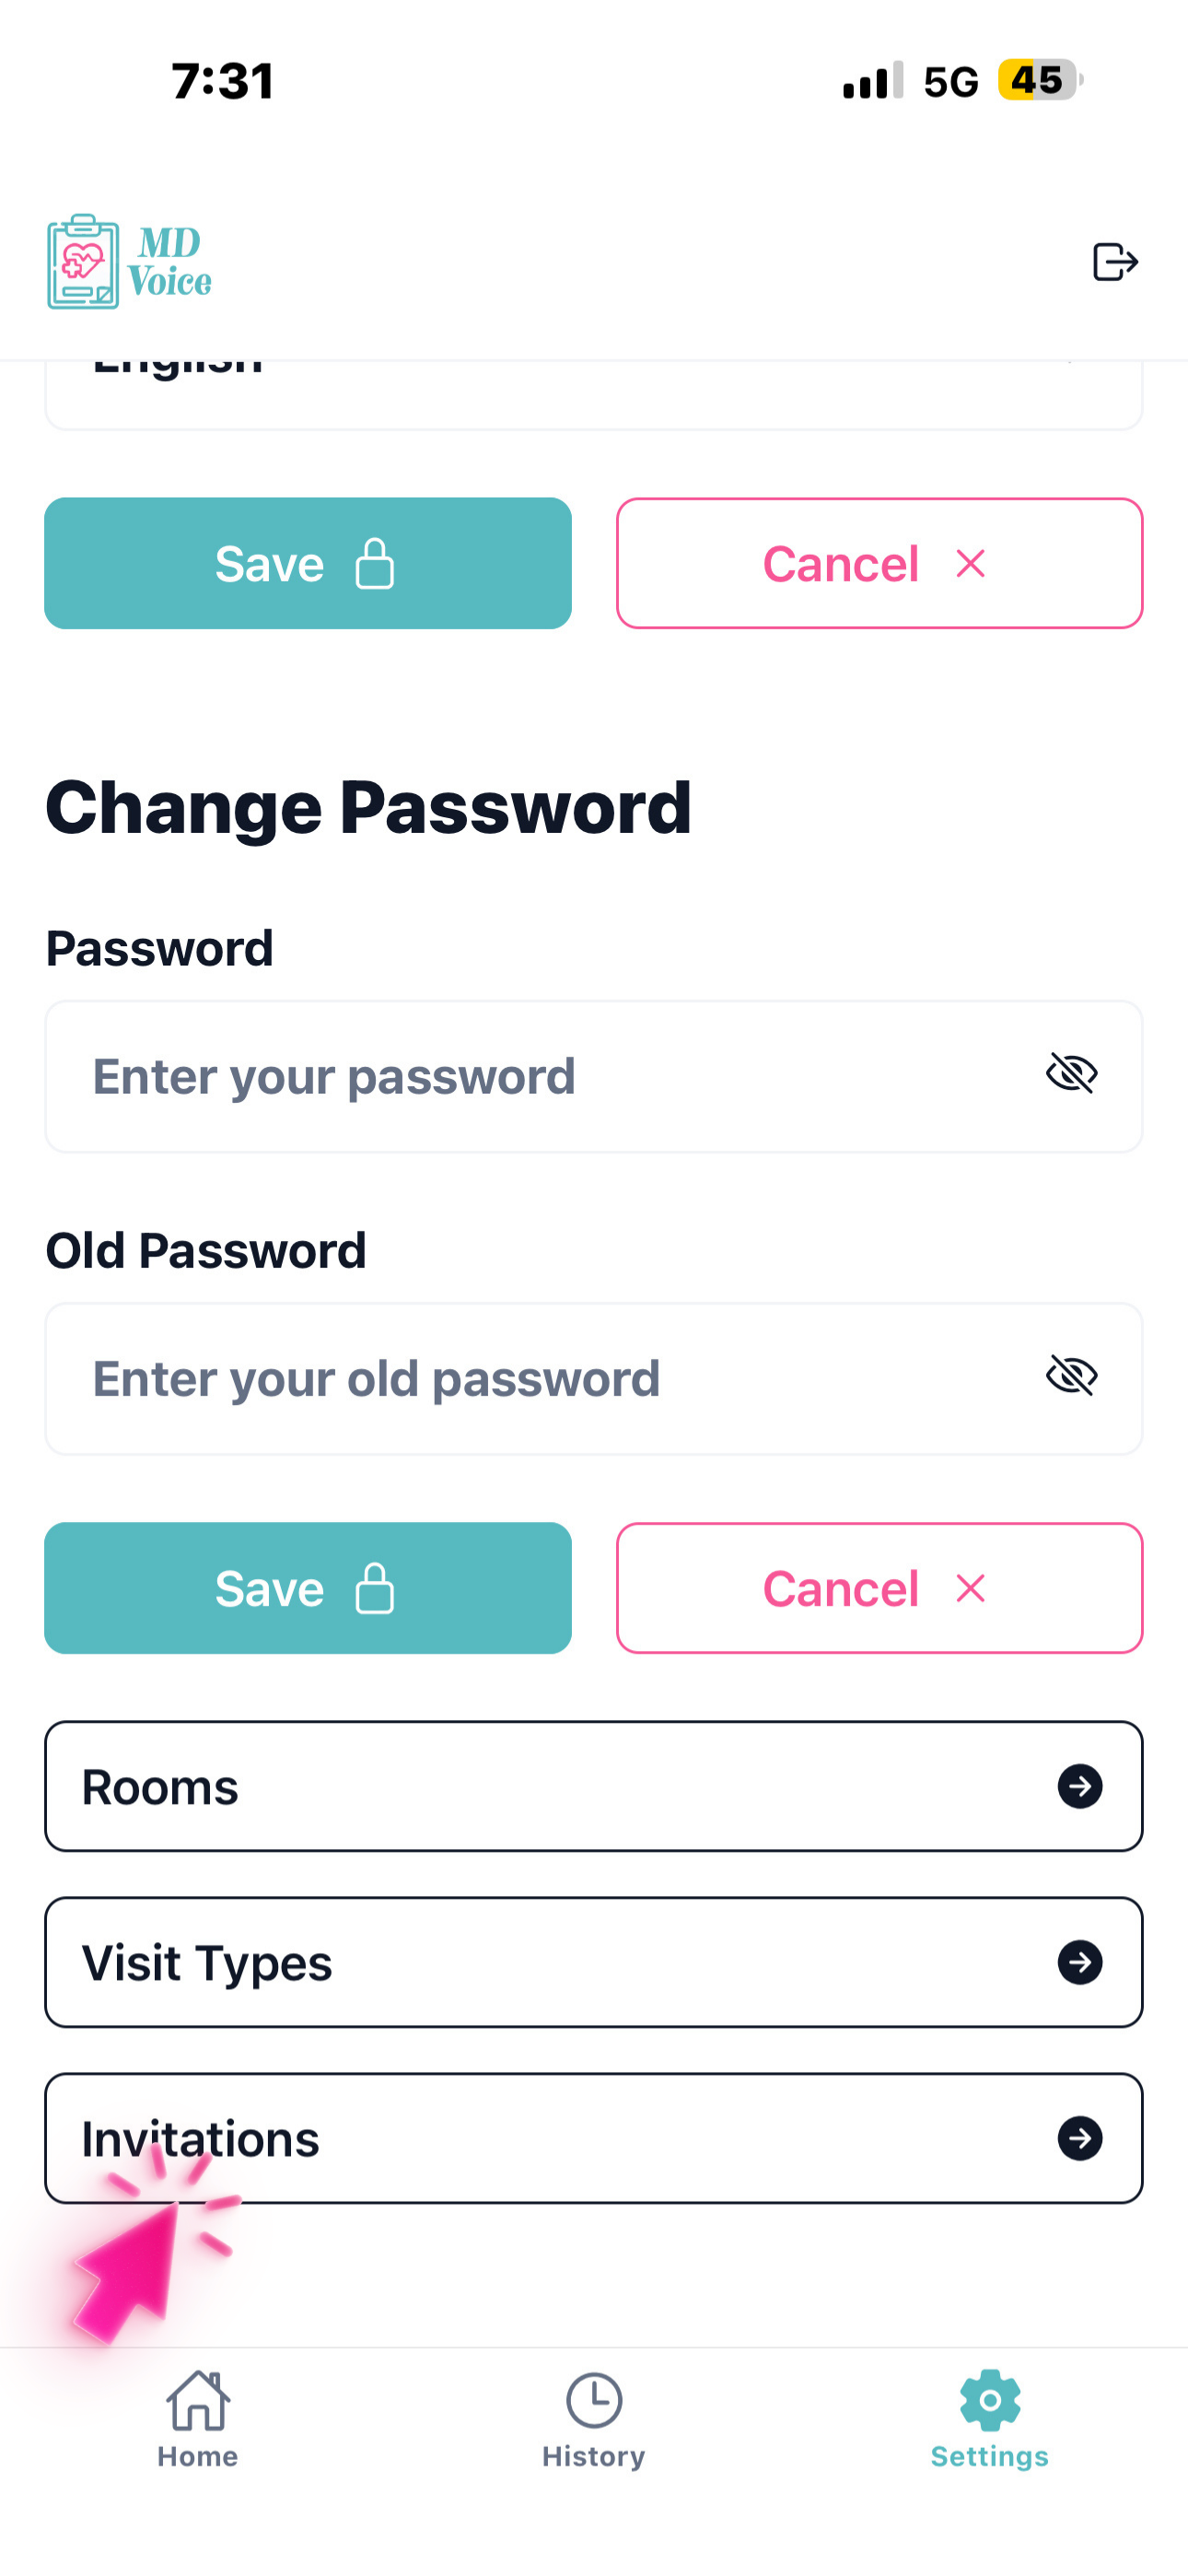
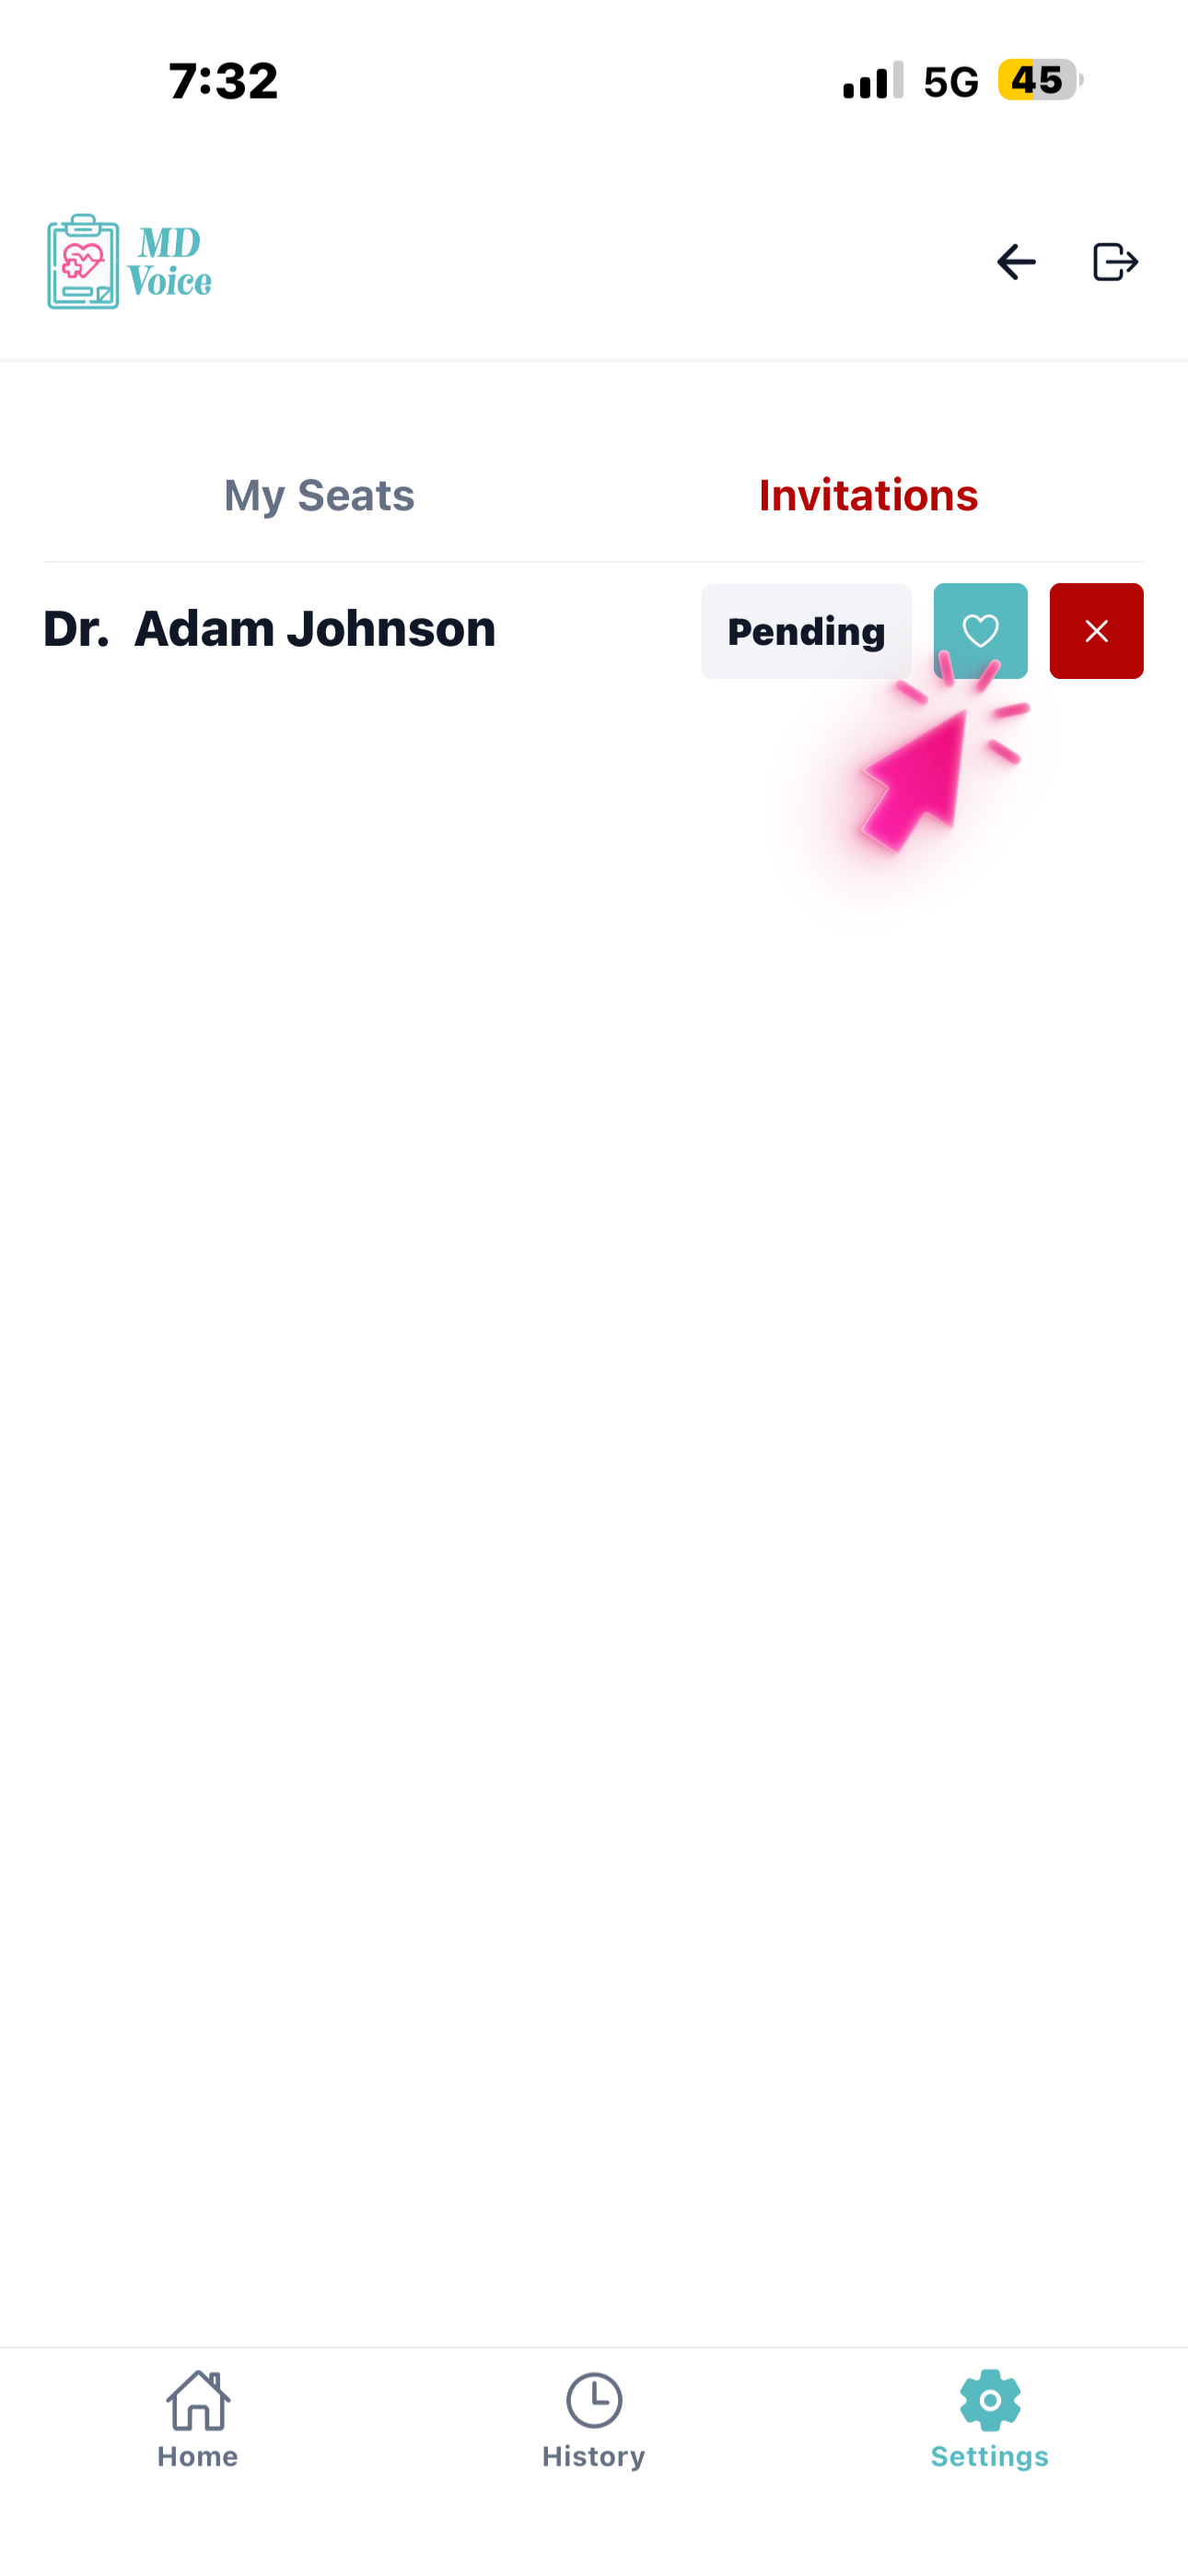
In Settings, tap 'Invitations,' then go to 'Pending Invitations' and tap the green 'Approve' button to accept your clinic invitation.
After accepting the invitation, go back to the home page. Your clinic will now appear in the dropdown menu. If you don't see a pending invitation, ask your Doctor, NP, or PA to resend it from their Settings → Seats page.
On the home page, select your clinic and doctor from the dropdown menu. If linked to multiple clinics, choose the one you want to work with.
The dropdown shows the clinic name along with the doctor's name. You can switch between clinics anytime to load the correct patient list and settings for that provider.
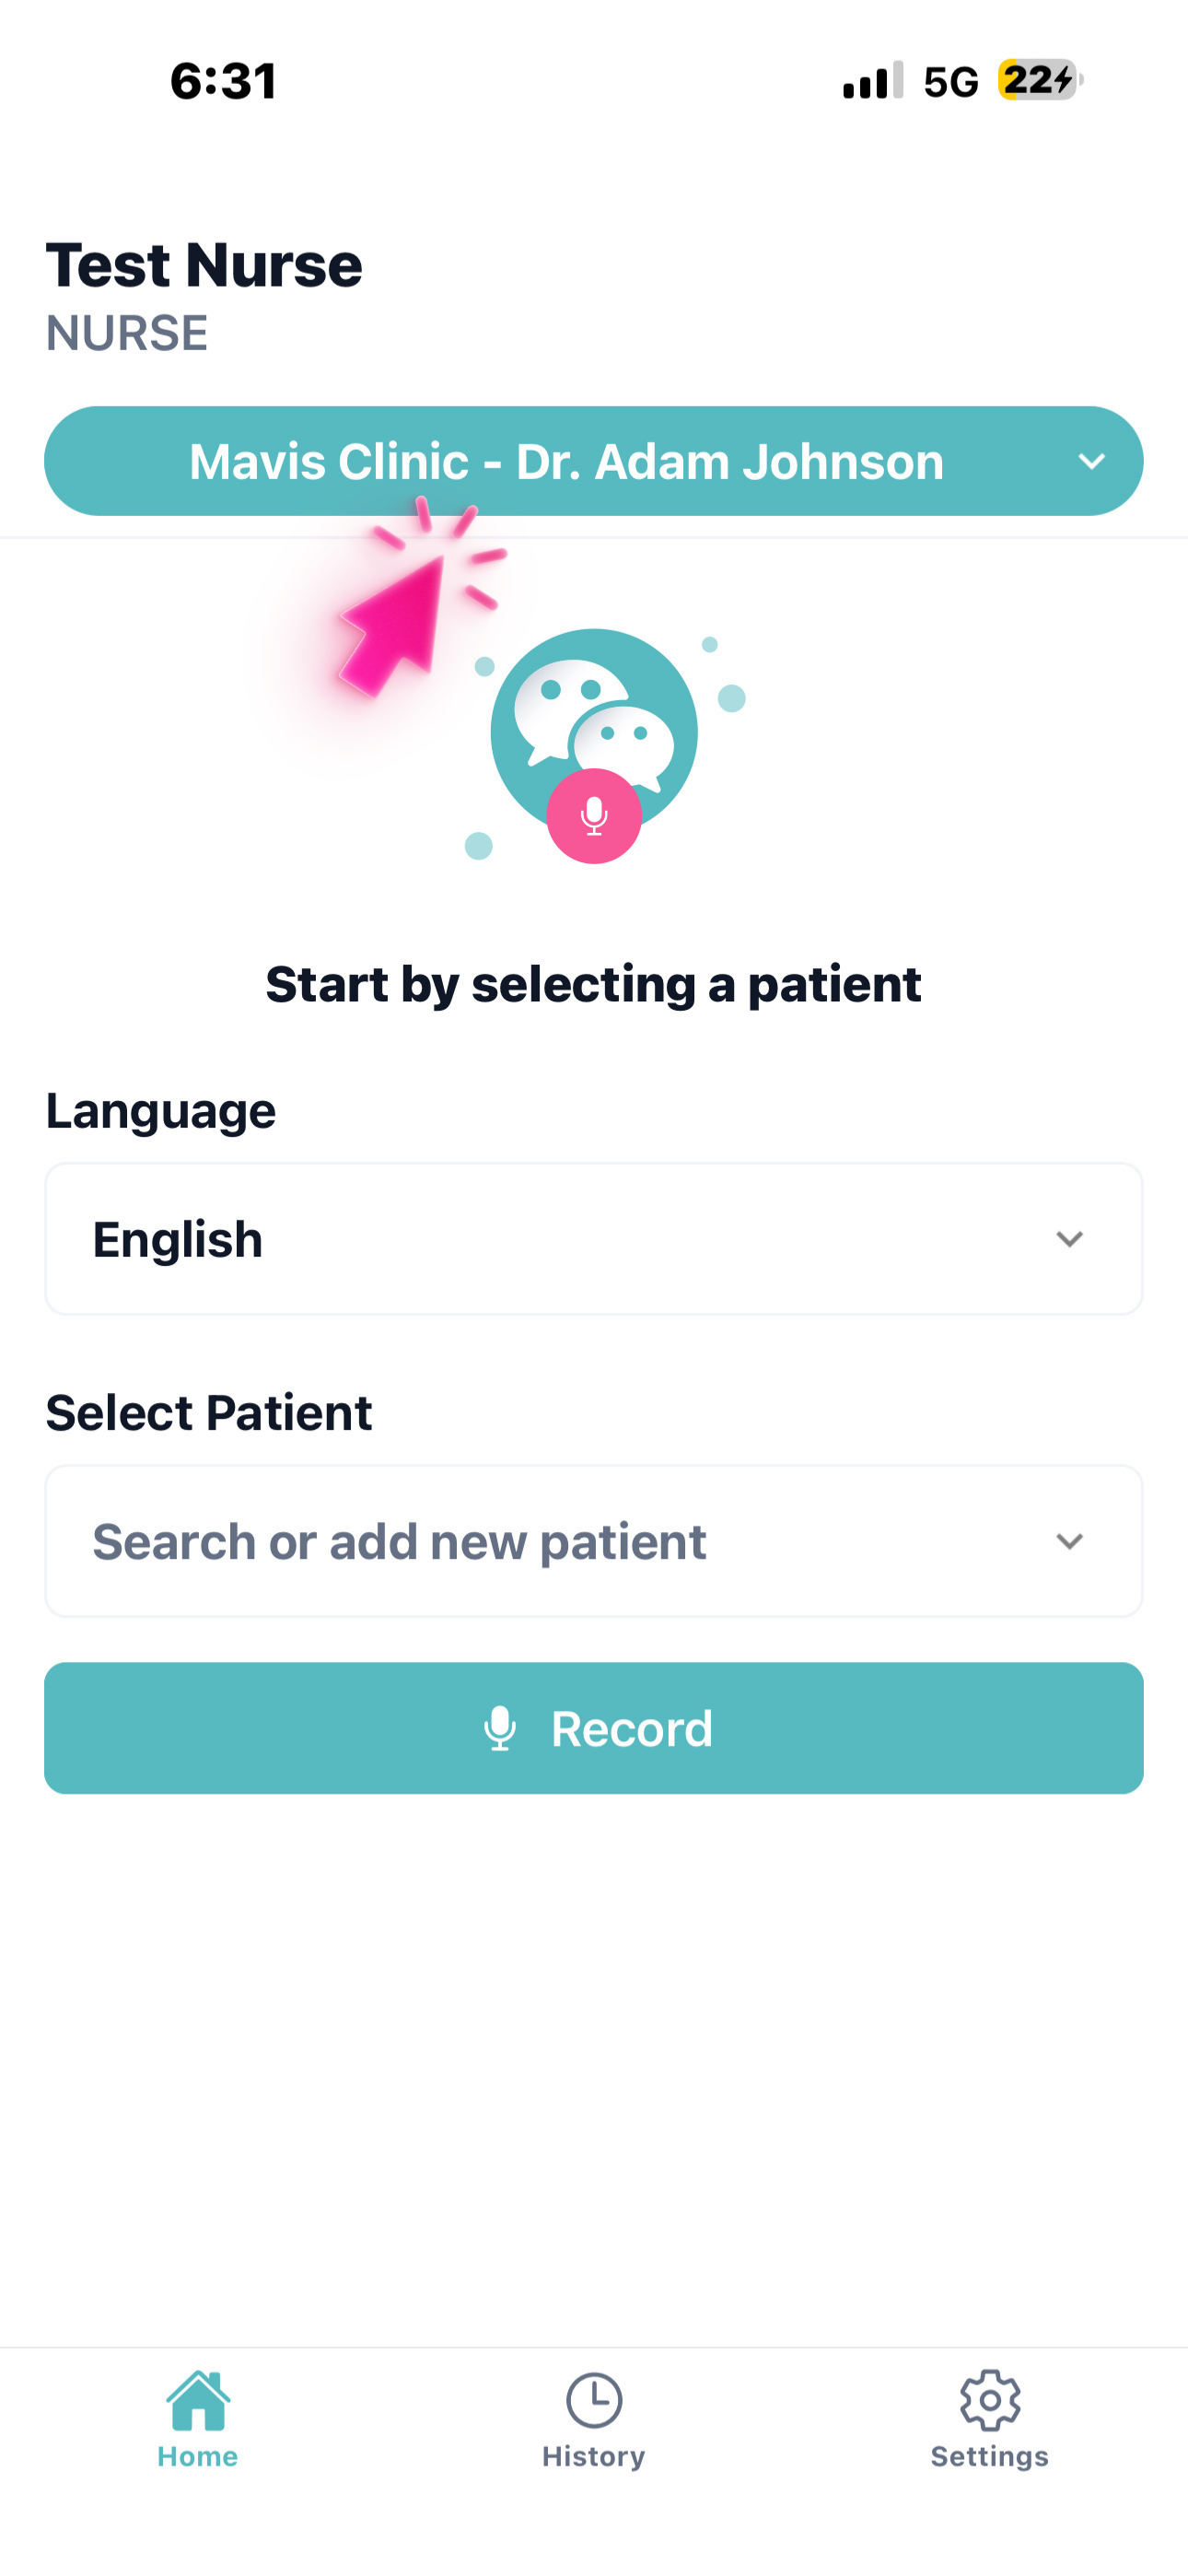
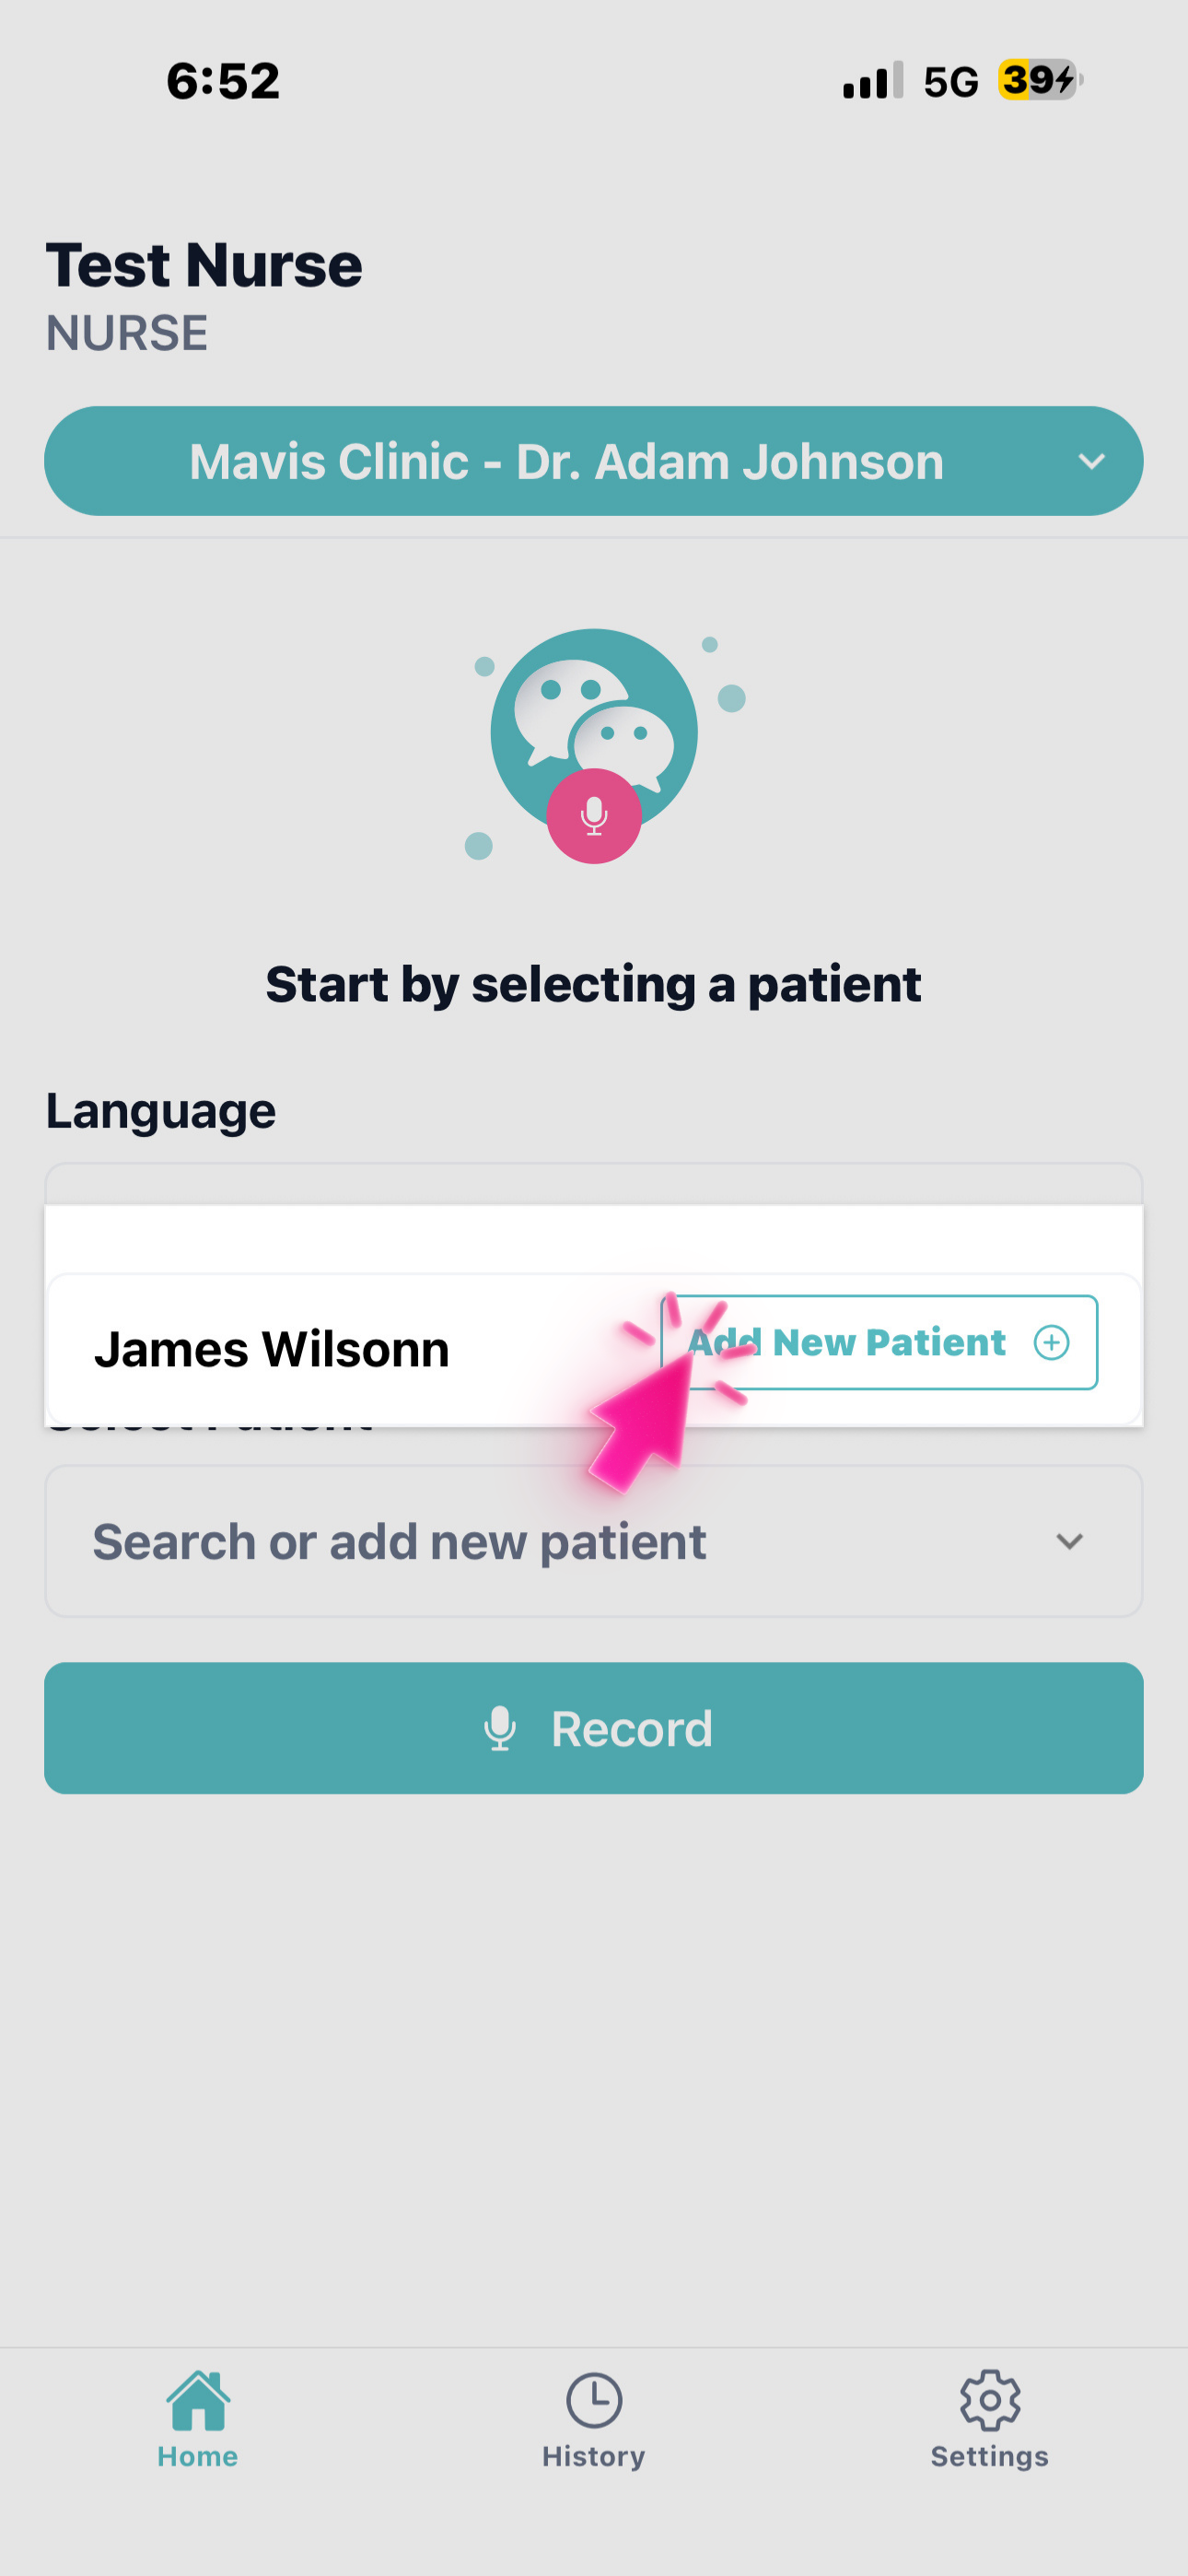
Your patient list loads automatically from the EMR if integrated, or you can paste a schedule via 'Add Patient List' on the web, or add patients one by one with 'Add New Patient.'
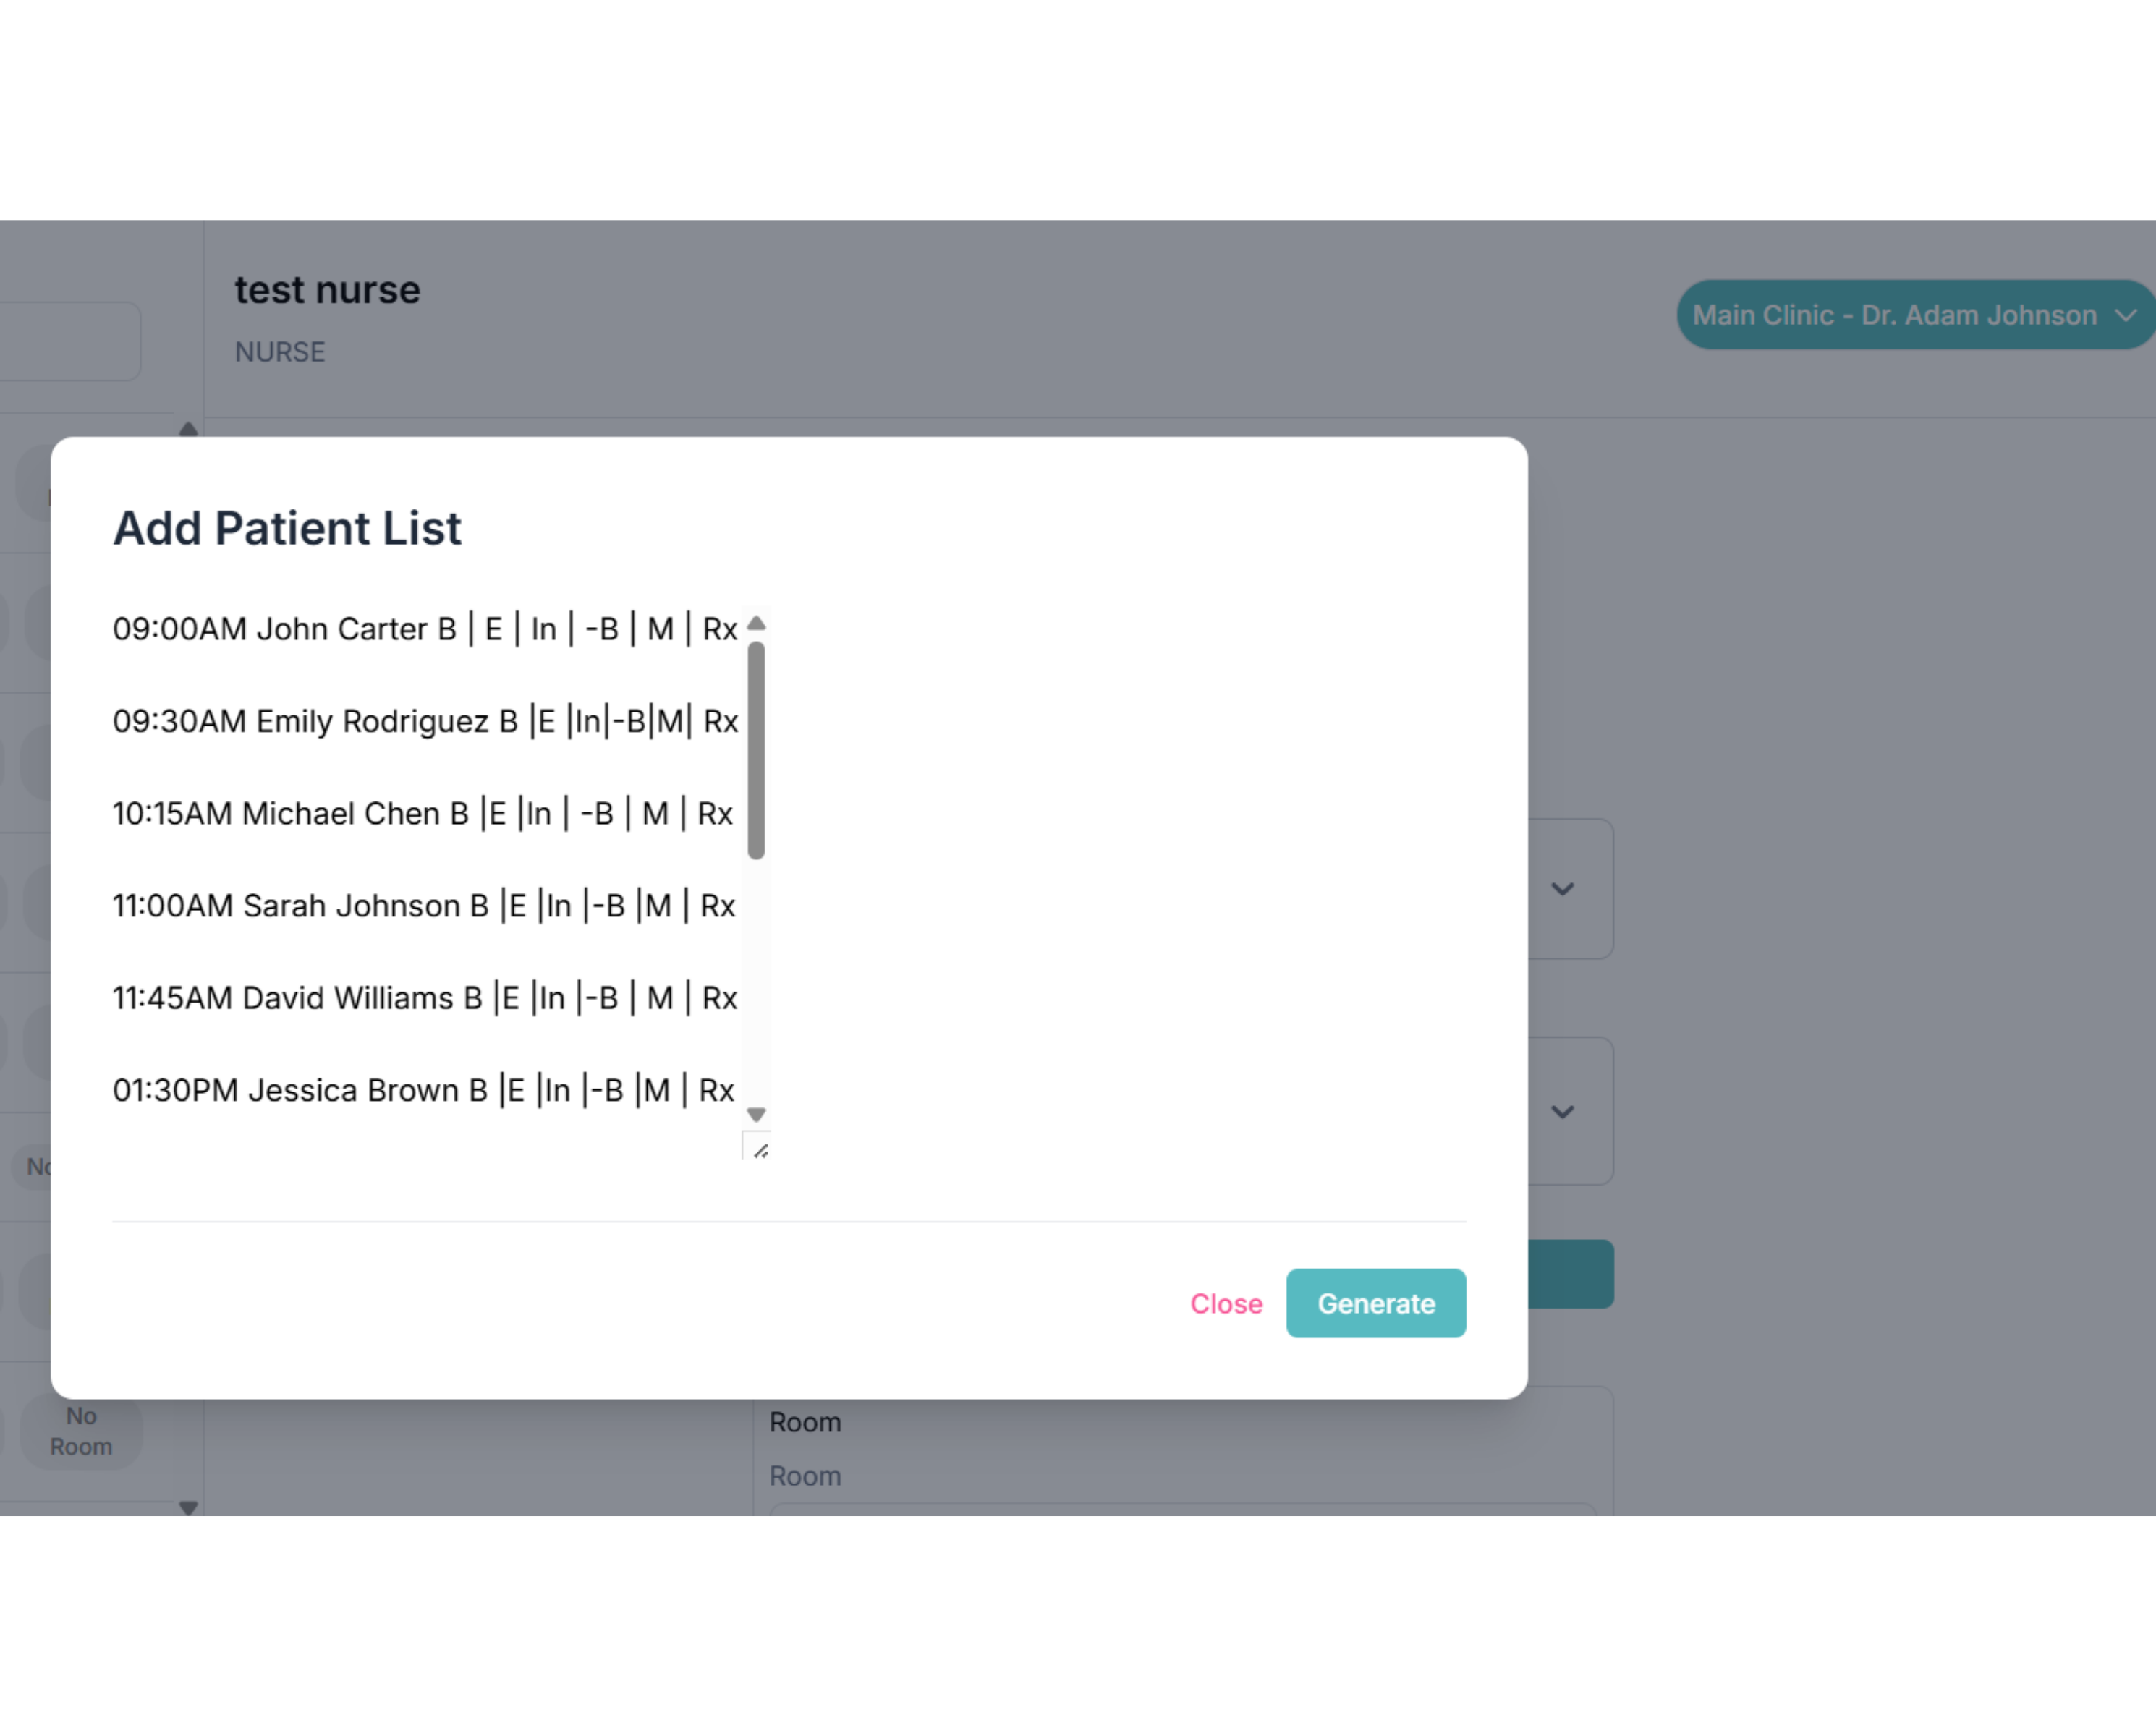
On the web version, click 'Add Patient List' to paste your doctor's schedule directly from the EMR and click 'Generate' to populate the list. On mobile, you can search for existing patients or tap 'Add New Patient' to create entries individually.
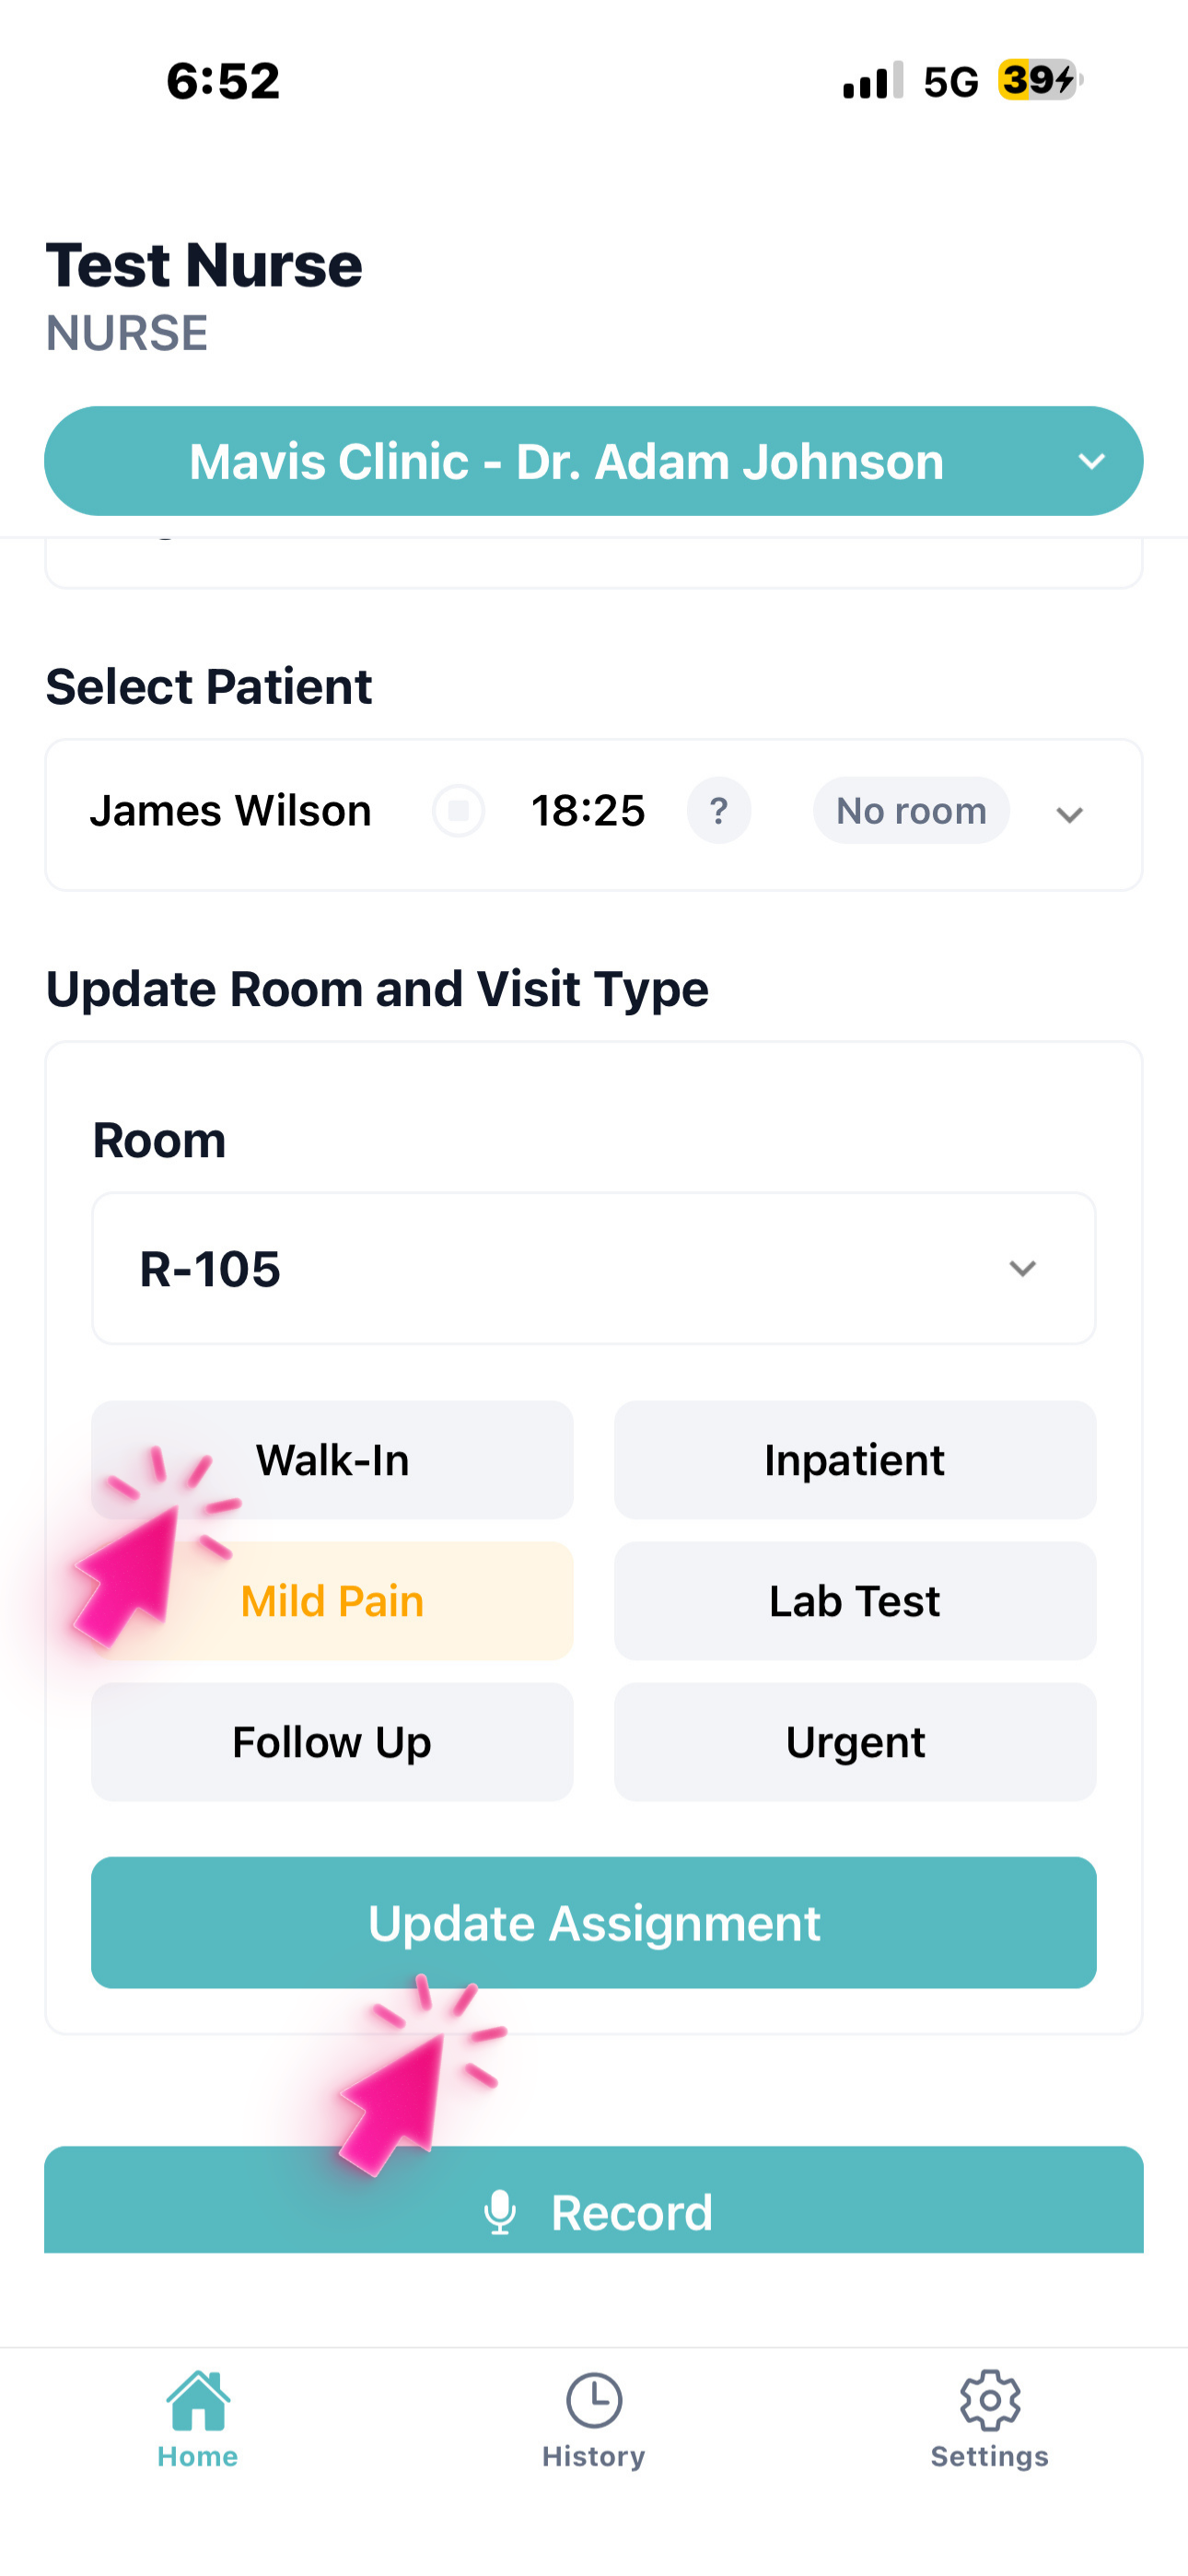
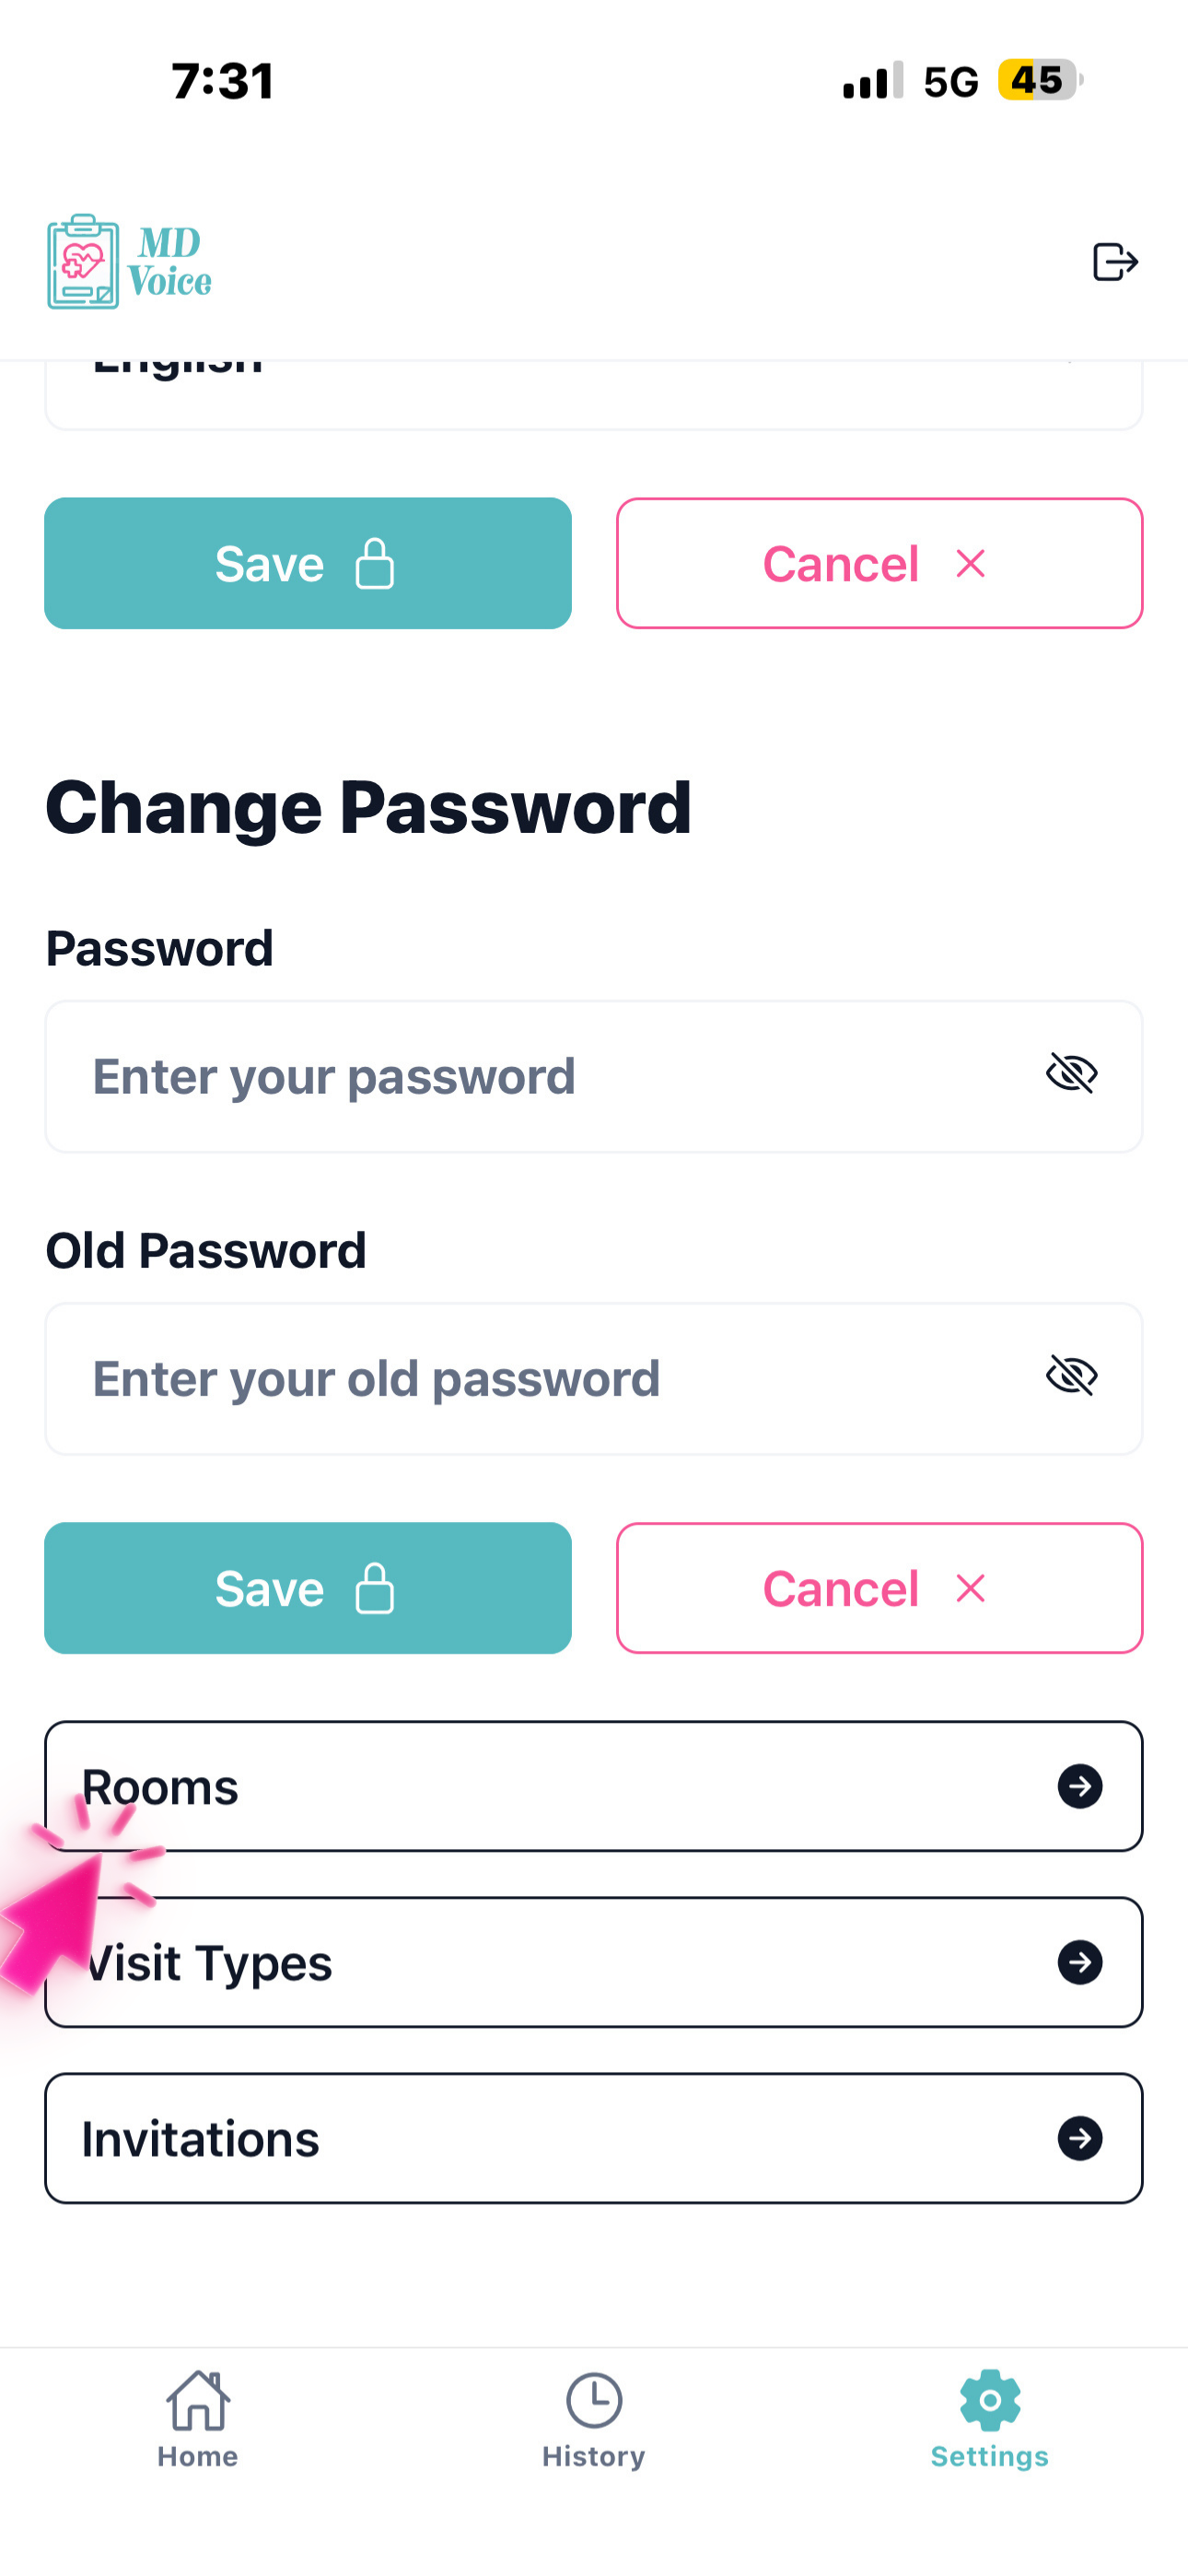
Select a patient, assign the room and visit type, then tap 'Update Assignment.' Room names and visit types can be edited in Settings.
Use the dropdown to pick the correct room and select the visit type (e.g., Walk-In, Follow Up, Urgent). These options are customizable by the doctor from the Settings page under 'Rooms' and 'Visit Types.'
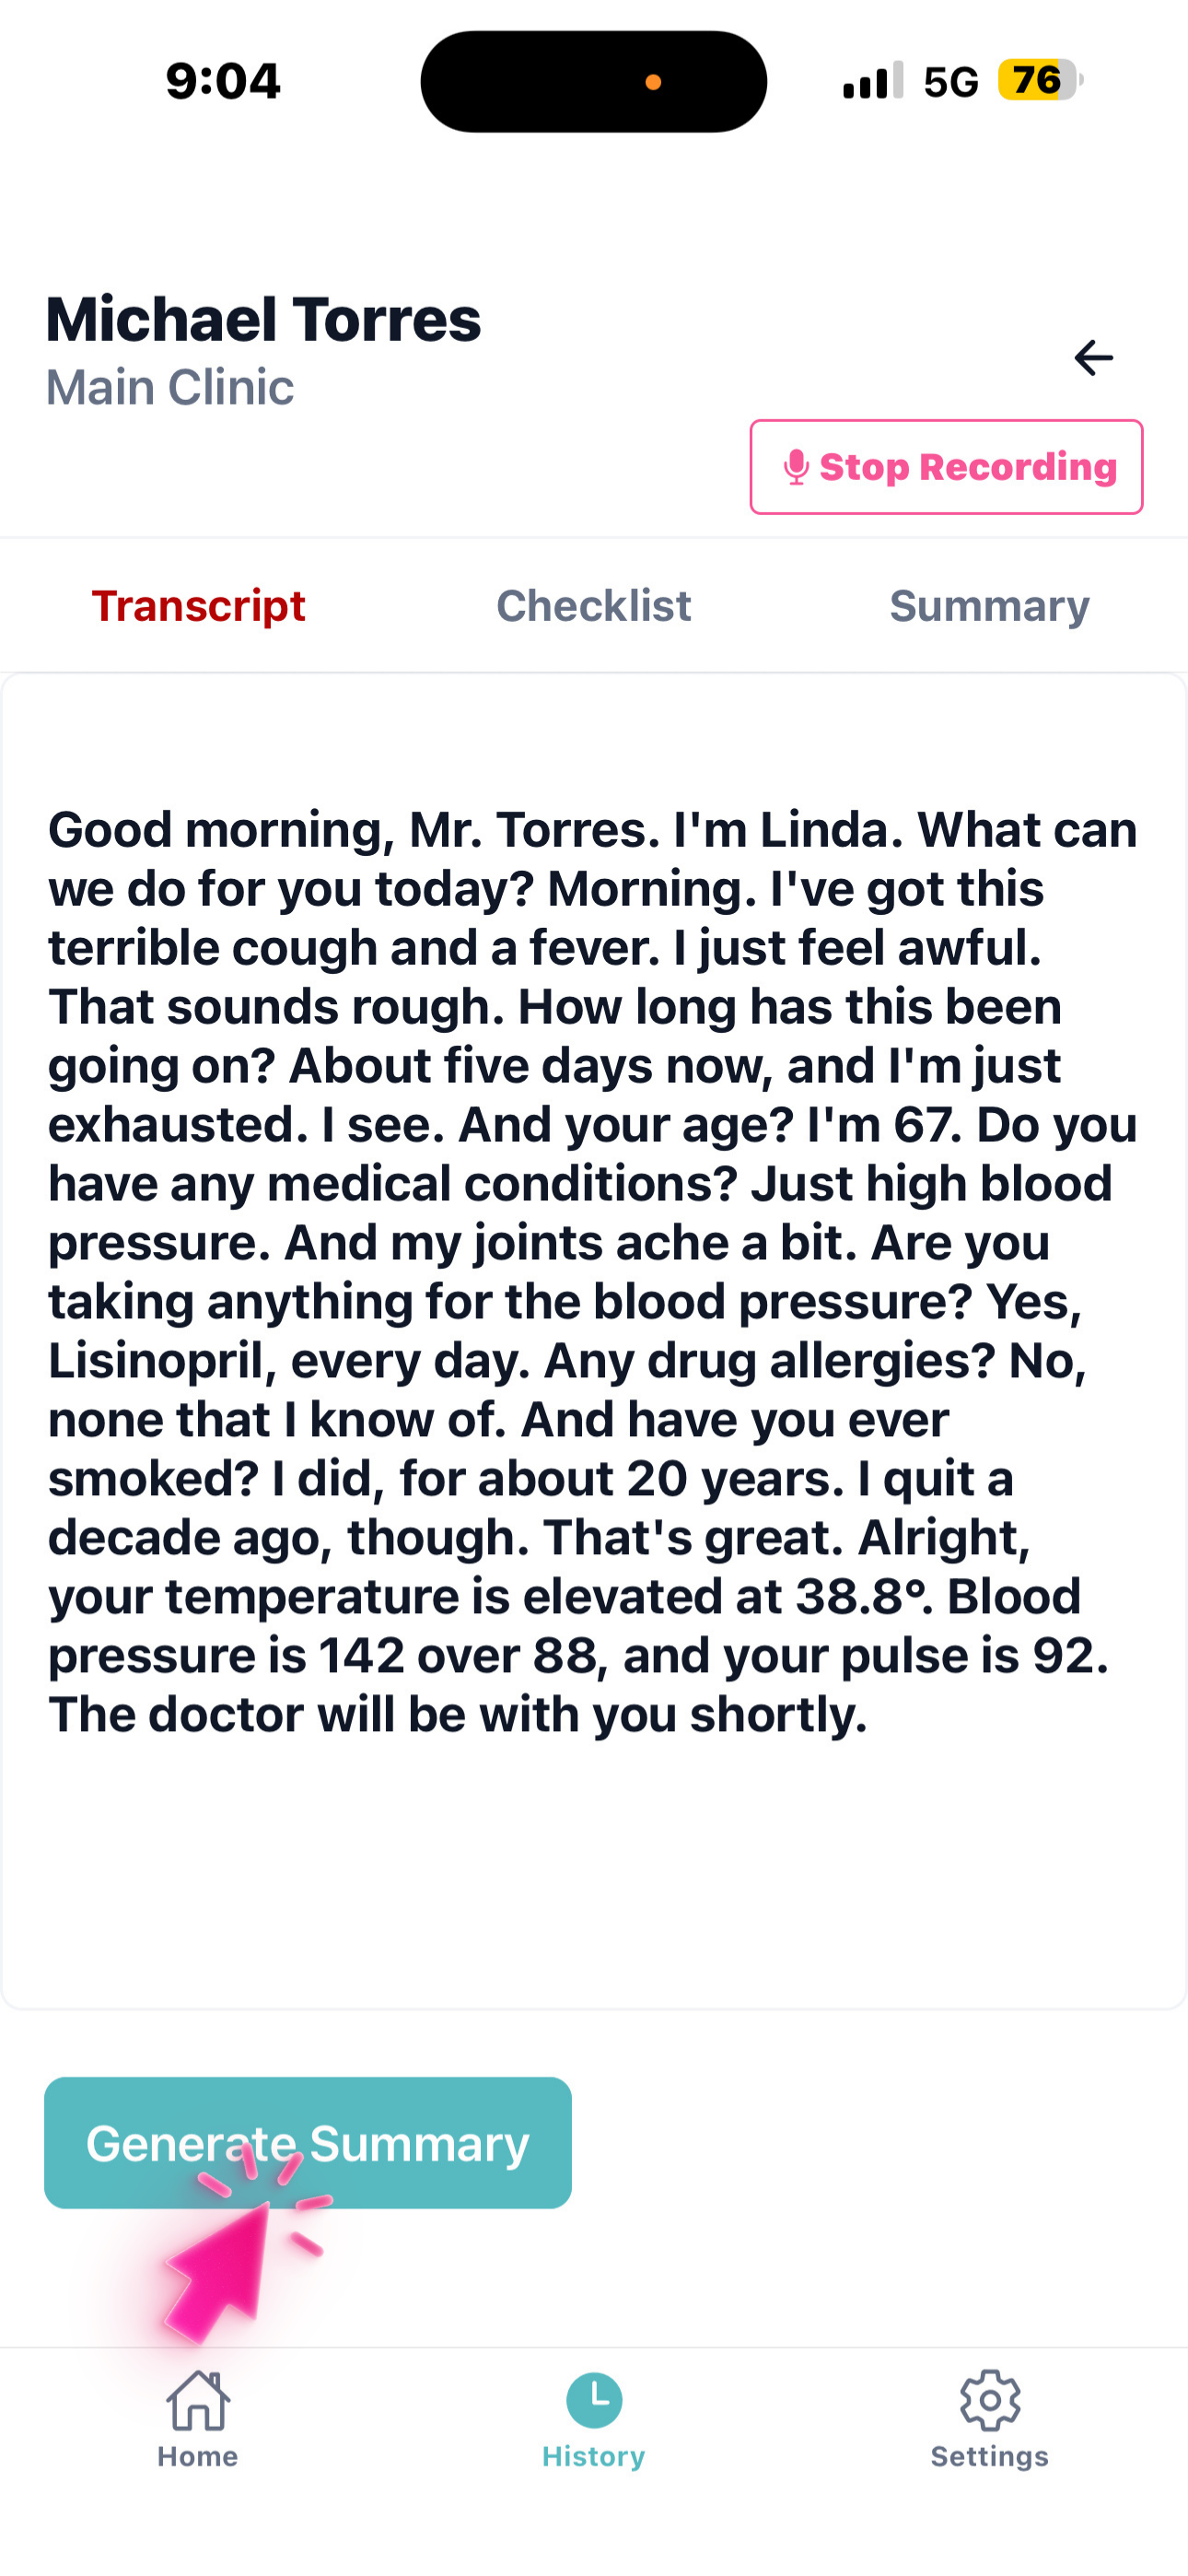
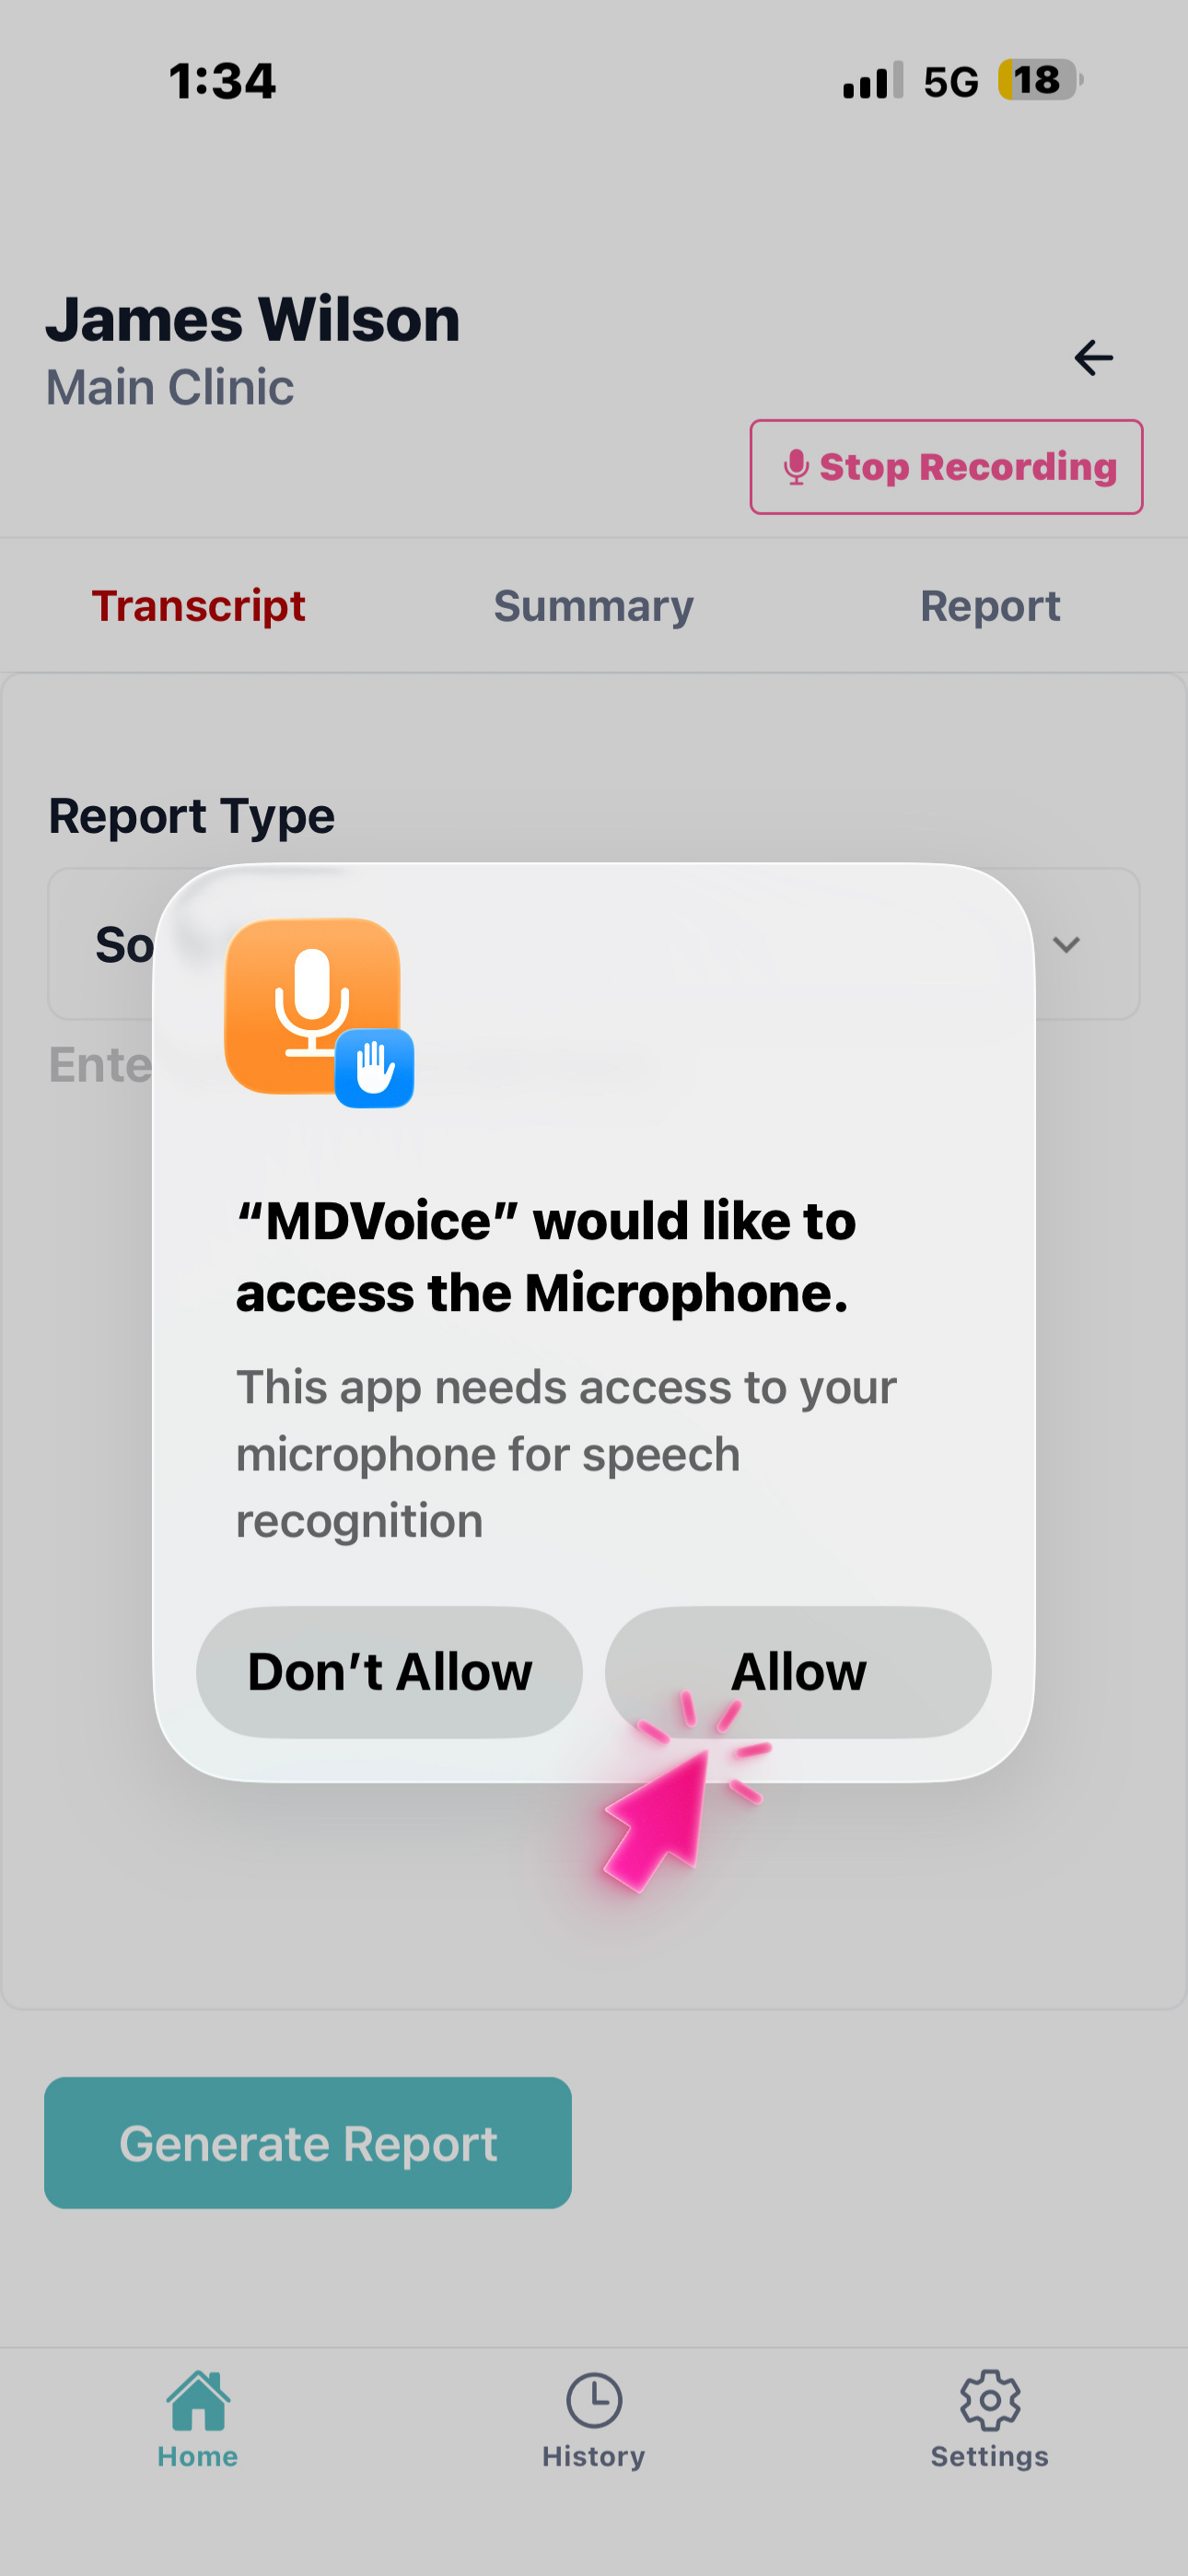
Tap 'Record,' allow microphone and speech recognition access, then start speaking with the patient — you'll see the live transcript.
On first use, the app will ask permission to access your microphone and speech recognition. Tap 'Allow' for both prompts. The conversation will be transcribed in real time as you speak with the patient.

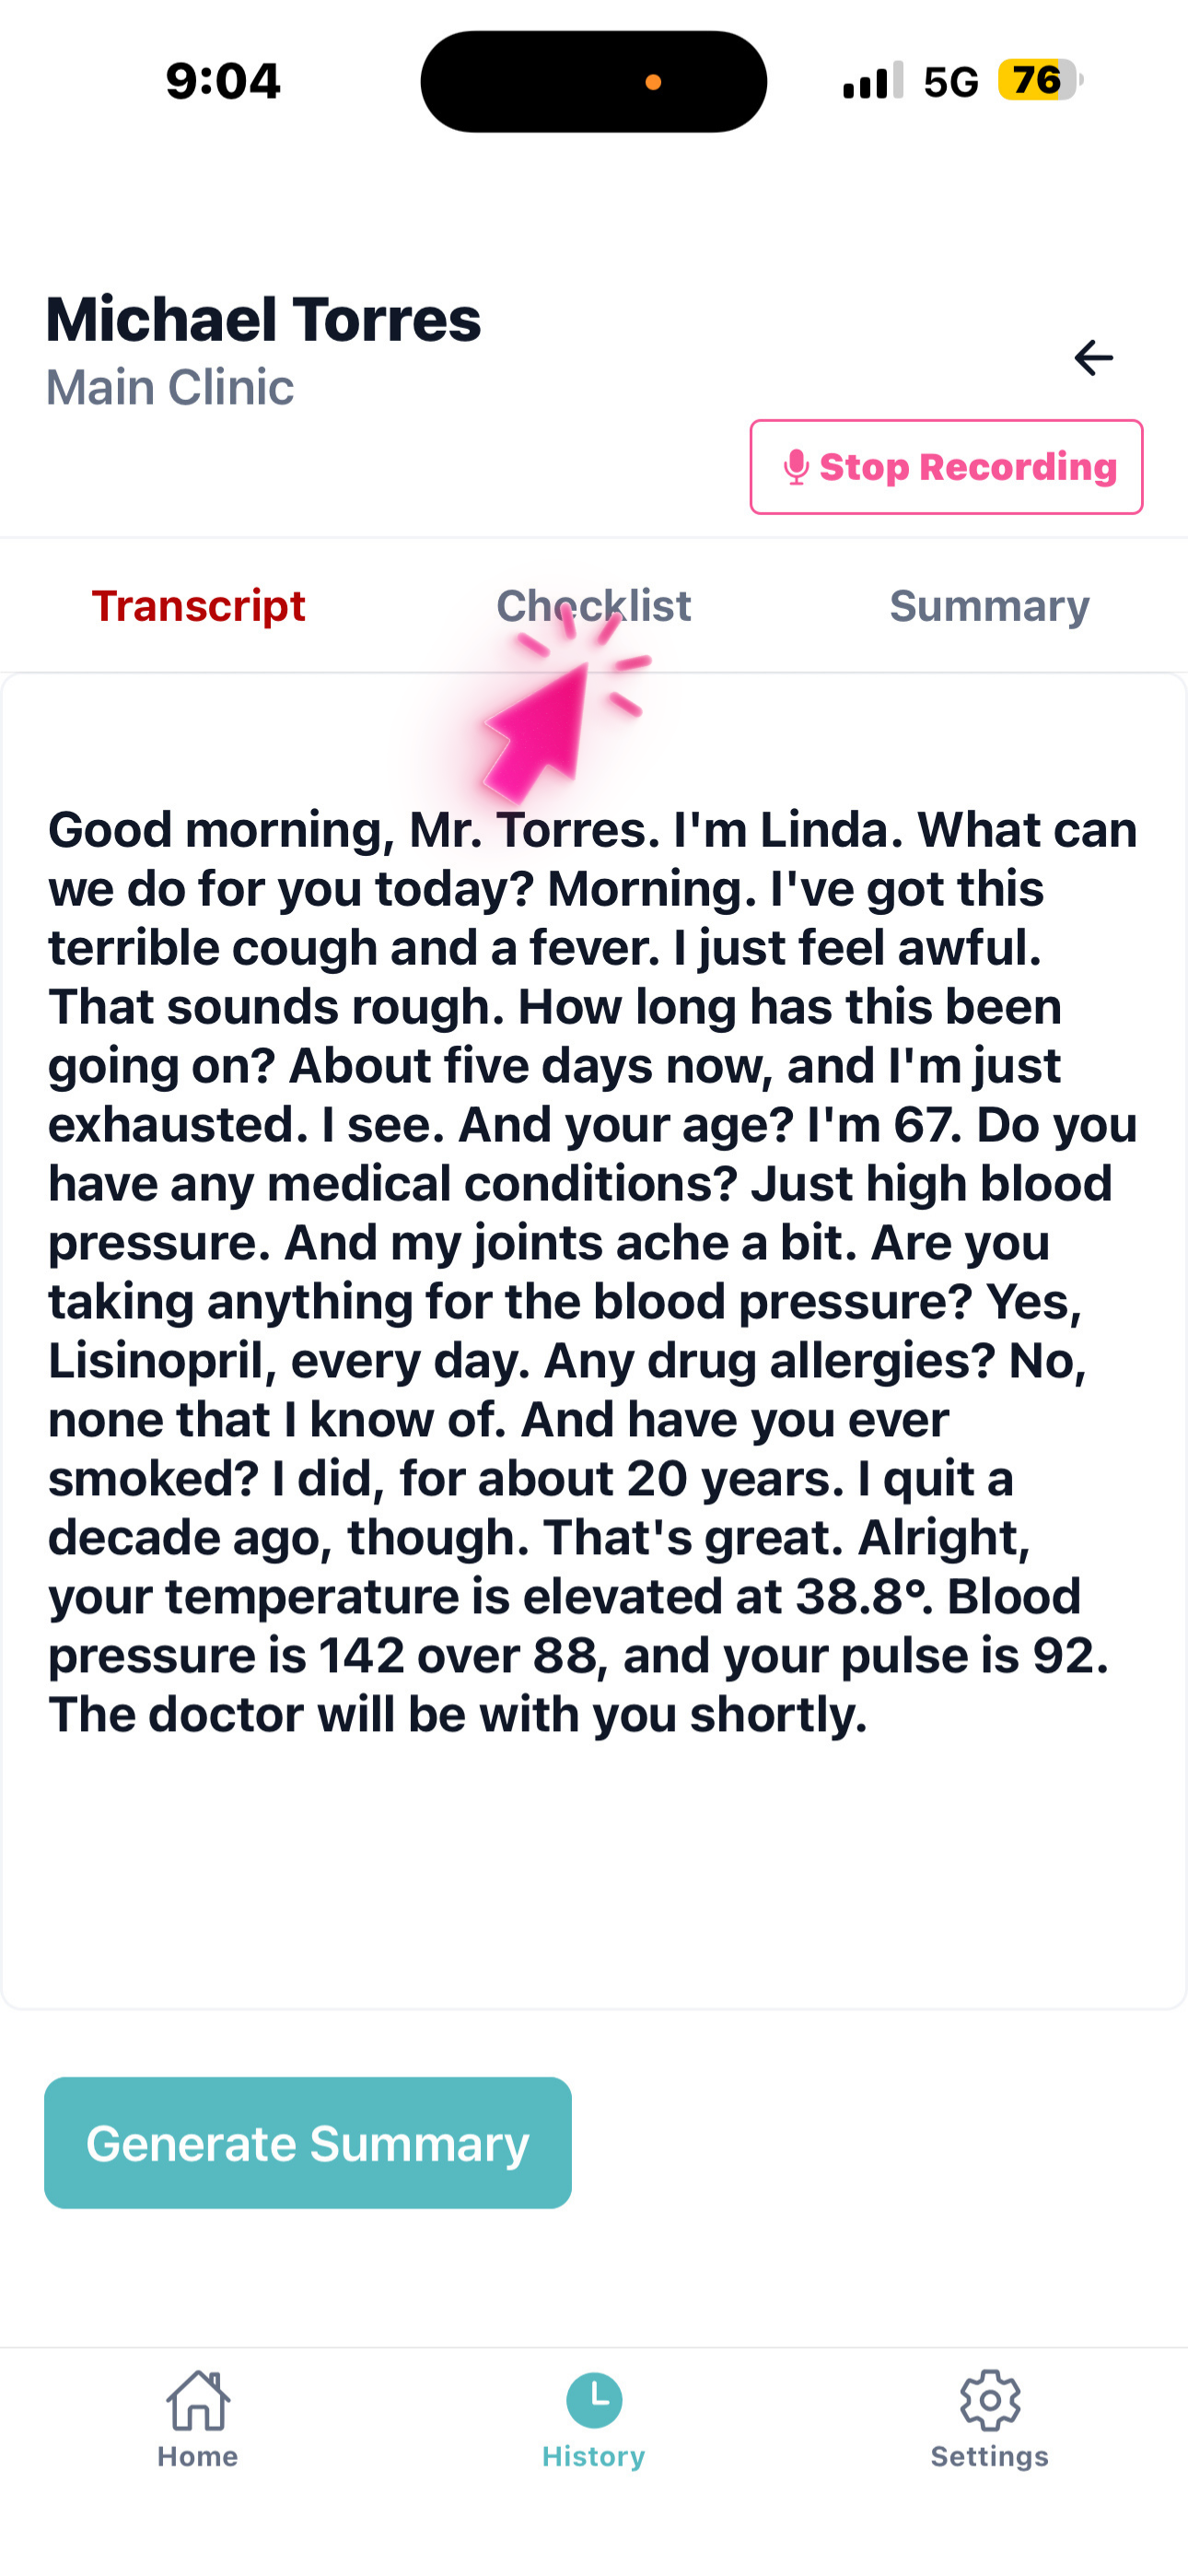
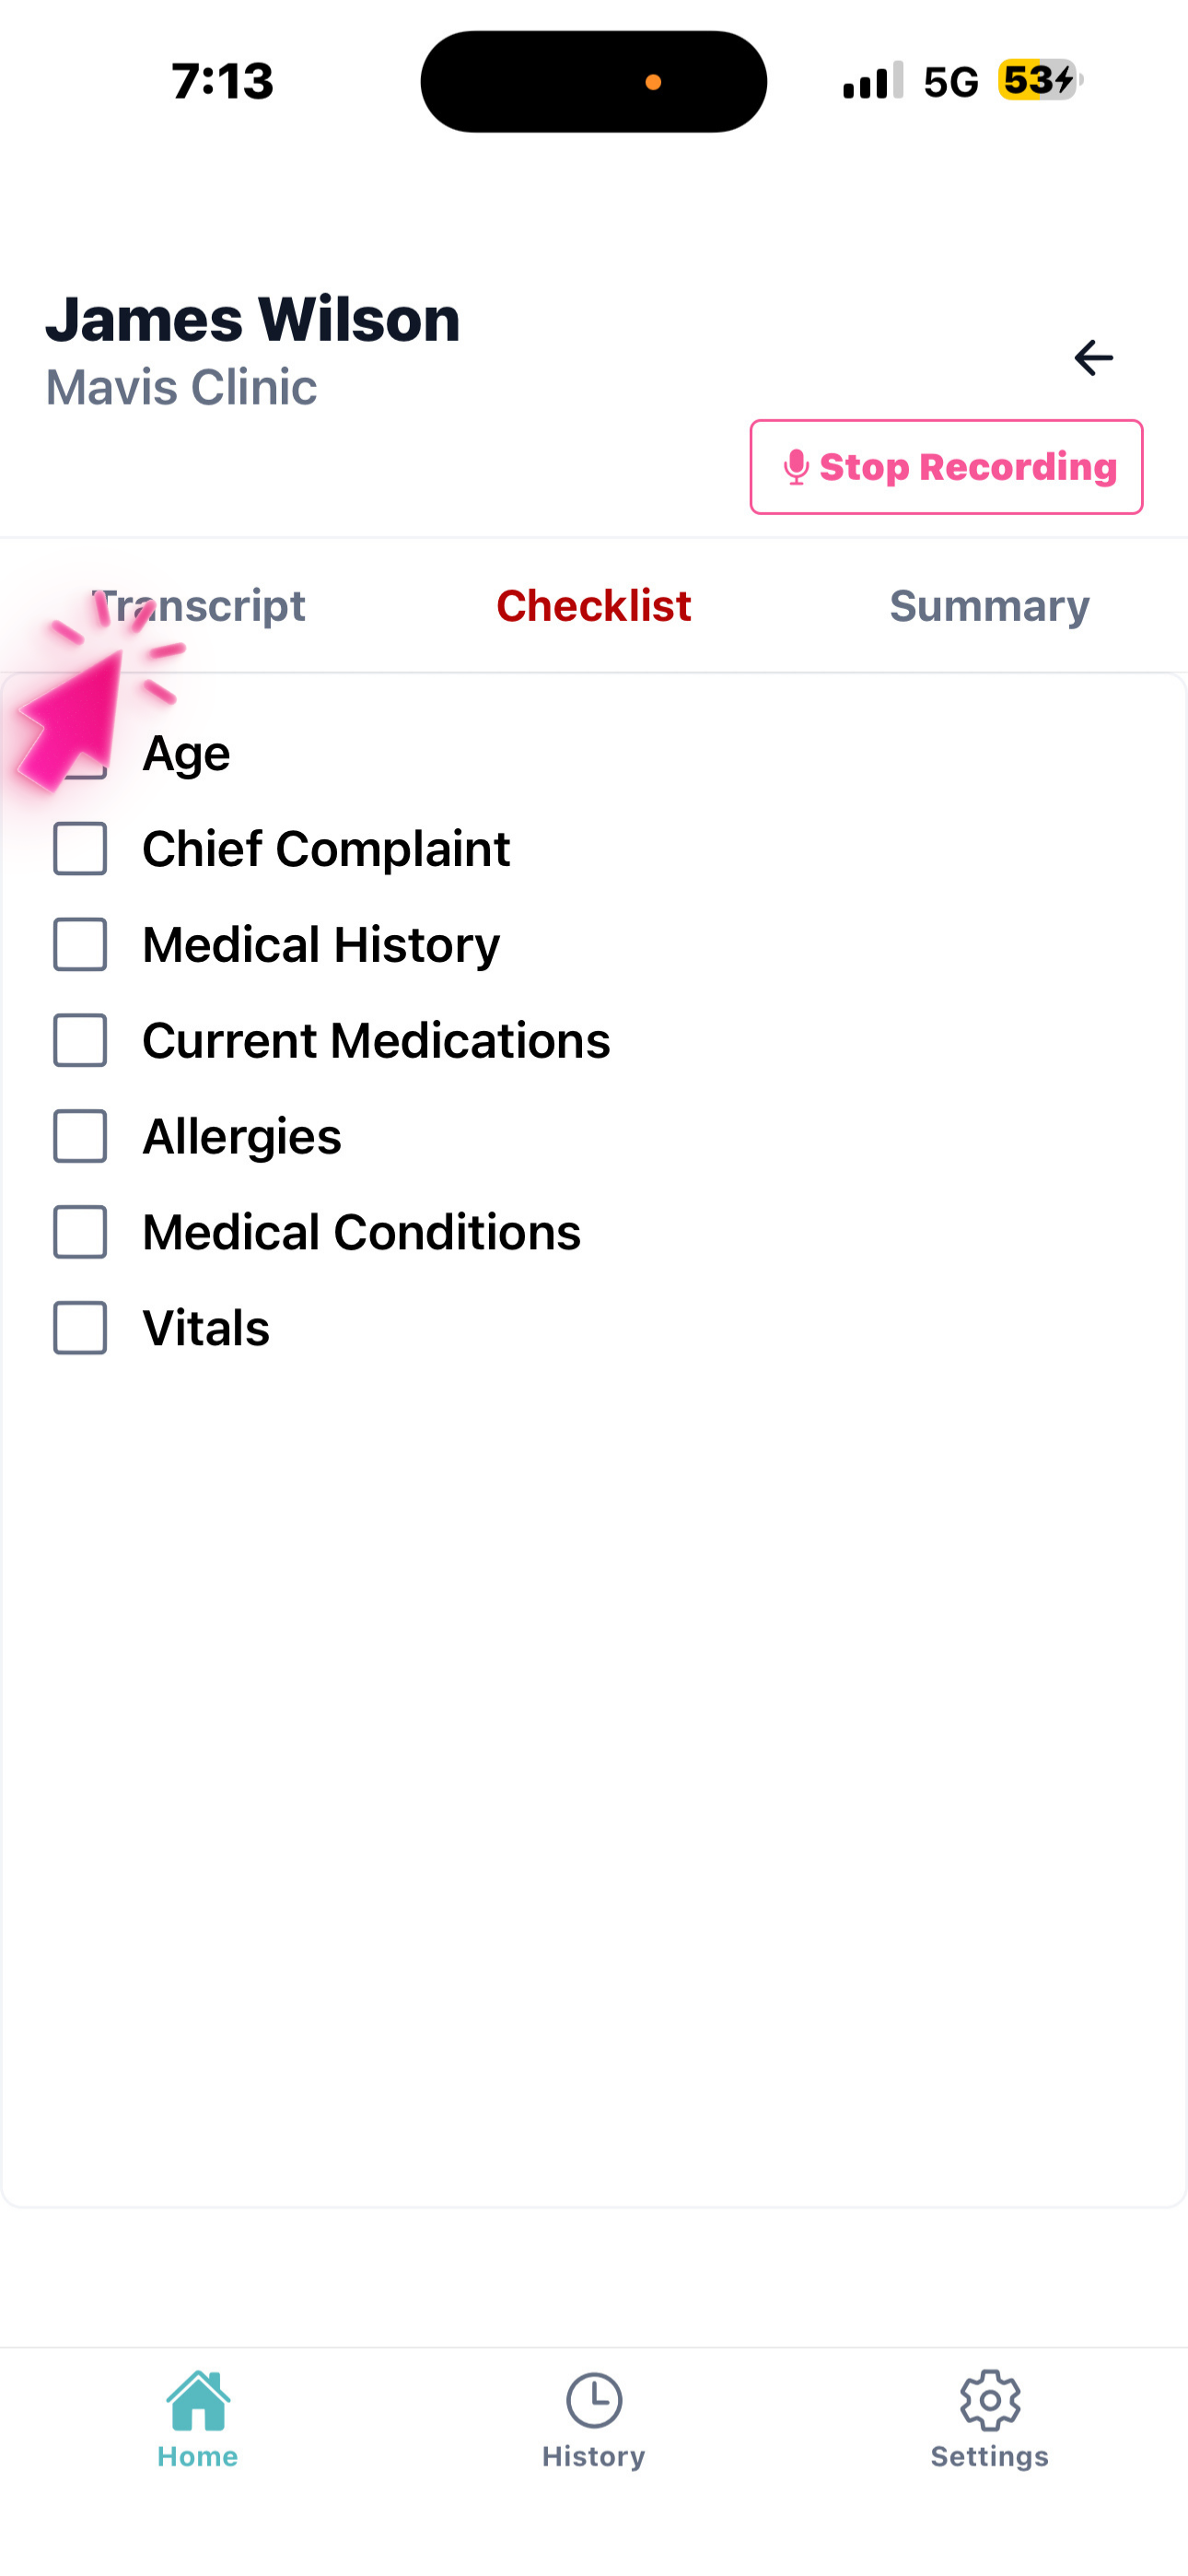
While recording, tap 'Checklist' to view the questions or information requested by the doctor. You can ask them as-is or rephrase them.
The checklist is set by the doctor (or the clinic default): general intake questions, review of systems, and symptom or pain details. Use it as a guide during the conversation to ensure all required information is captured.
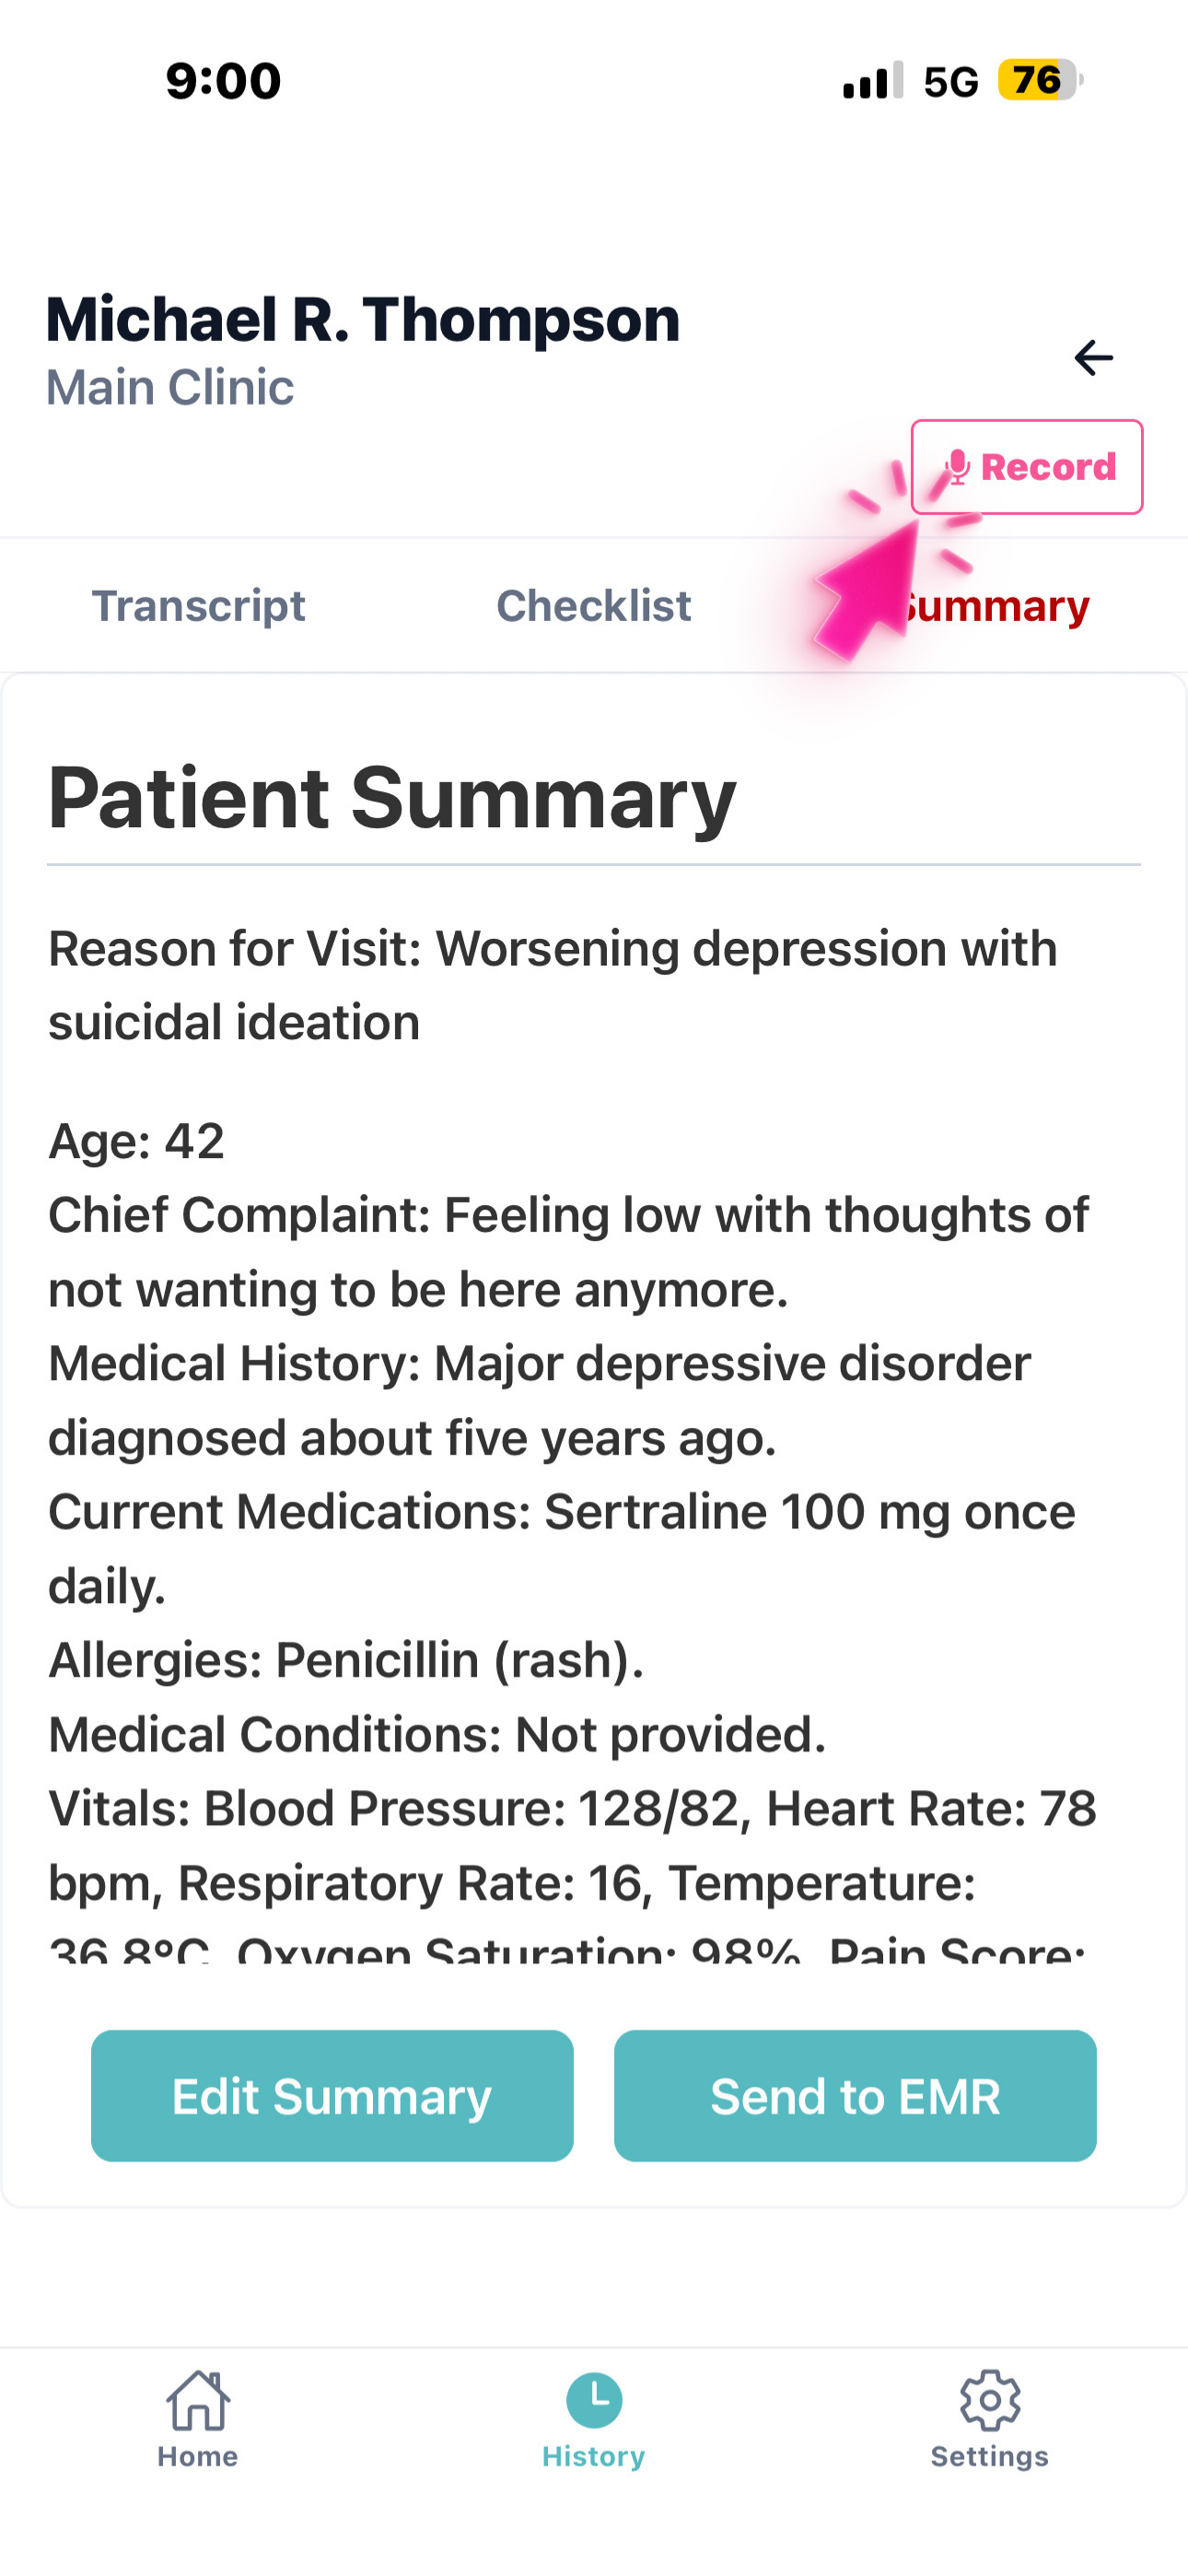
When done, tap 'Generate Summary' to create the patient summary. Review it, and it will be automatically sent to the doctor in real time.
The generated summary organizes all captured information into a structured format. You can review and edit it before or after sending. Any updates you make will be reflected instantly on the doctor's side. You can also tap 'Send to EMR' if the integration is set up.